Established 1984
The North 80 Foot Repeater Tower
Cleaning and Repairing the Base and Tower Sections
Hopefully I will be able to get some photos of each phase of the project as the hinged base is sand blasted clean, sealed with epoxy primer, and refinished in a durable enamel finish.
Tuesday Morning August 31st
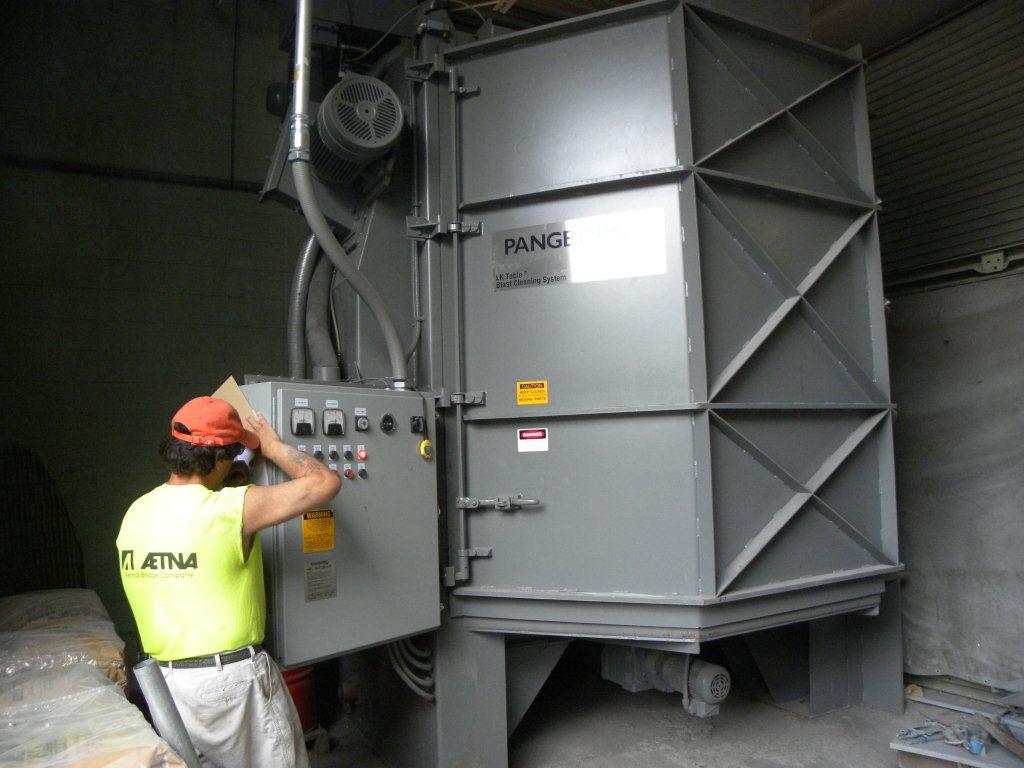
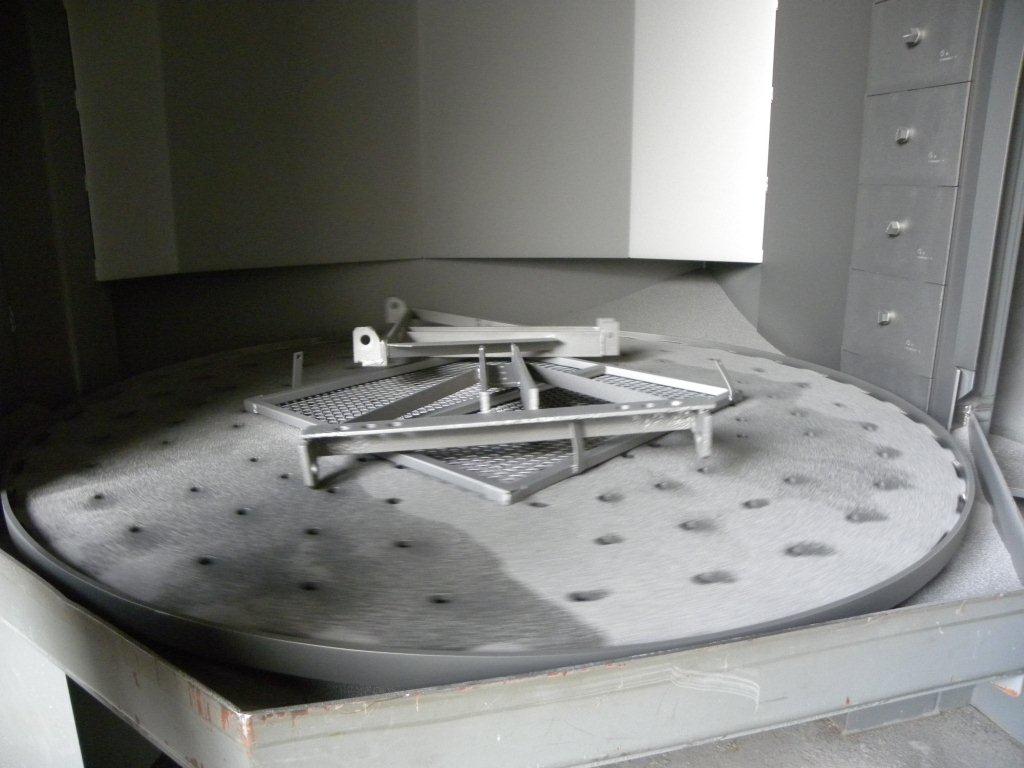
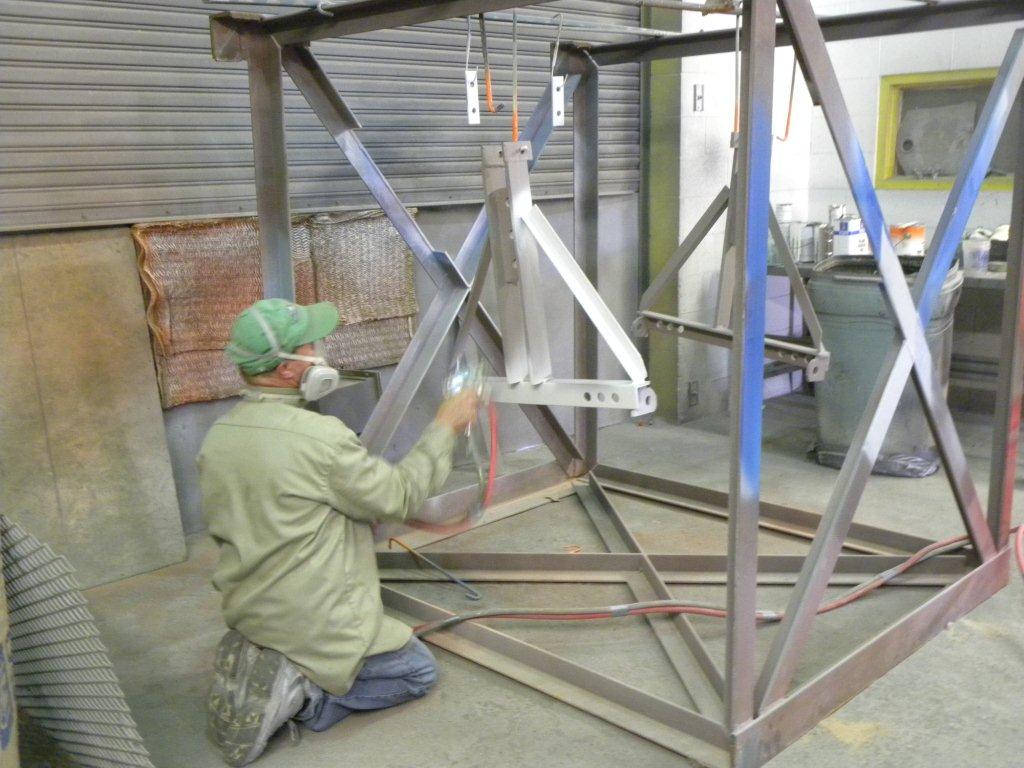
Sand Blasting the Hinged Base...
The hinged base for my tower was dropped off at Inter-City early this morning.
I asked if they could try and take some photos during each step in the process while they clean, prime, and refinished the pieces so I could post them on the webpage, and Kevin said they would try.
These photos are from their website showing the process
that my hinged base is going through…

(click on images to enlarge)
More Before & After photos from the Inter-City site on this process
Wednesday Morning September 1st
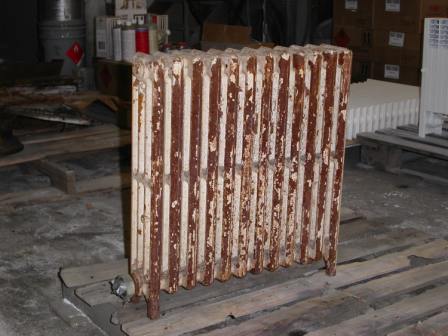
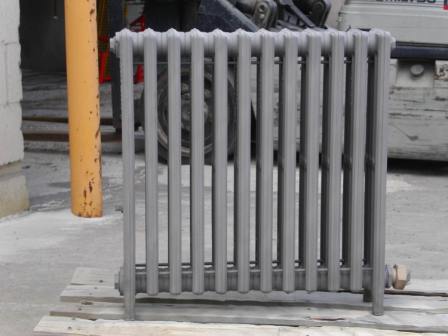
The Hinged Base has been cleaned...
The guys at Inter-City send me an email this morning with these great before and after photos of the tower base being cleaned. The base looks better now than it did back in 1992 when it was originally fabricated.


(click on images to enlarge)
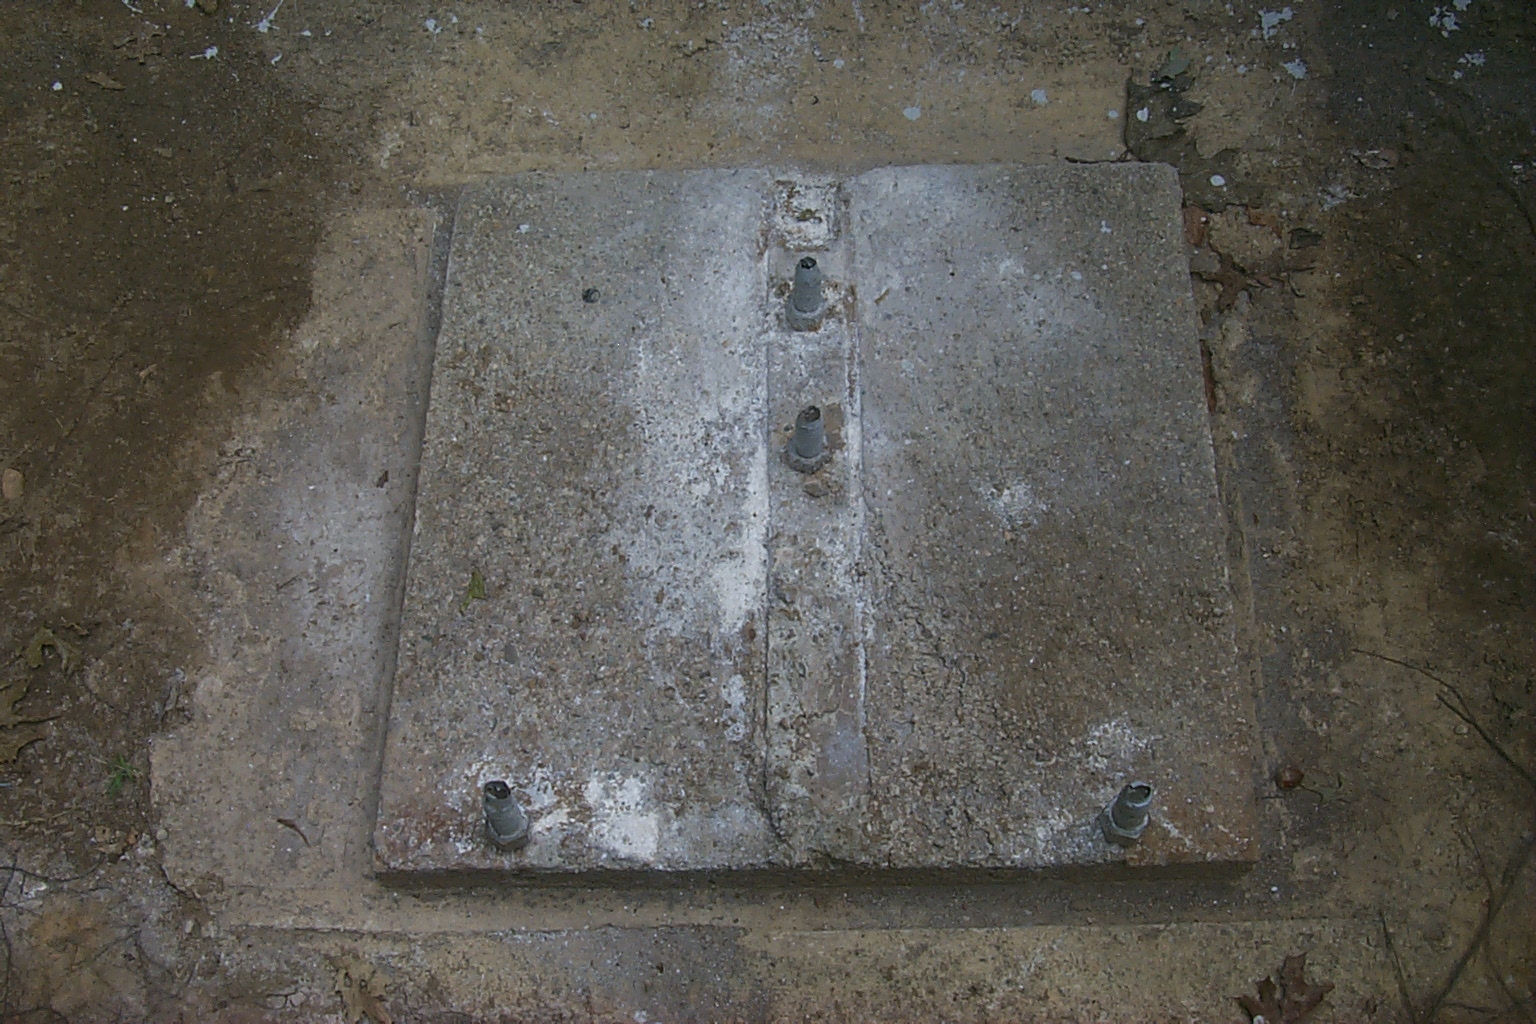
While the guys at Inter-City were working on the hinged base pieces Dad was busy working on on the concrete base.
Bill KA1VKD excavated the dirt from around the concrete base, and swept it clean, in preparation for a few applications of cement sealing paint that is normally used to seal cement block foundations making them water proof.
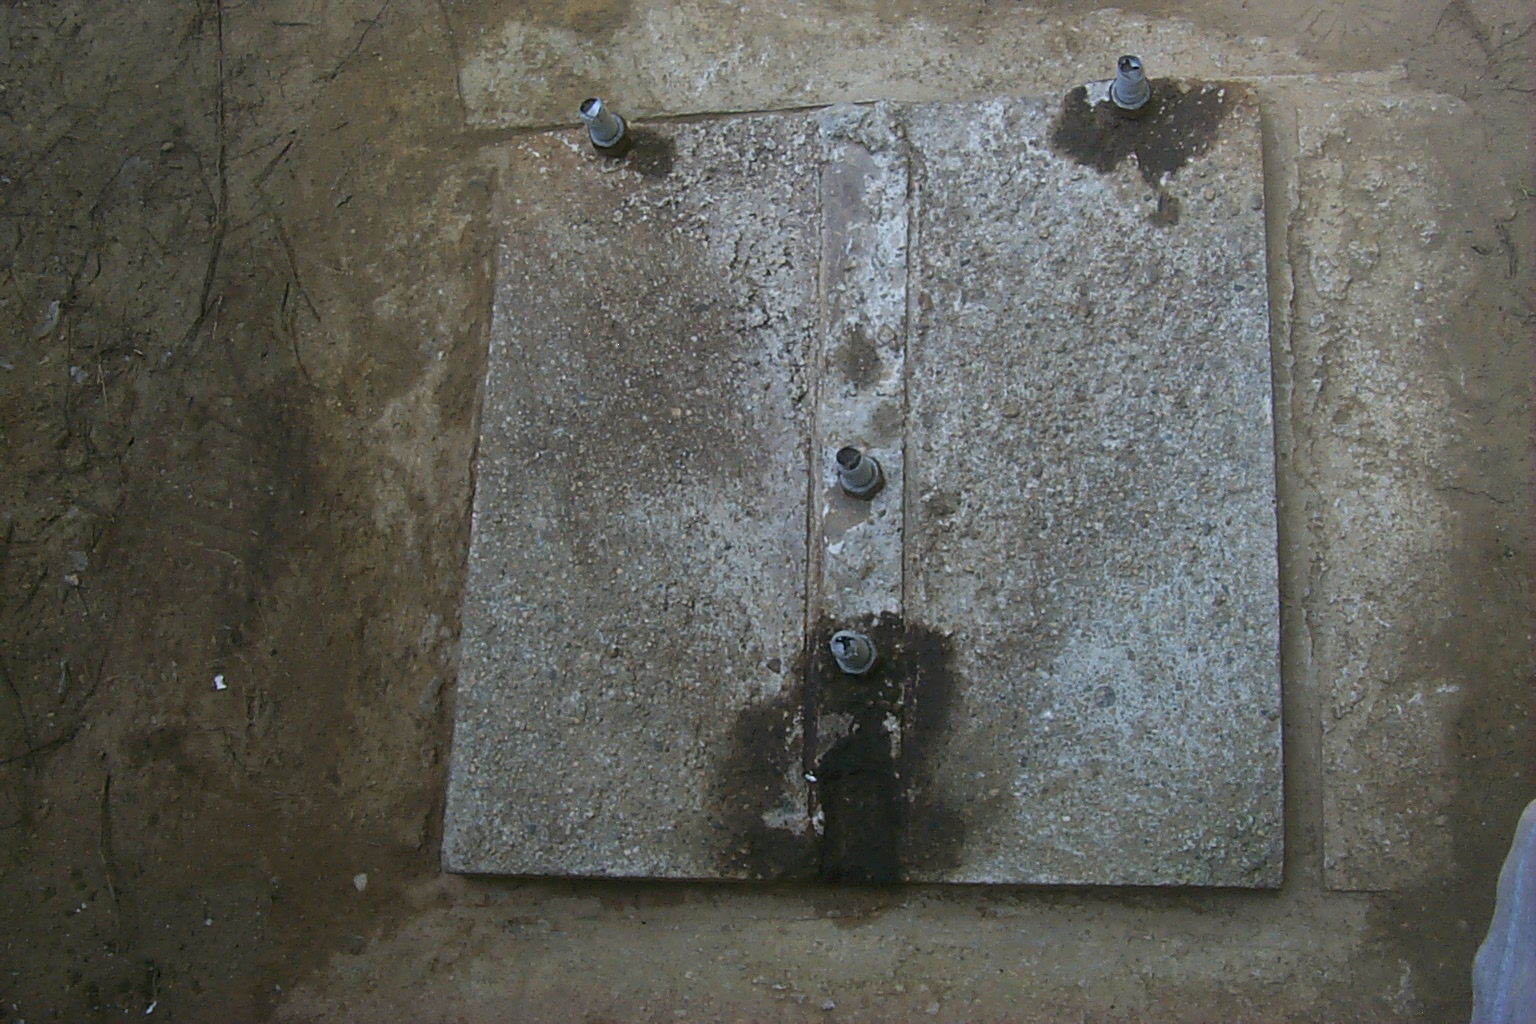
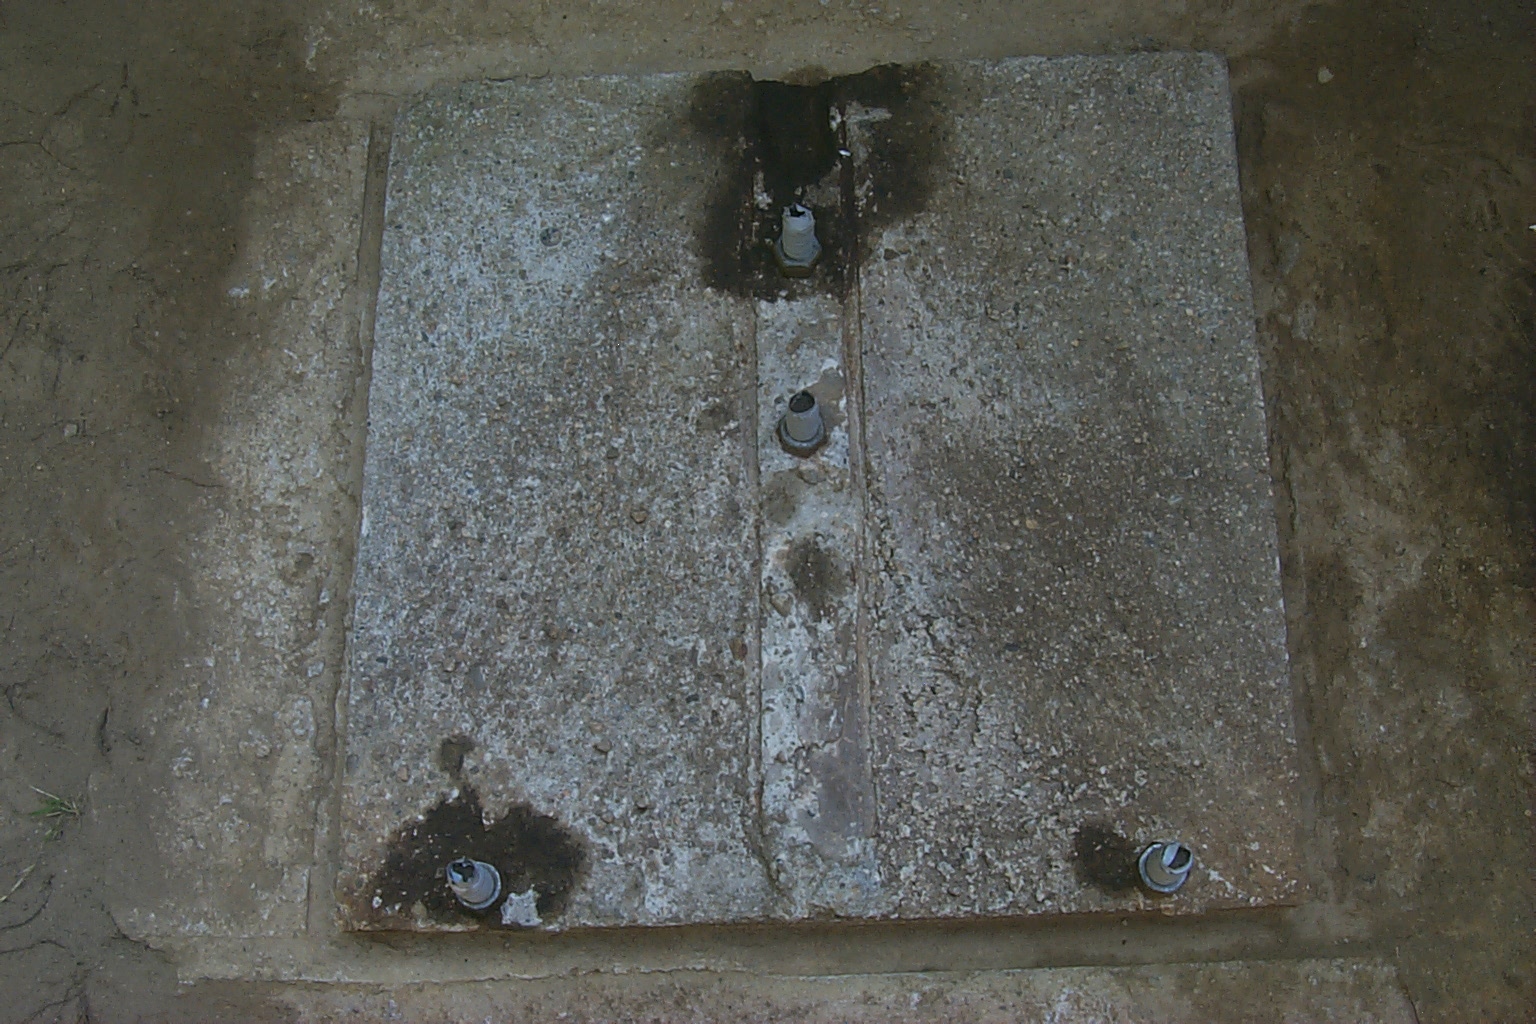
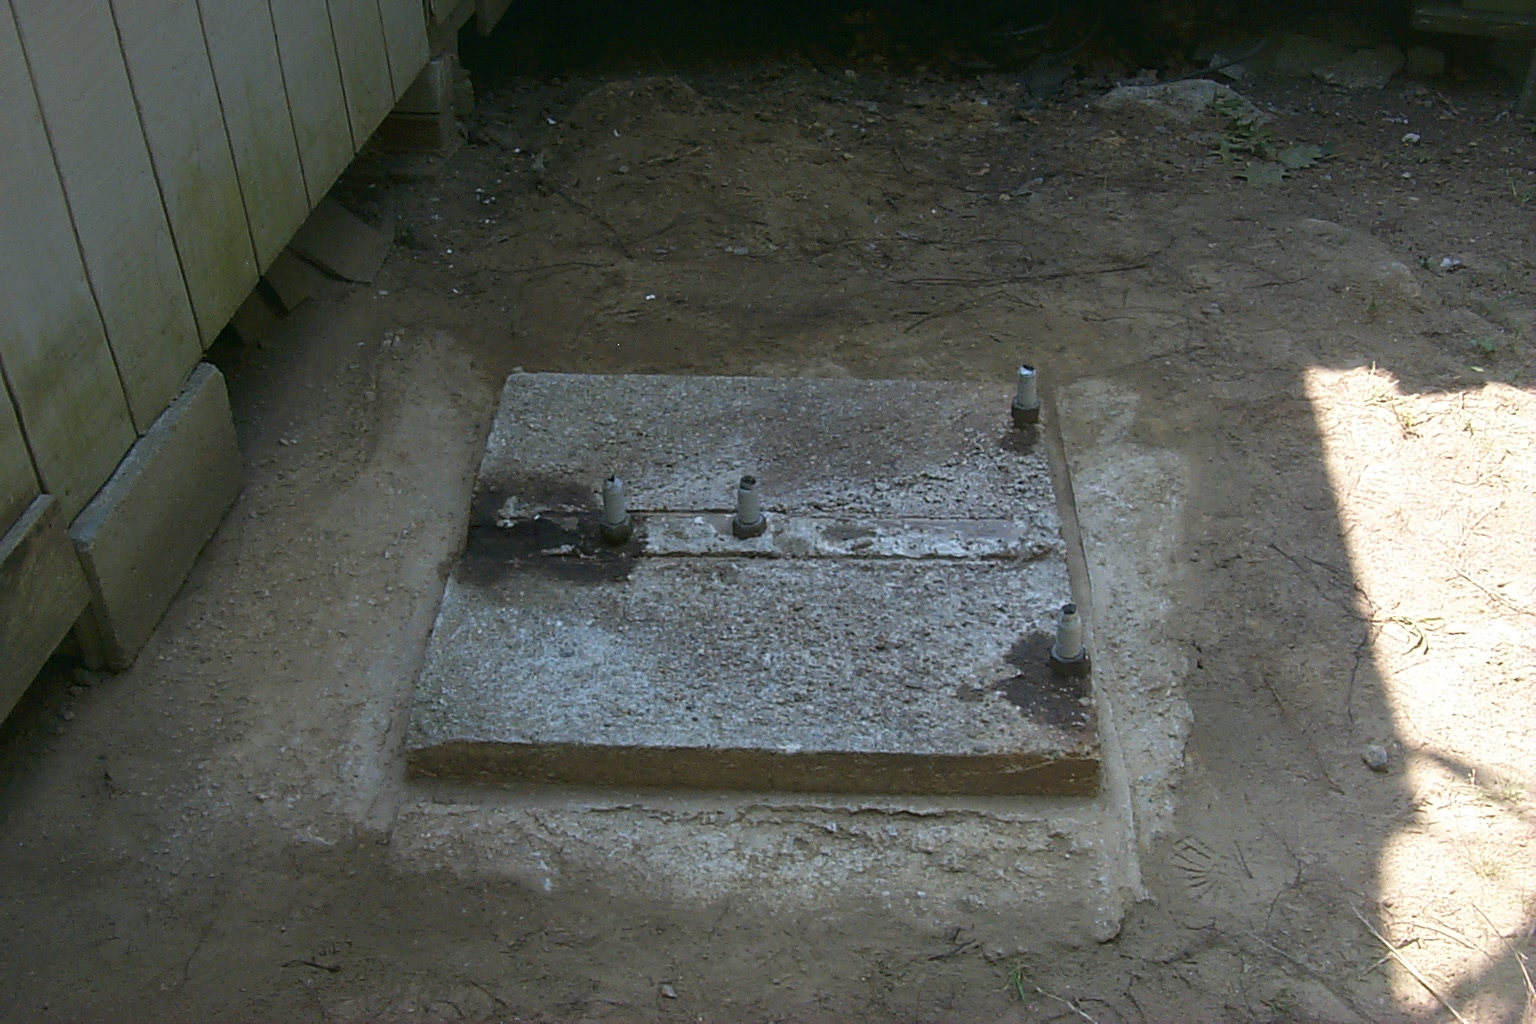
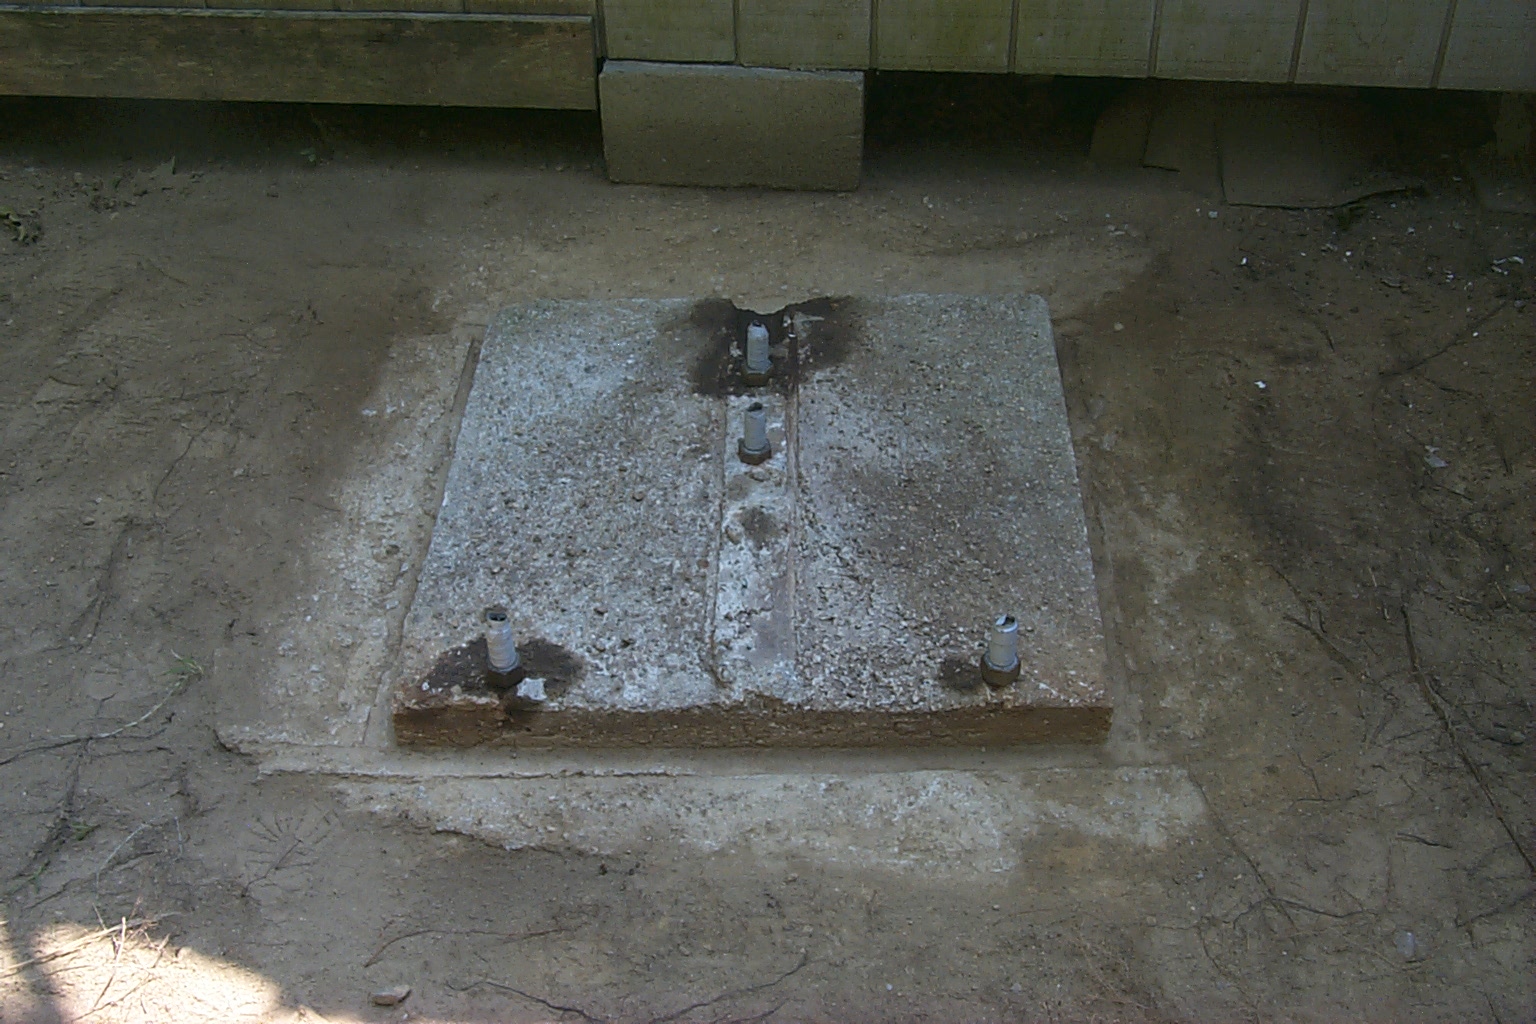
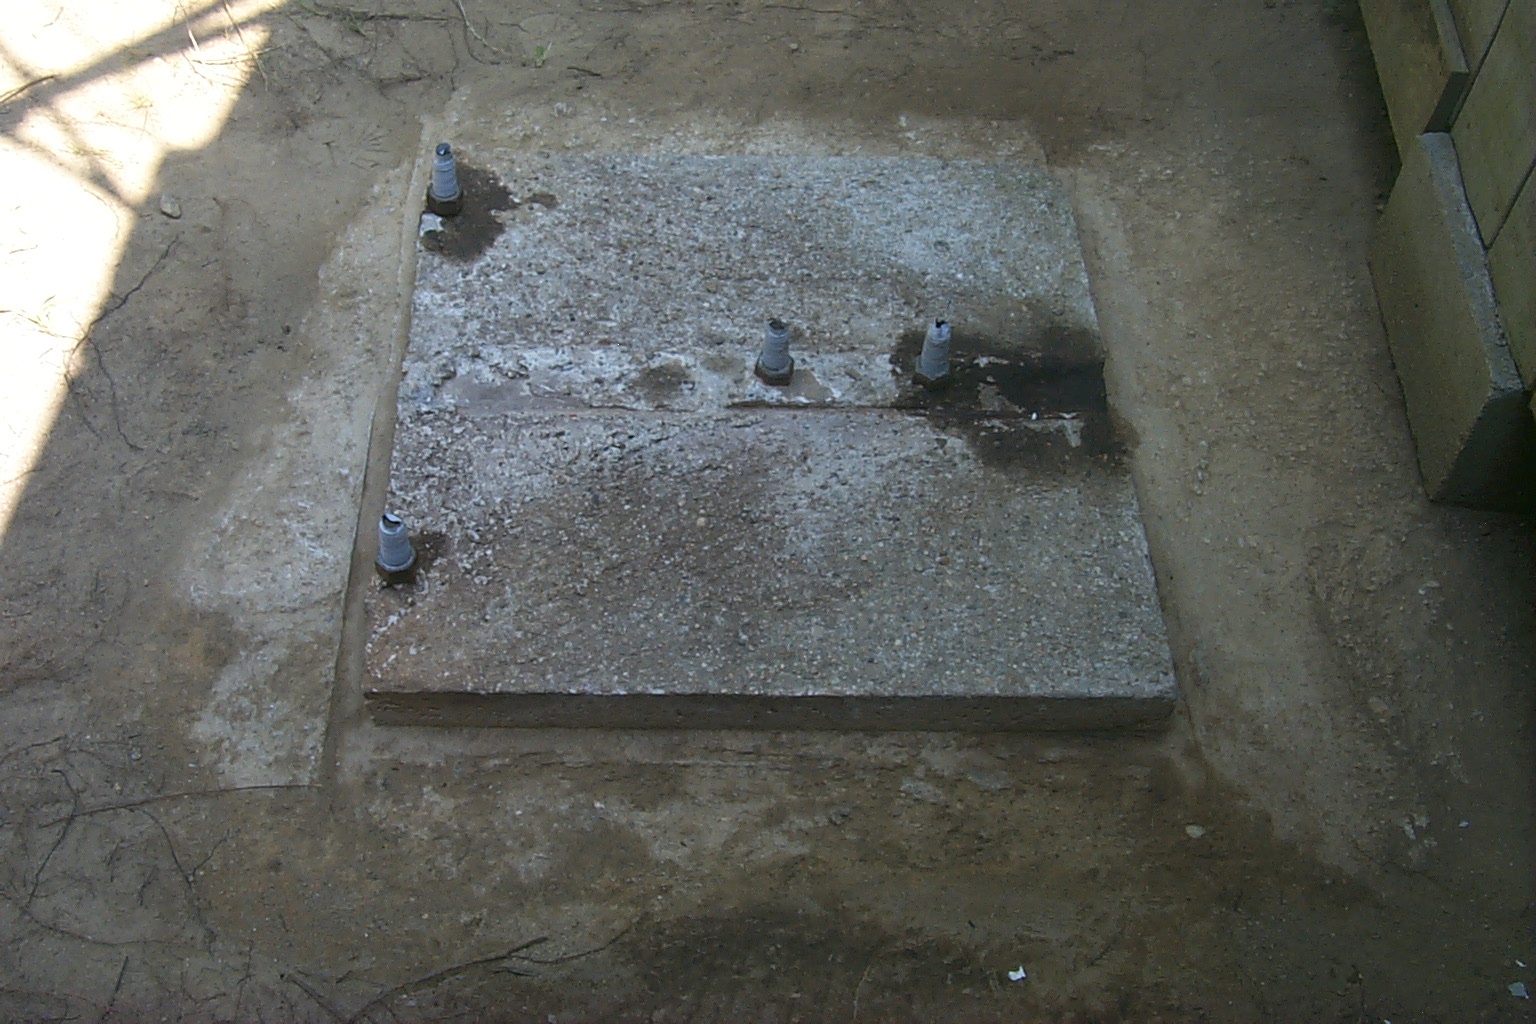
(click on images to enlarge)
Thursday Morning September 2nd
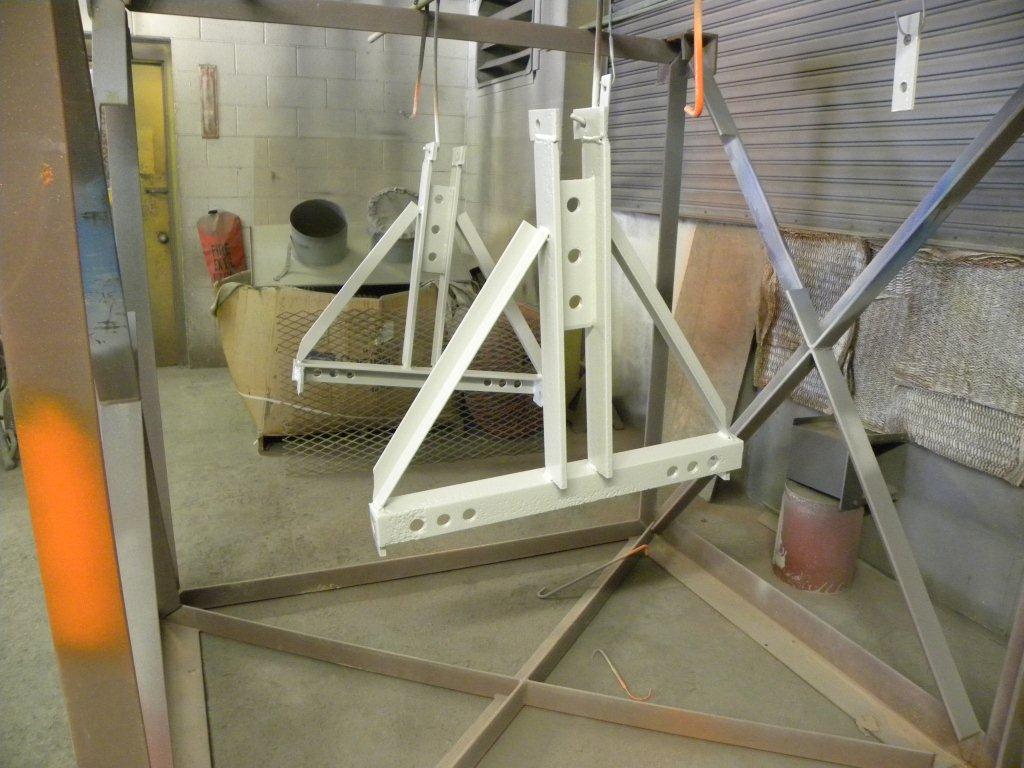
The Hinged Base has been primed and painted...
More photos from the guys at Inter-City showing the hinged base pieces after they were sealed with the epoxy primer and while they were being sprayed with the durable urethane finish.
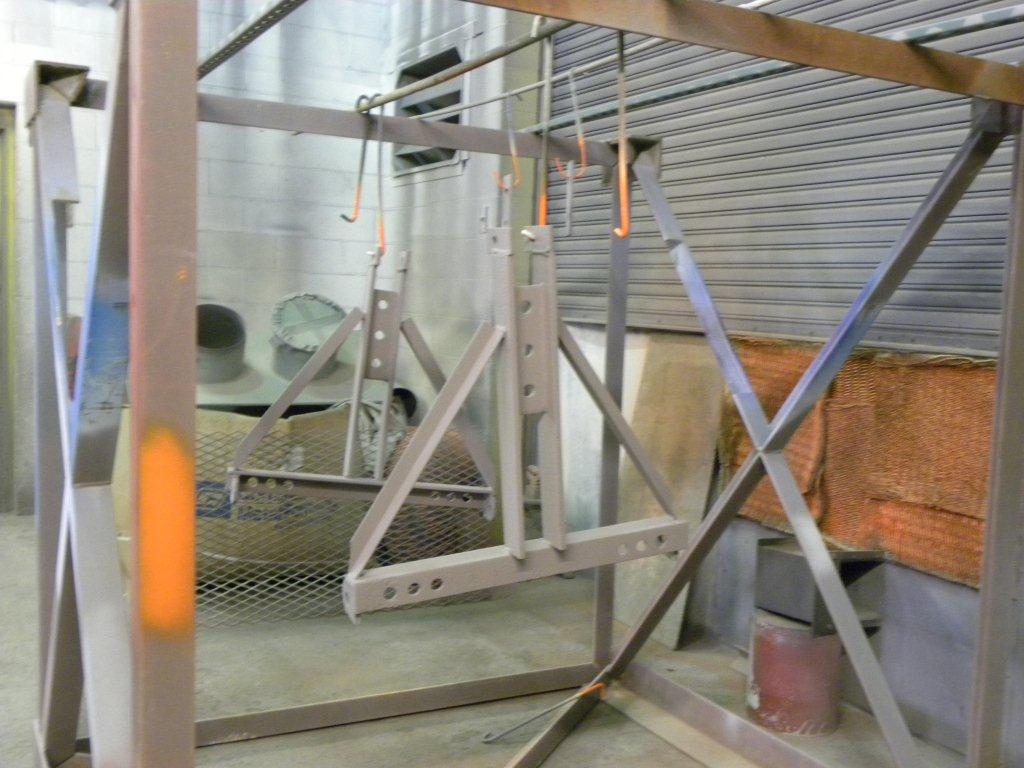
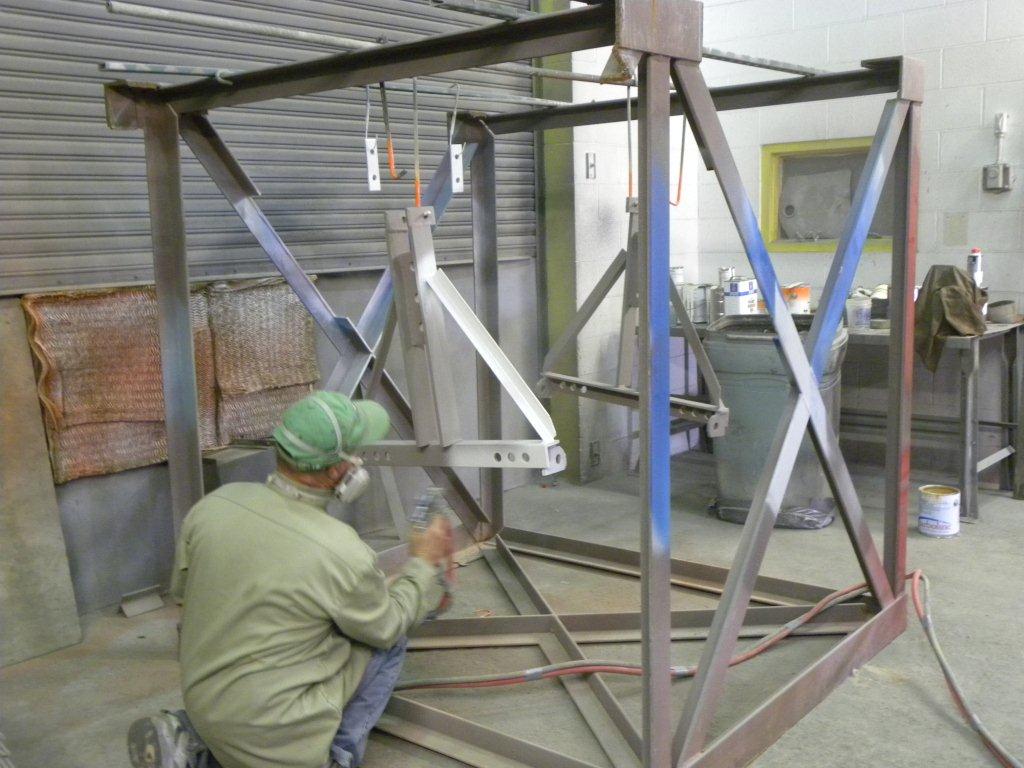

(click on images to enlarge)
Friday Afternoon September 3rd
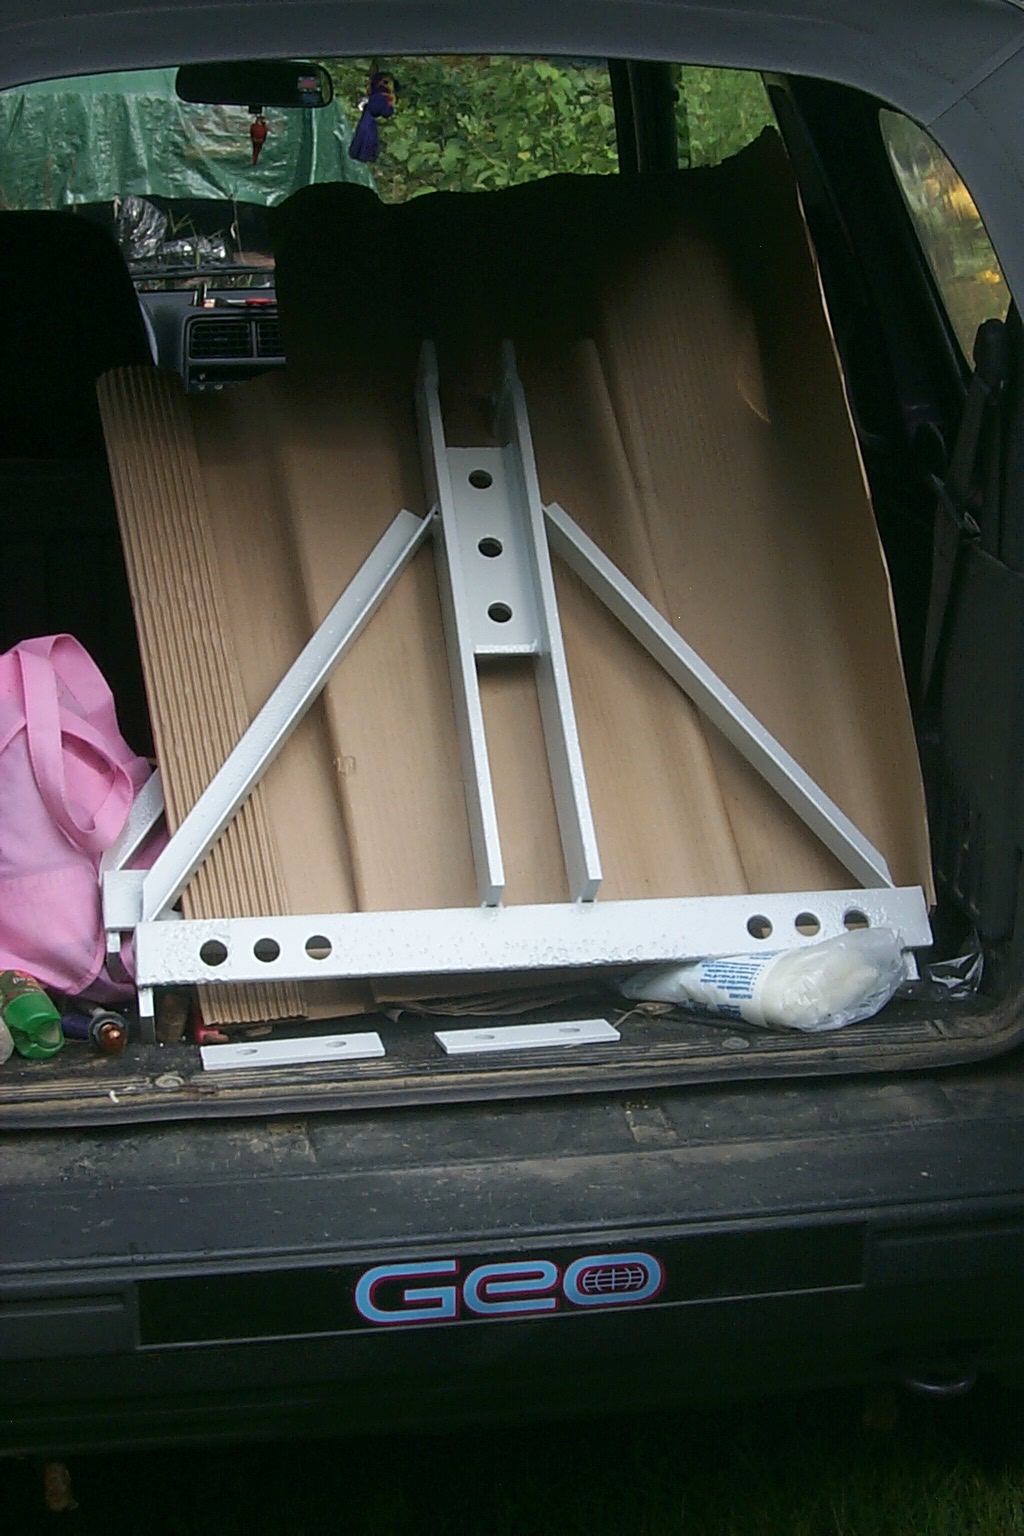
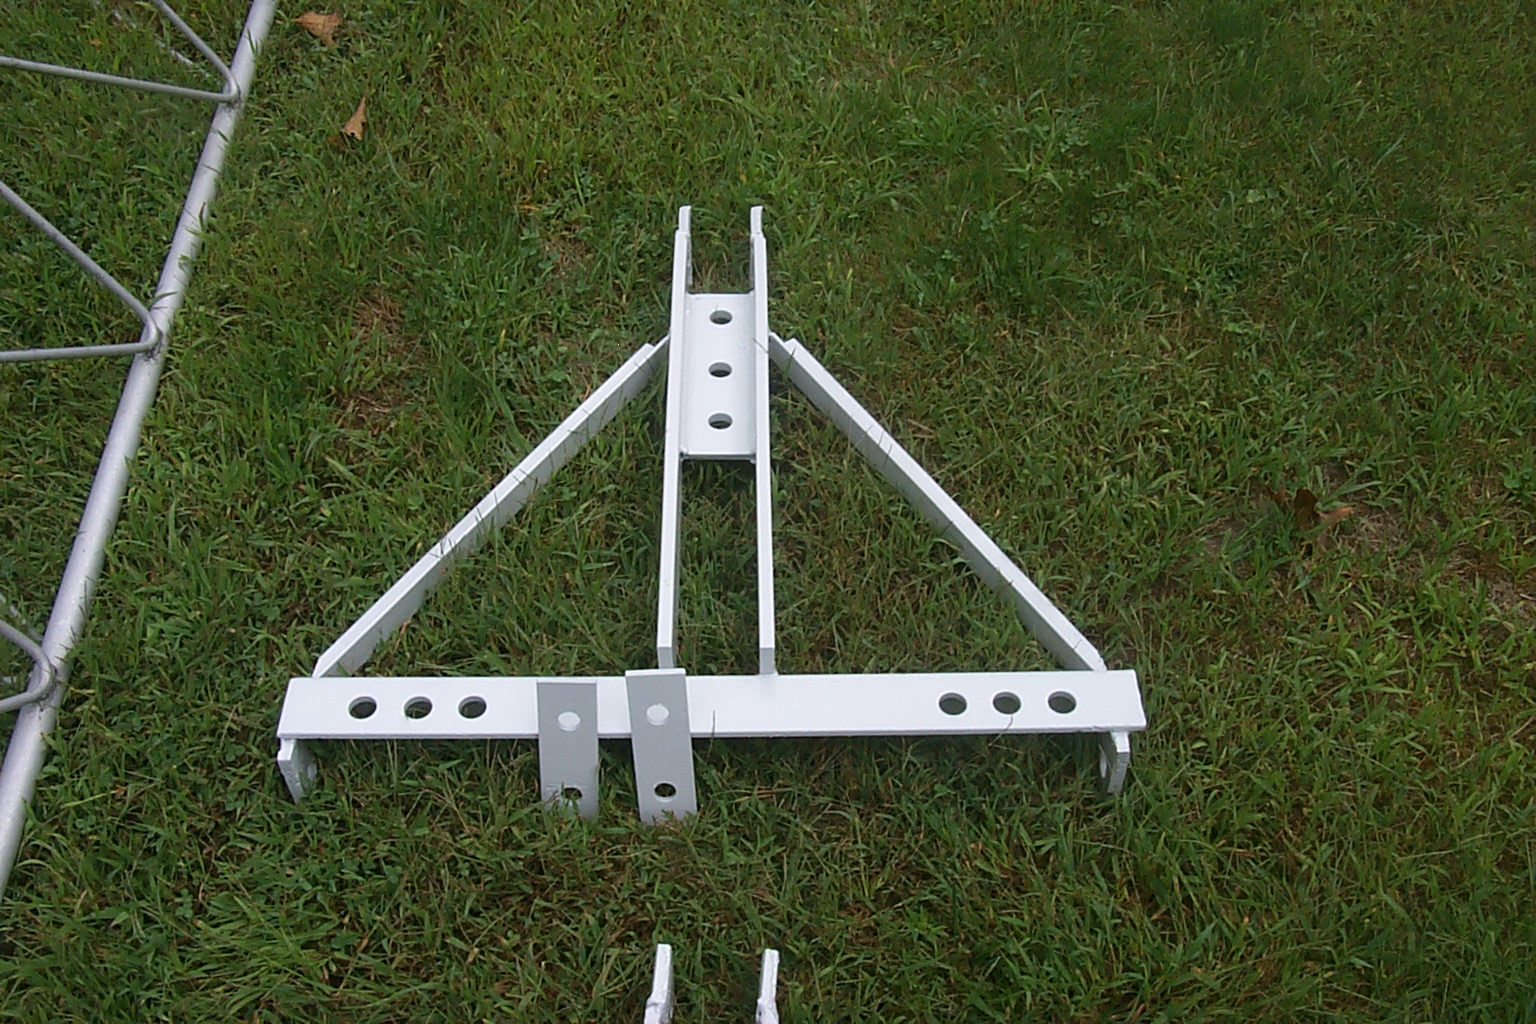
The Hinged Base has retuned home!
While I was busy at work Sandy KA1RXB took a ride over to Inter-City and picked up the finished pieces of the towers hinged base for me. She was able to unload the parts from here little Geo Tracker, and set them down next to the tower, just minutes before the driving rains started from Hurricane Earl...

(click on images to enlarge)
Sunday Evening September 5th
Clearing out and cleaning the repeater shed...
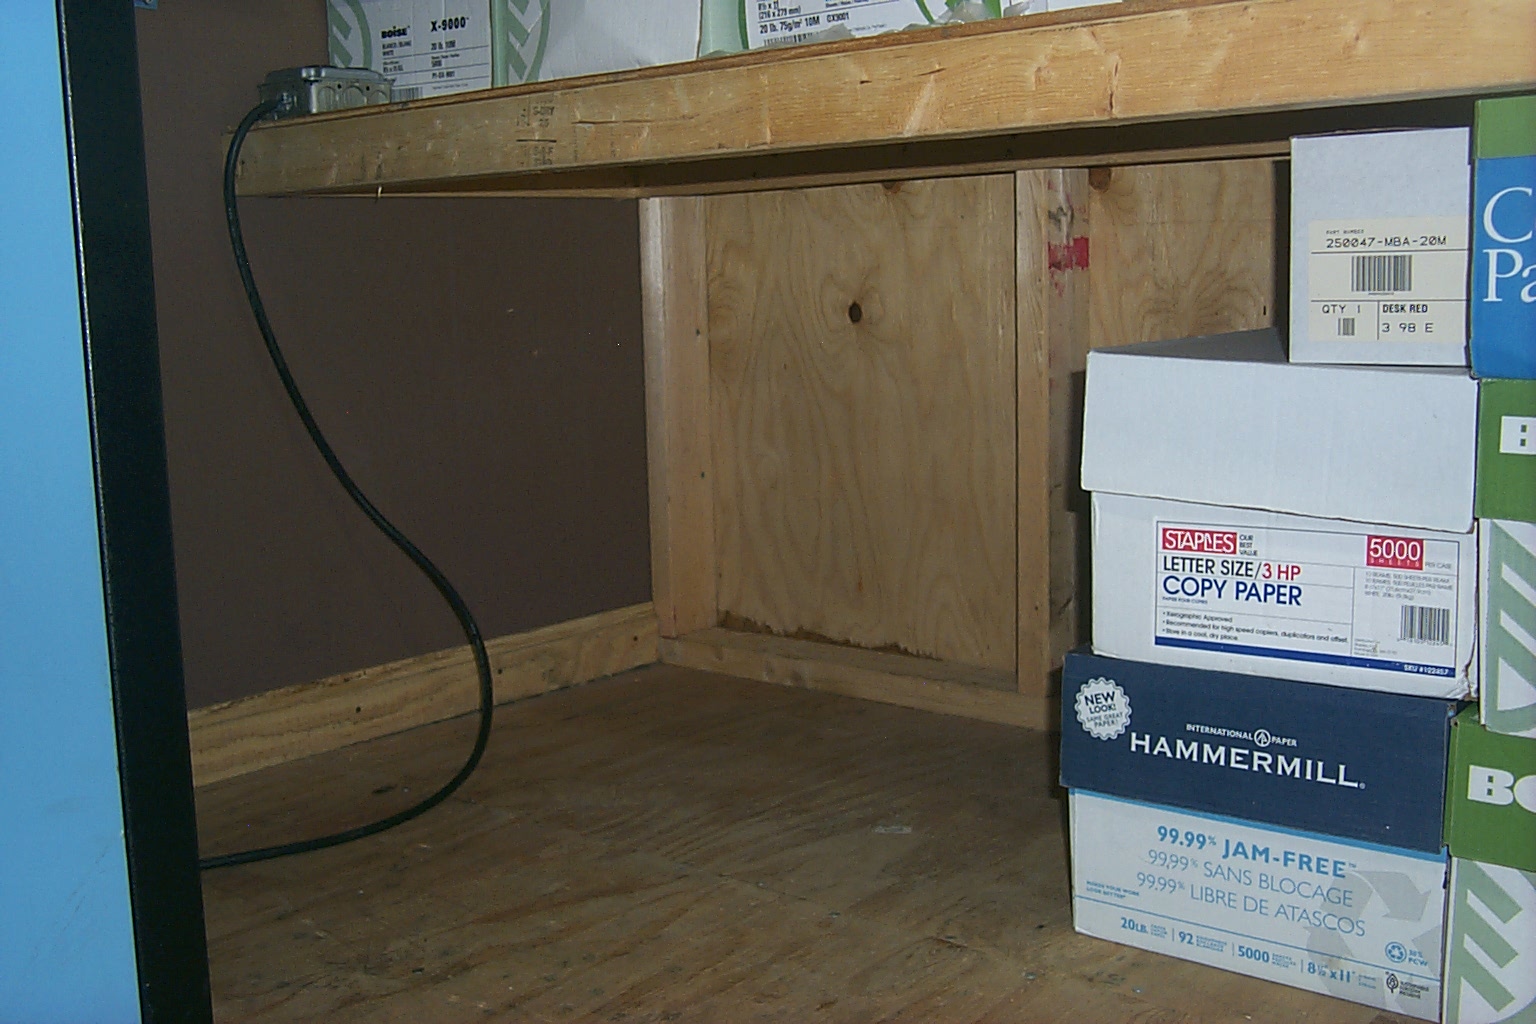
Sunday evening was spent organizing model trains, packing boxes, and clearing out space to work in the repeater shed.
With the new antennas and hard-line going on the tower I am going to install a new copper grounding plate with a bank of Polyphasers for each antenna. In order to access the wall next to the tower I had to move the 447.775 repeater out of the way along with dozens of boxes full of Andrew connectors, mounting clips, weather proofing materials, colored vinyl tape, clamps, and all the other odd's and ends that will be needed to put the tower back up. The shed had become a "storage room" or warehouse for all the boxes of "stuff" for this tower project and now it was all in the way!
It has been a long time since there was this much open space in the repeater vault!


(click on images to enlarge)
Monday Morning September 6th
On Labor Day, I labored...
Sunday evening I made a run to the local Home Depot and picked up Mold & Mildew cleaner to scrub the outside of the repeater shed, a can of oil base wood stain for the shed, some Phosphorous Acid cement cleaner, and water proofing concrete paint for the base.
Monday morning I spent scrubbing the shed and applying the acid to the grease, oil, and rust stains on the concrete base for the tower...
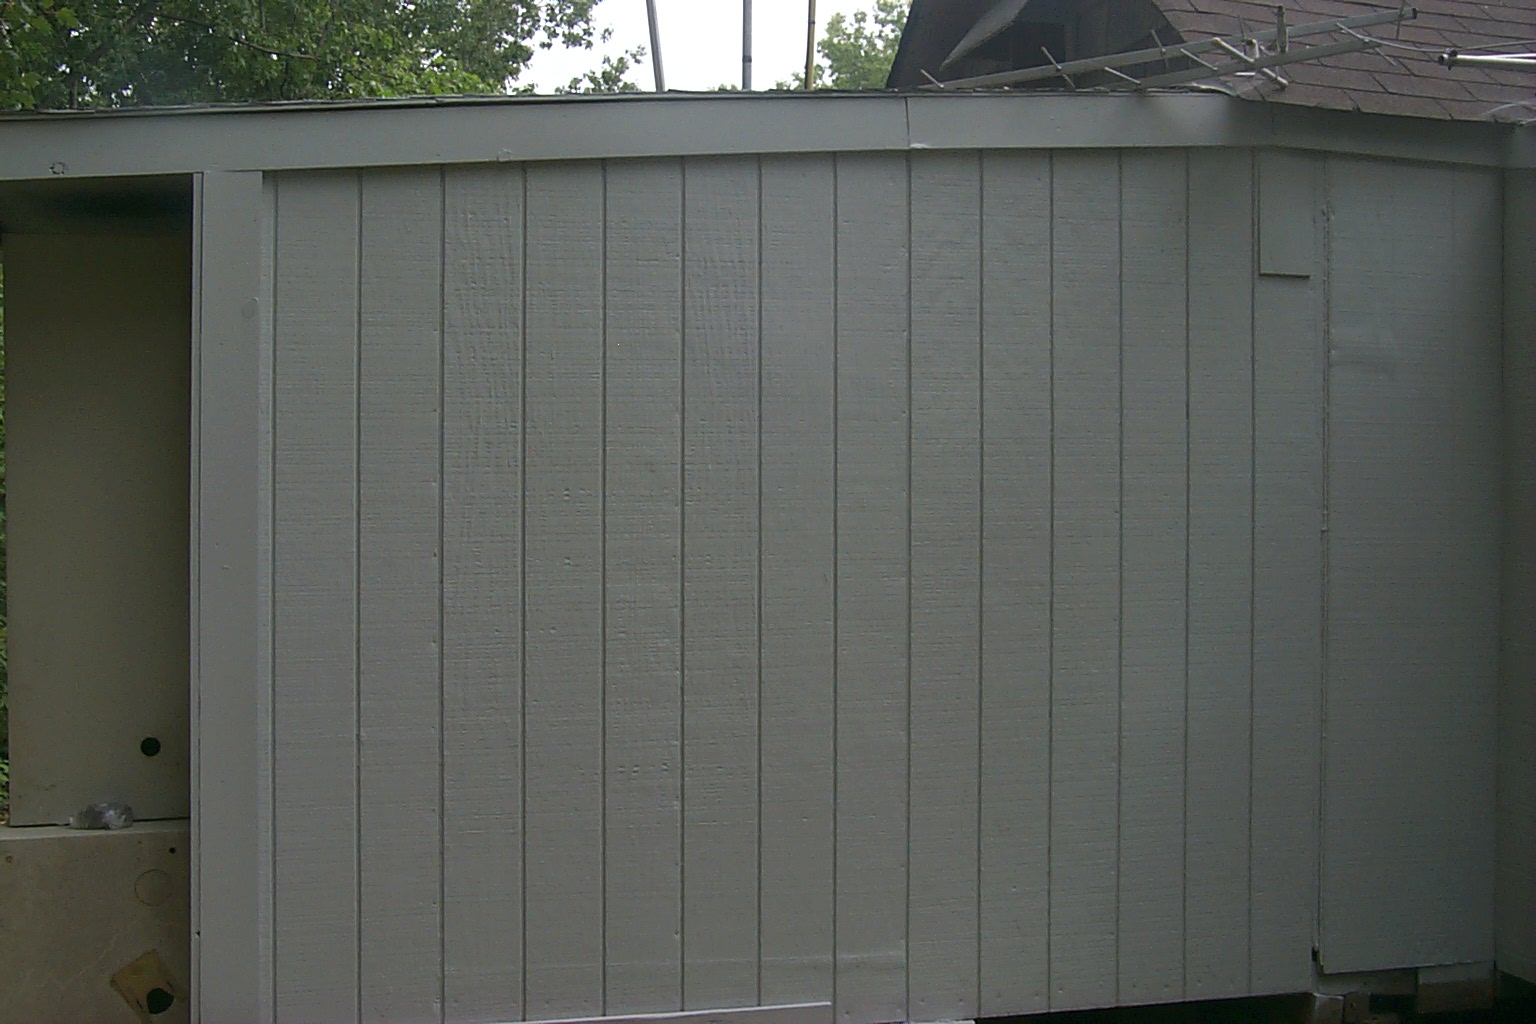
... Considering the shed has not been painted or washed in 17 years it was not as bad as I had expected, however with the tower down and out of the way, now was the right time to wash off the years of mold & gunk on the outside of the shed and apply a fresh coat of oil base wood stain in an effort to protect the wood for another few decades.
Here are a few before photos as I started to wash the shed with the special mold & mildew cleaner that I purchased.
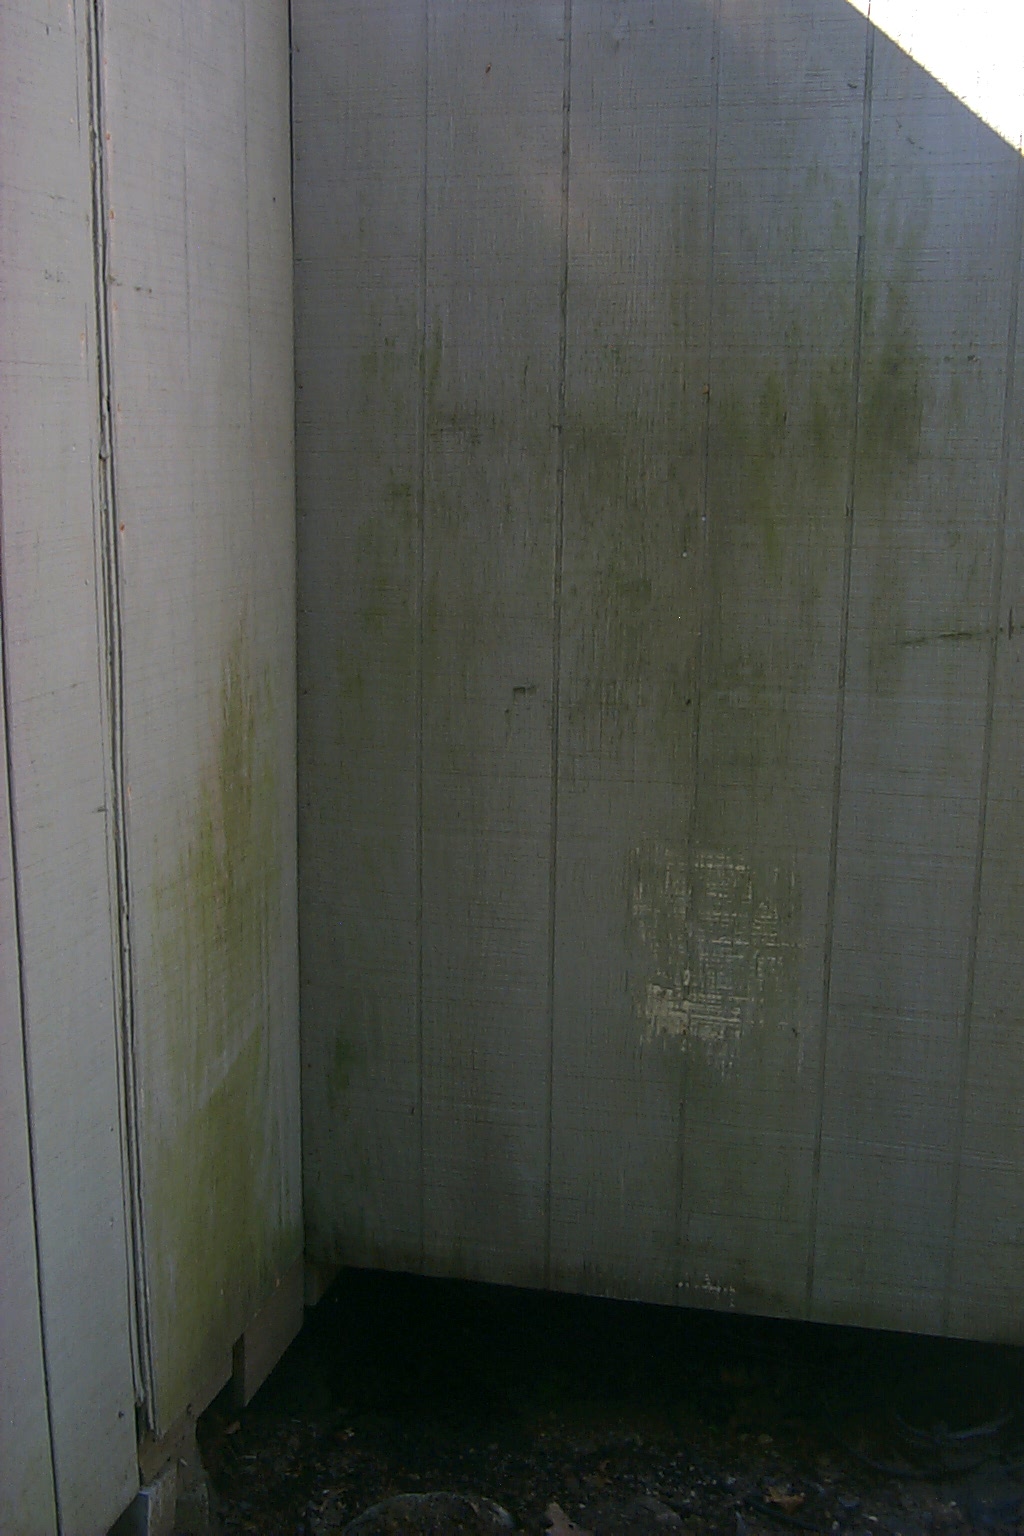


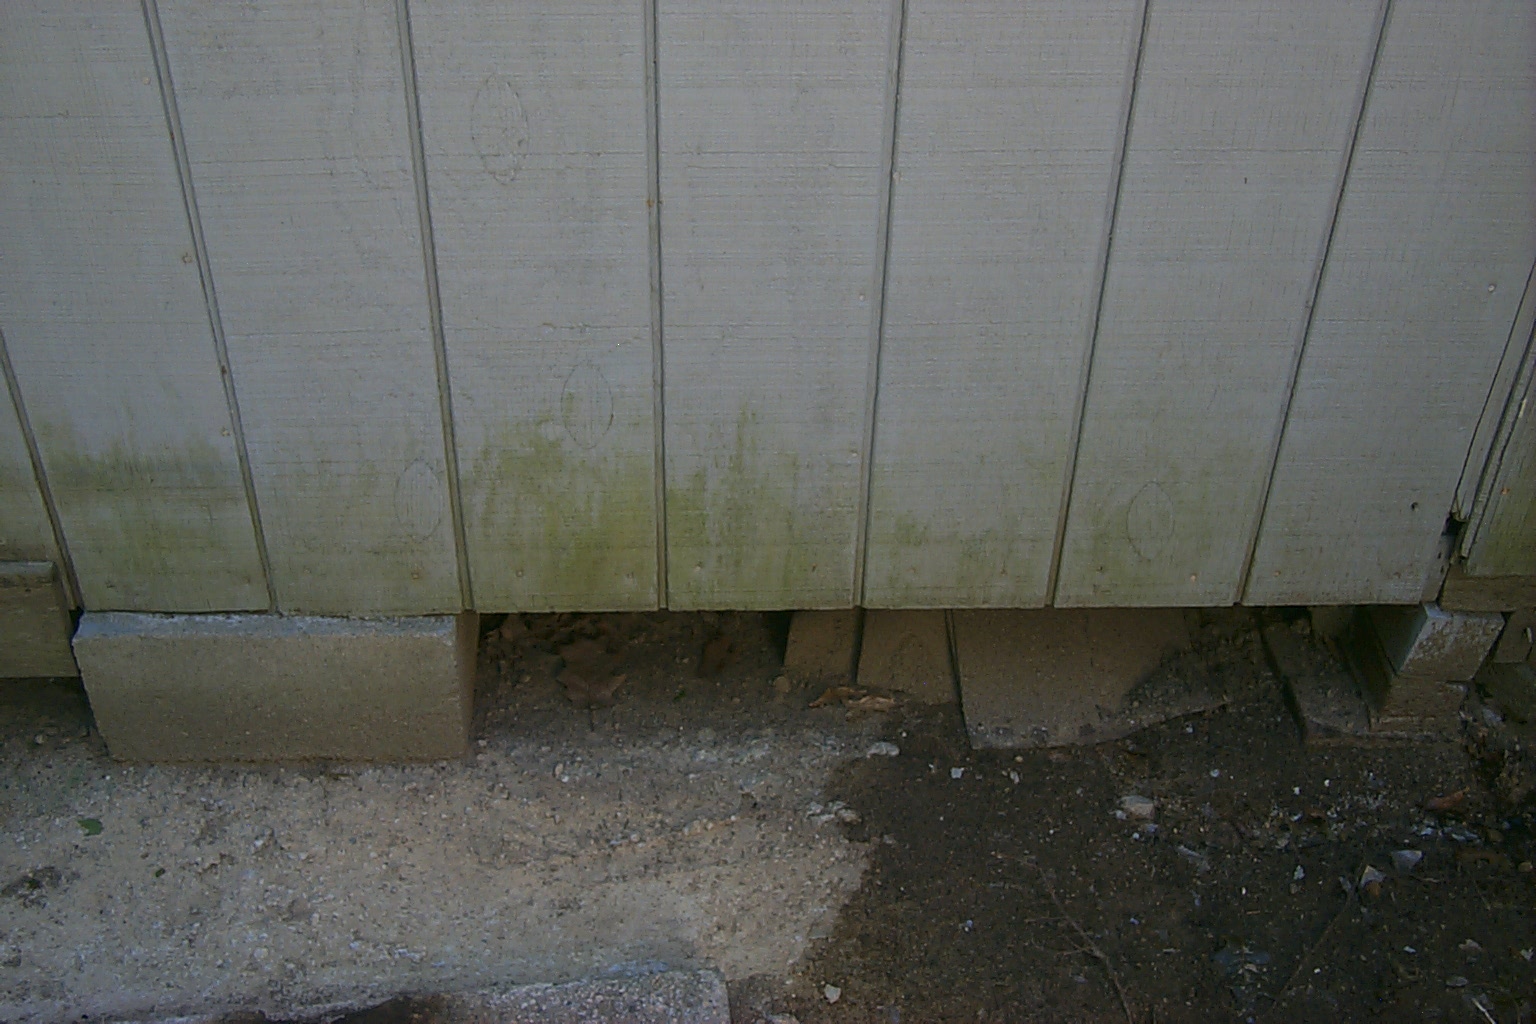
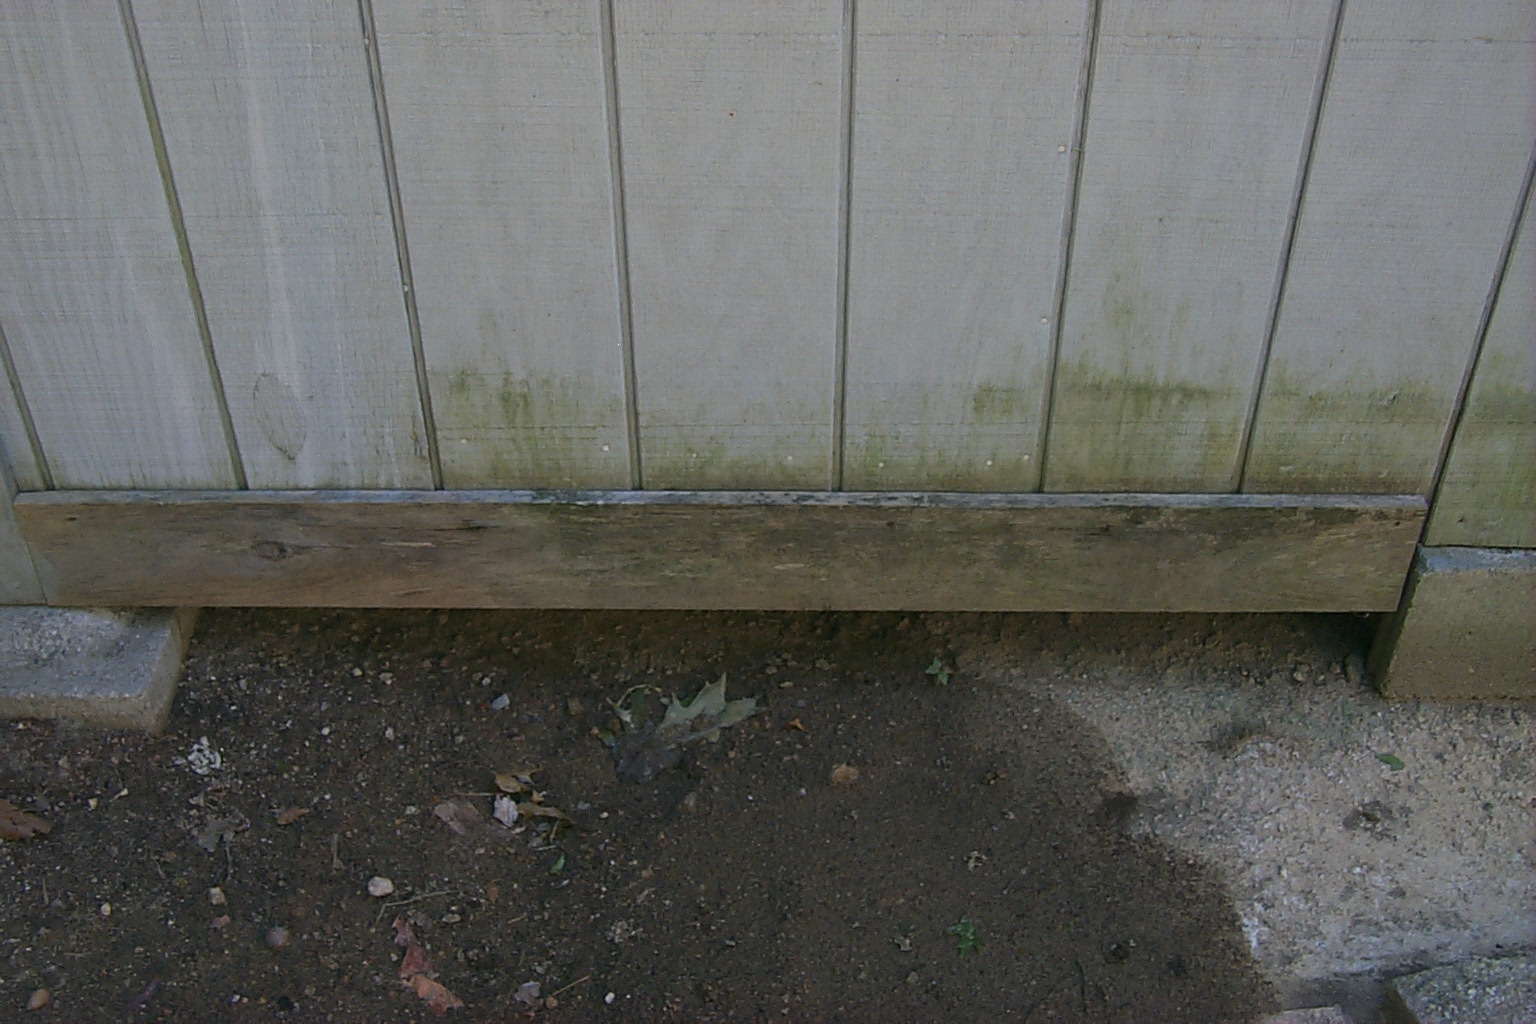
(click on images to enlarge)
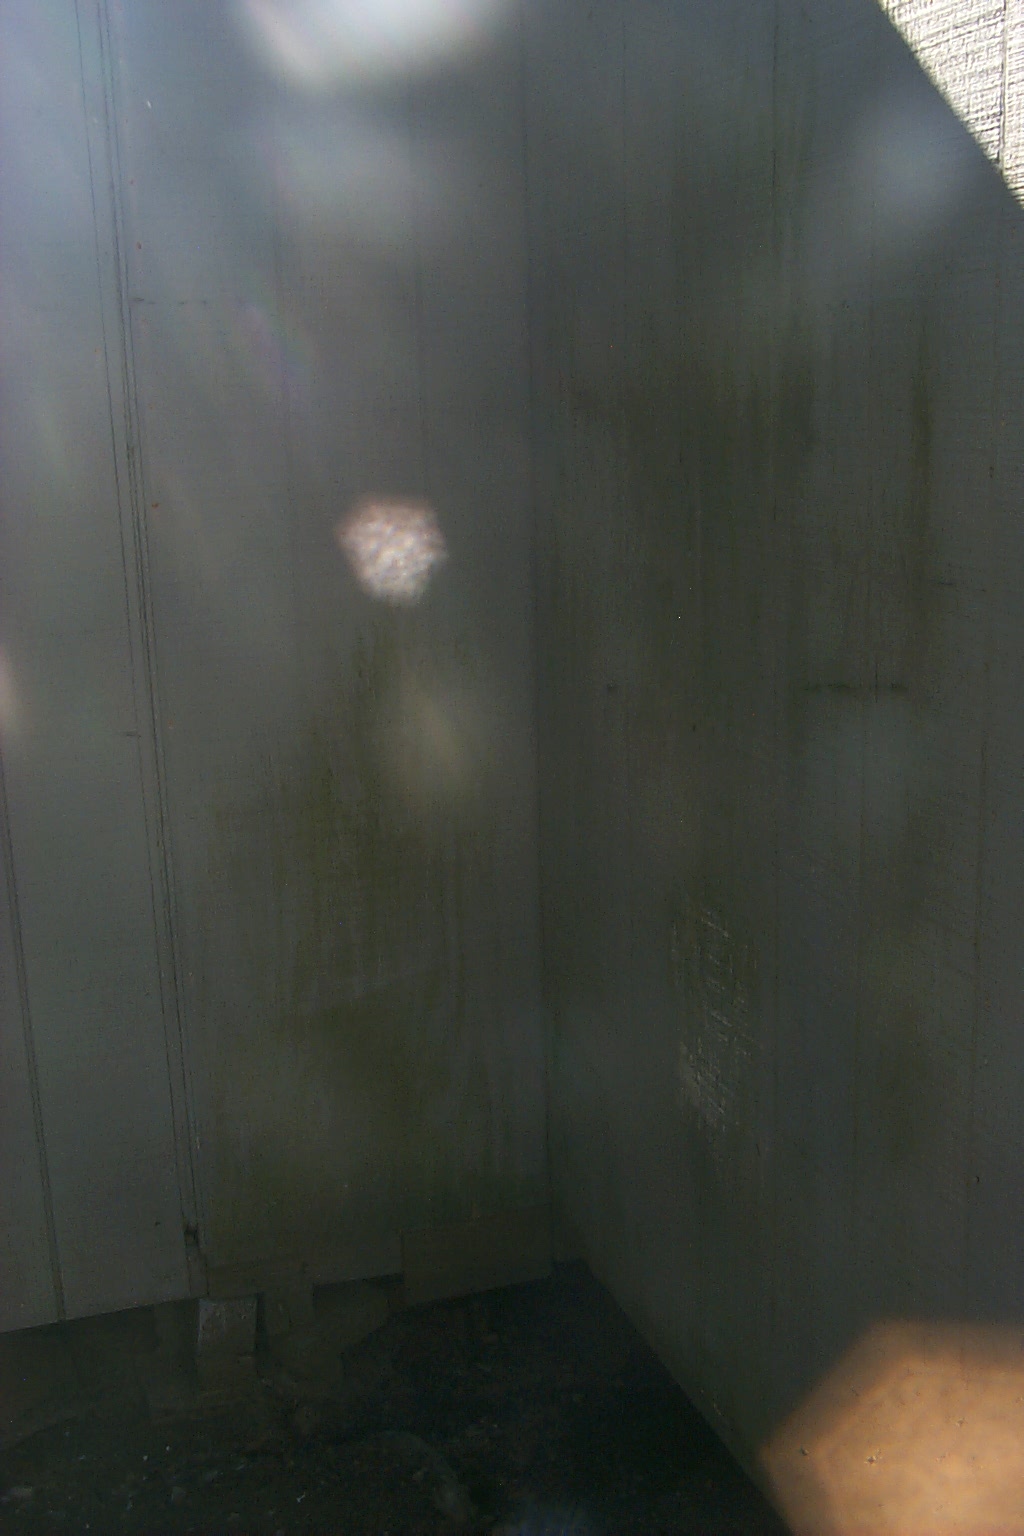
And here are a few after photos when I rinsed off the cleaner...
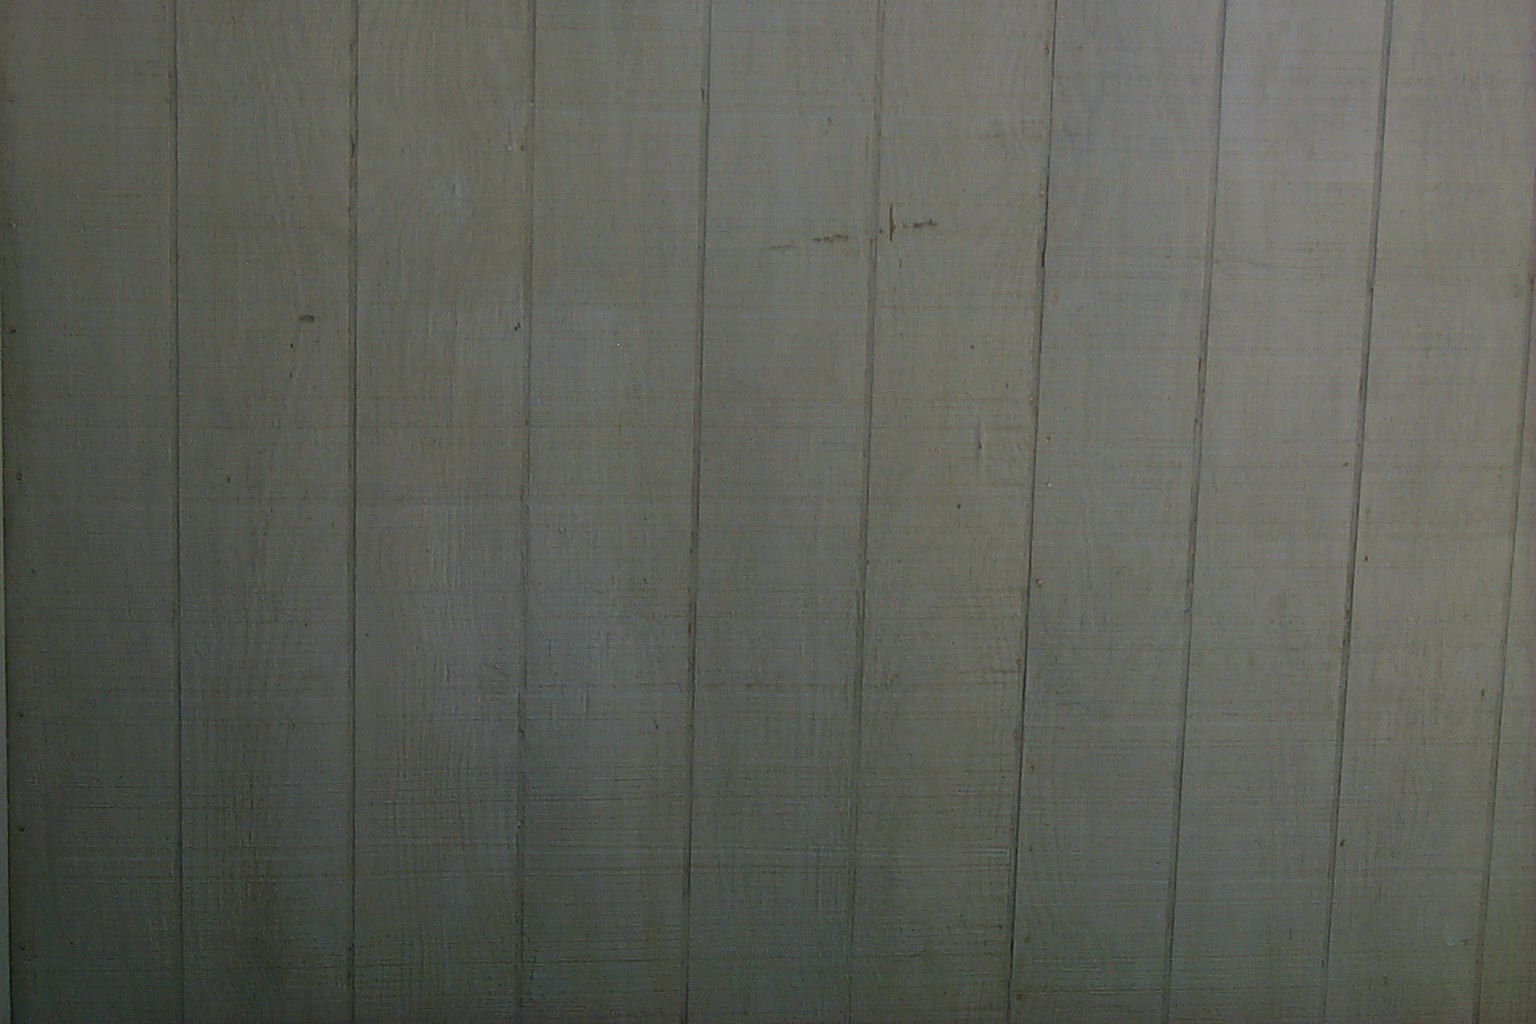


(click on images to enlarge)
Friday Morning September 10th
Dad and I painted the repeater shed...
With all the years of mold and mildew washed off the repeater shed was ready for paint. Dad and I spent the day applying two coats of an outdoor oil based wood stain to the two sides of the sheds that face the repeater tower.
It looks so nice now that I want to wash and paint the all the rest of the shed too!
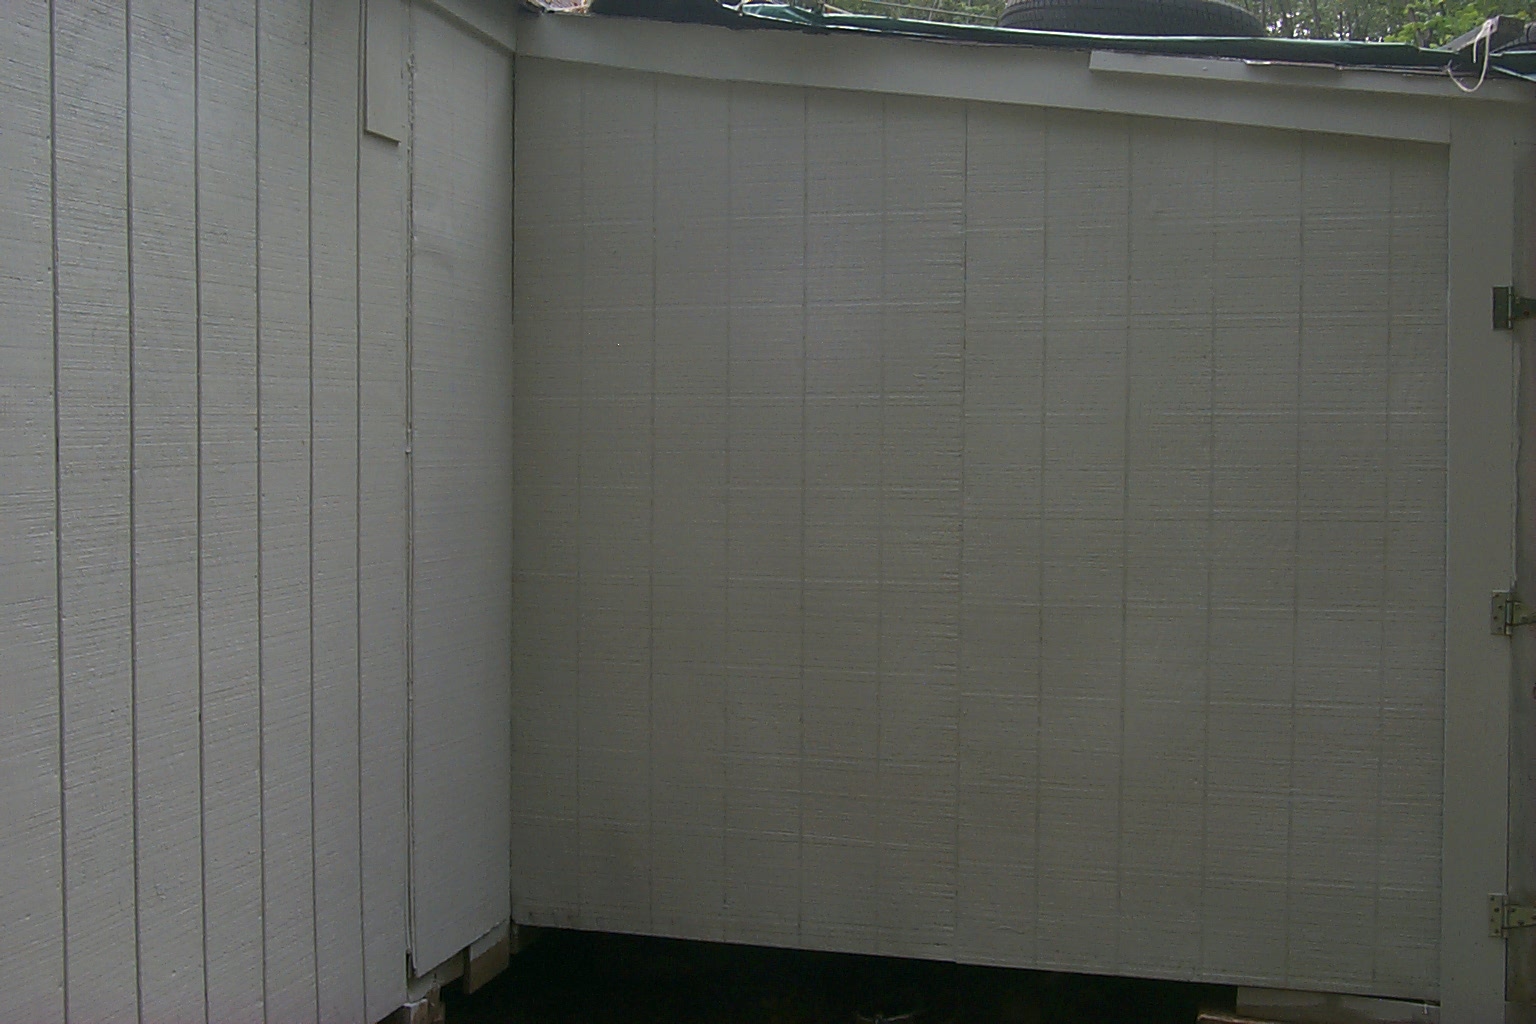
(click on images to enlarge)
The phosphorous acid has worked it's magic on the concrete base soaking up or burning off all of the oil, grease, and rust deposits. If the weather holds up I will paint the tower base tomorrow with the special sealing paint.
(click on images to enlarge)
Saturday Morning September 11th
The concrete base gets one last cleaning and paint...
The phosphorous acid did a wonderful job cleaning off all the grease, oil, and rust that had accumulated on the concrete base. I spend about a hour in the morning dry scrubbing with a stiff bristle brush to removed the remaining dried deposits of phosphorous acid, loose debris from the concrete, and dirt.
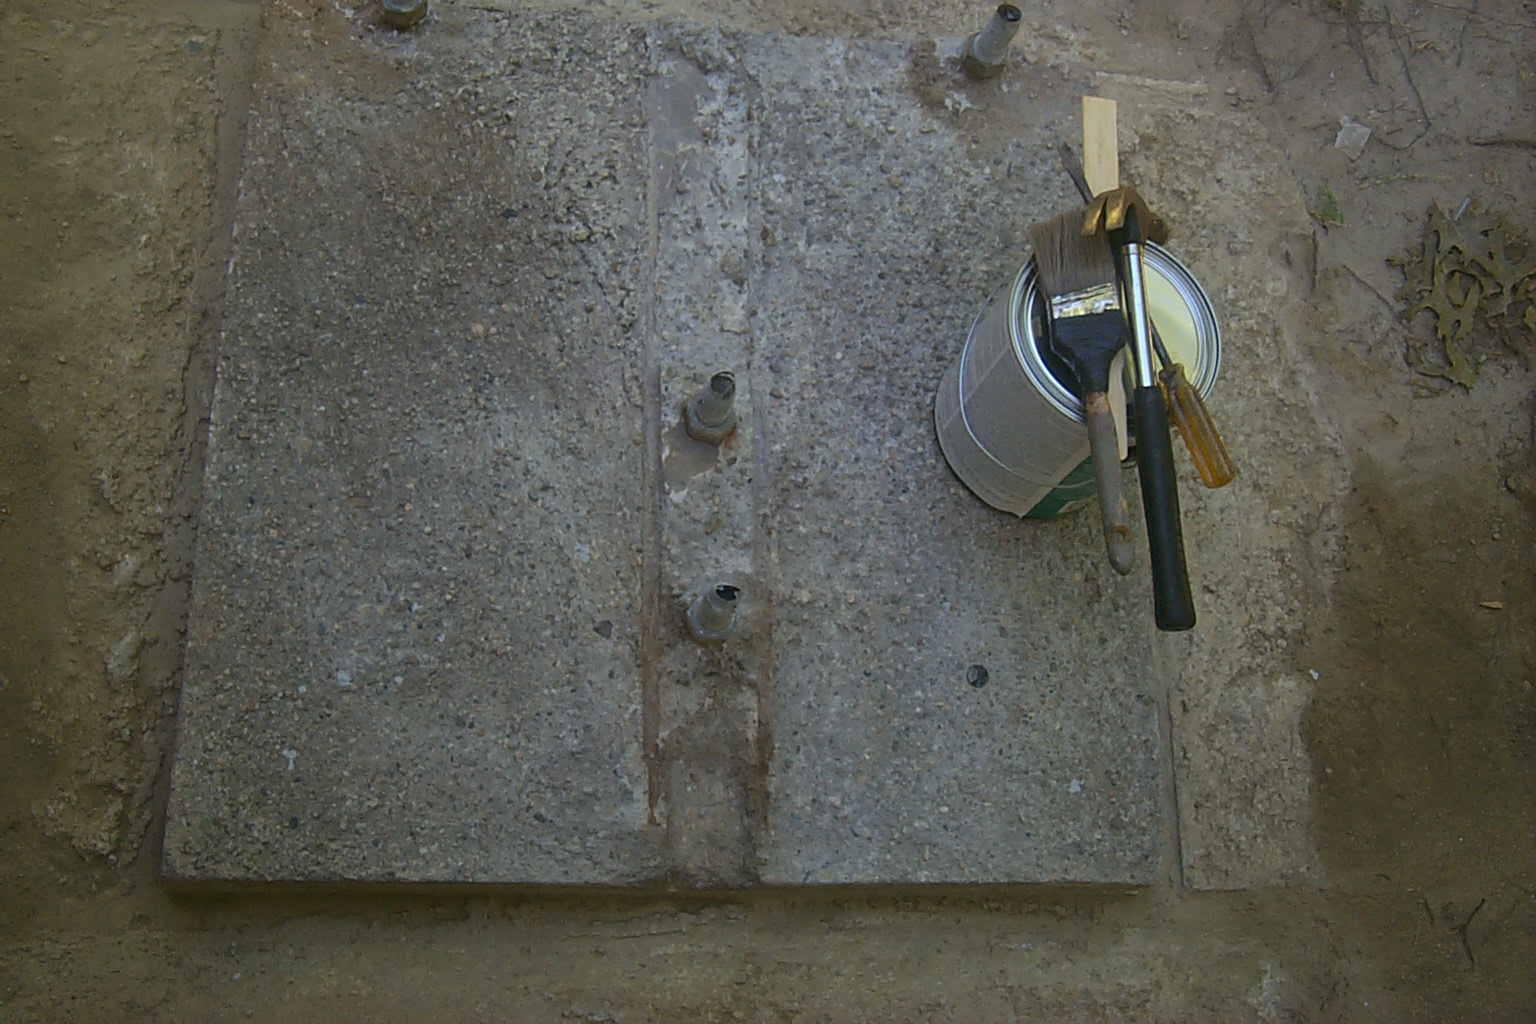
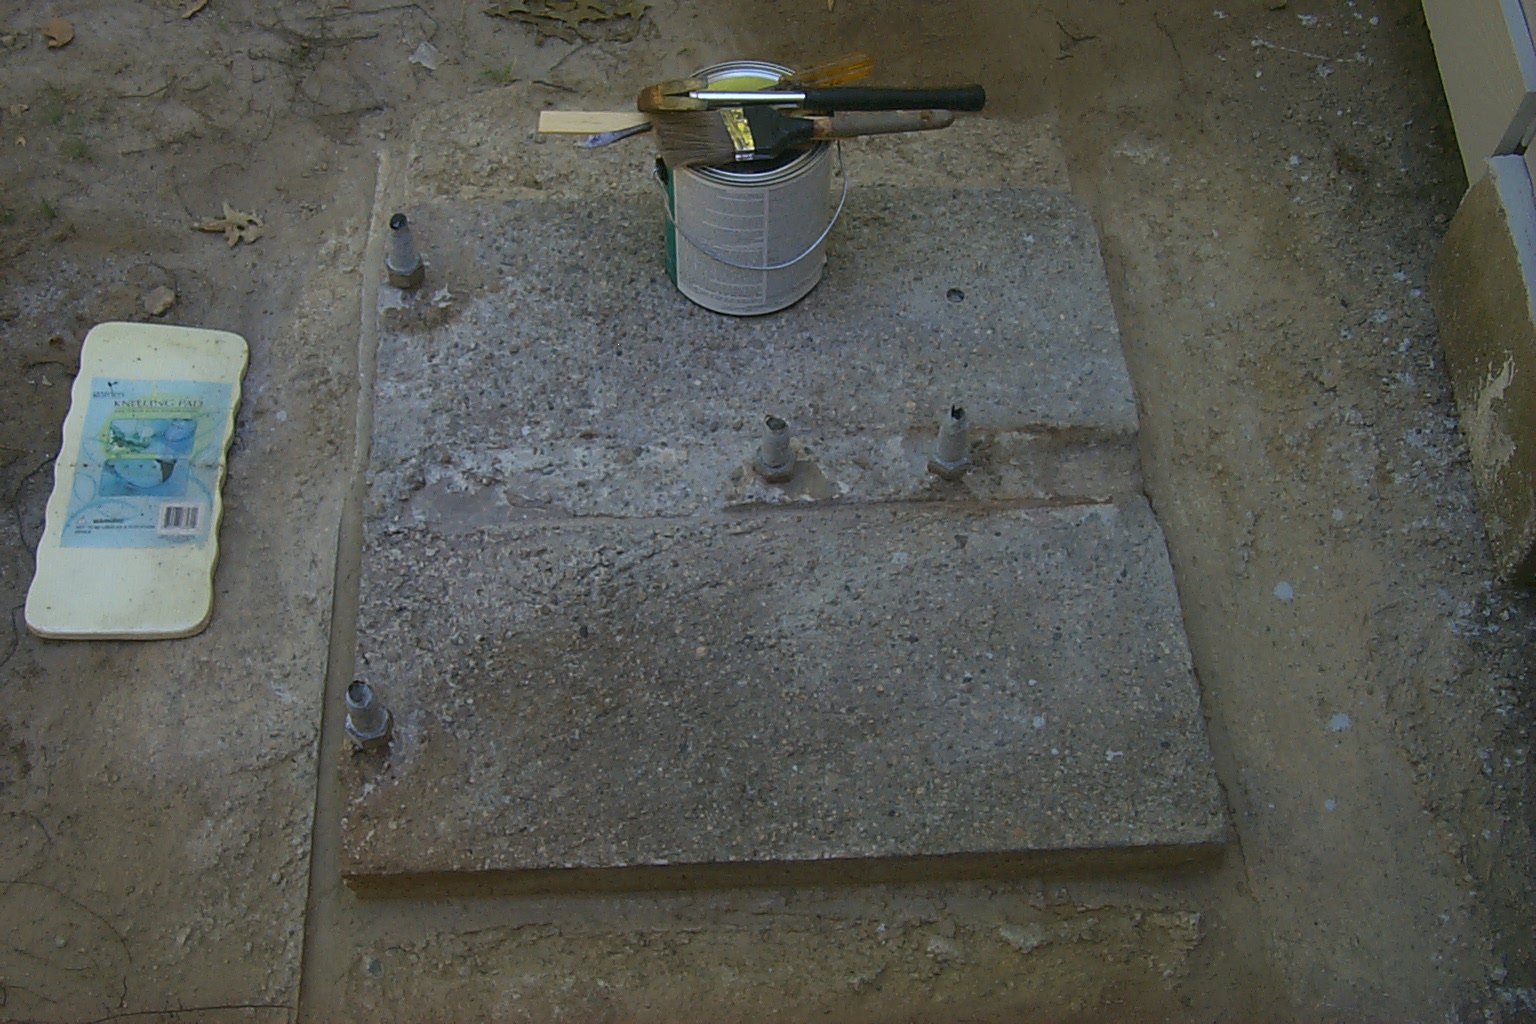
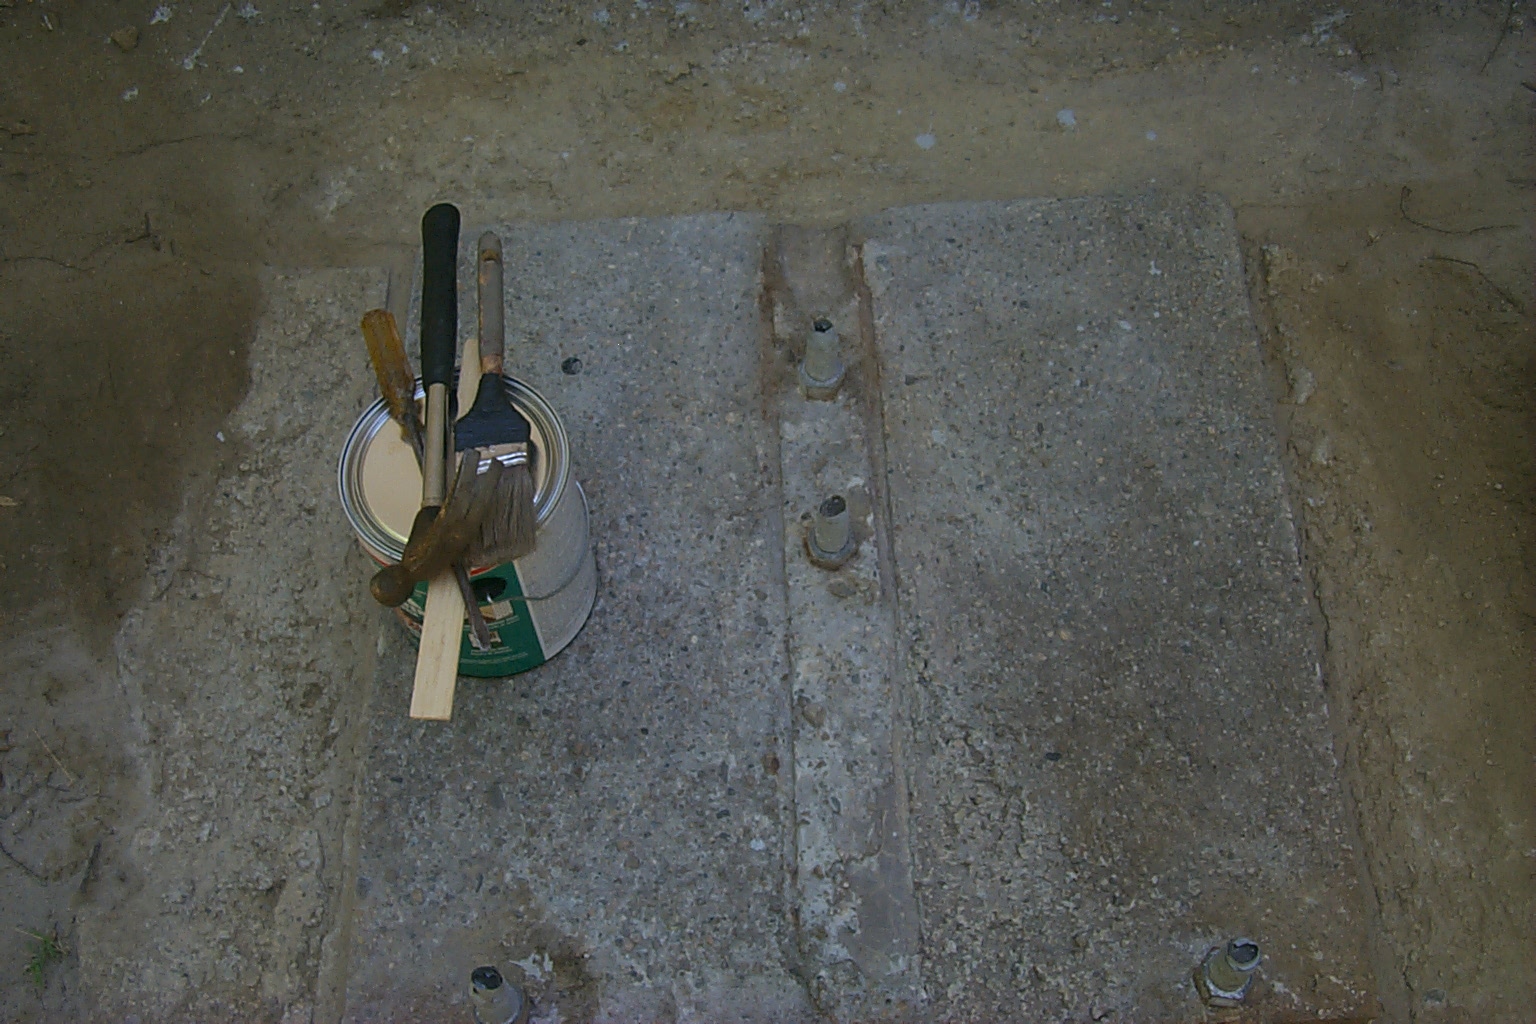

(click on images to enlarge)
Once I was satisfied that I could not get the base any cleaner I mixed up the latex concrete sealer and started to brush it onto the base. The gray cement sealer had a thick rubbery texture and spread over the concrete base very well filling in the uneven surface of the base.
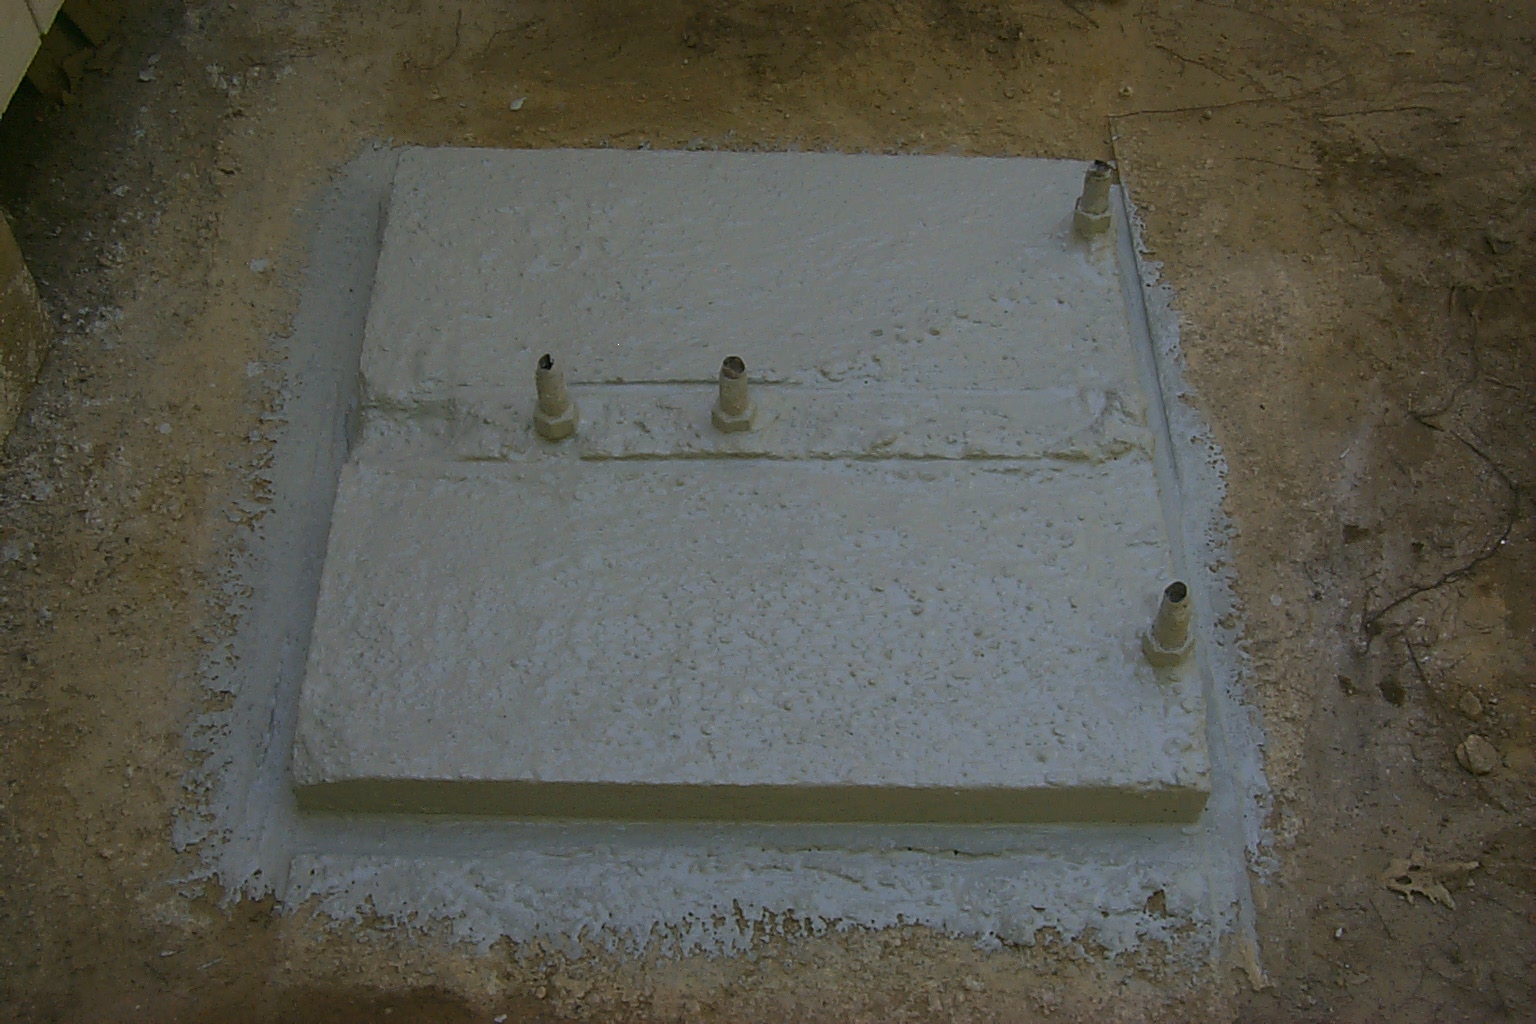
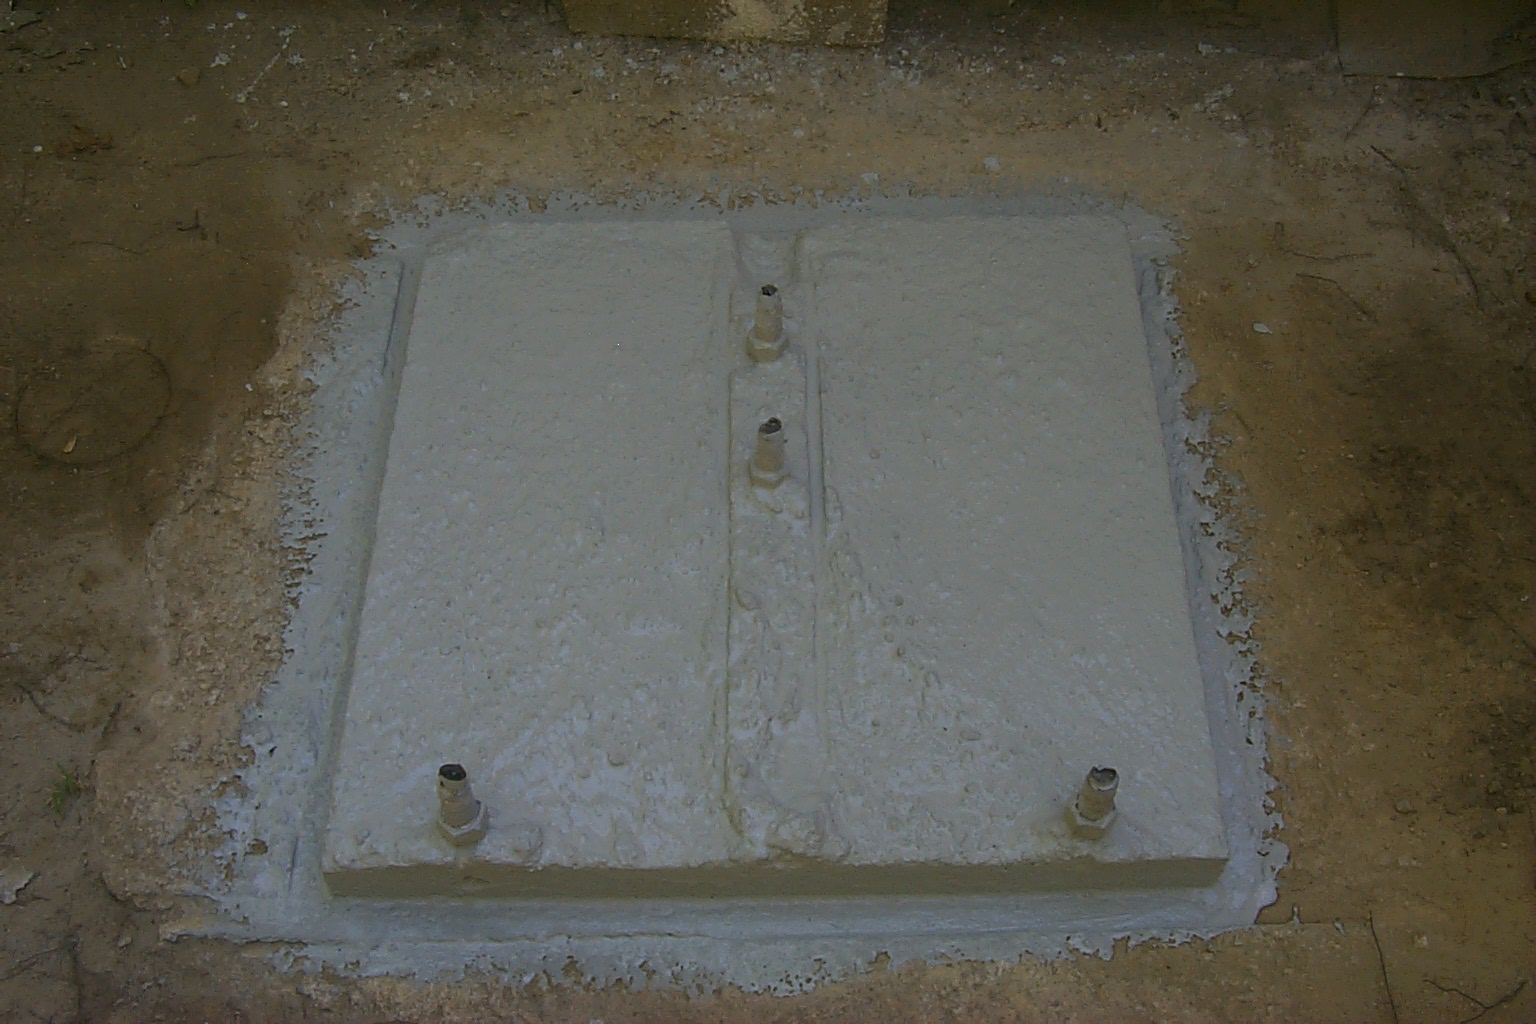
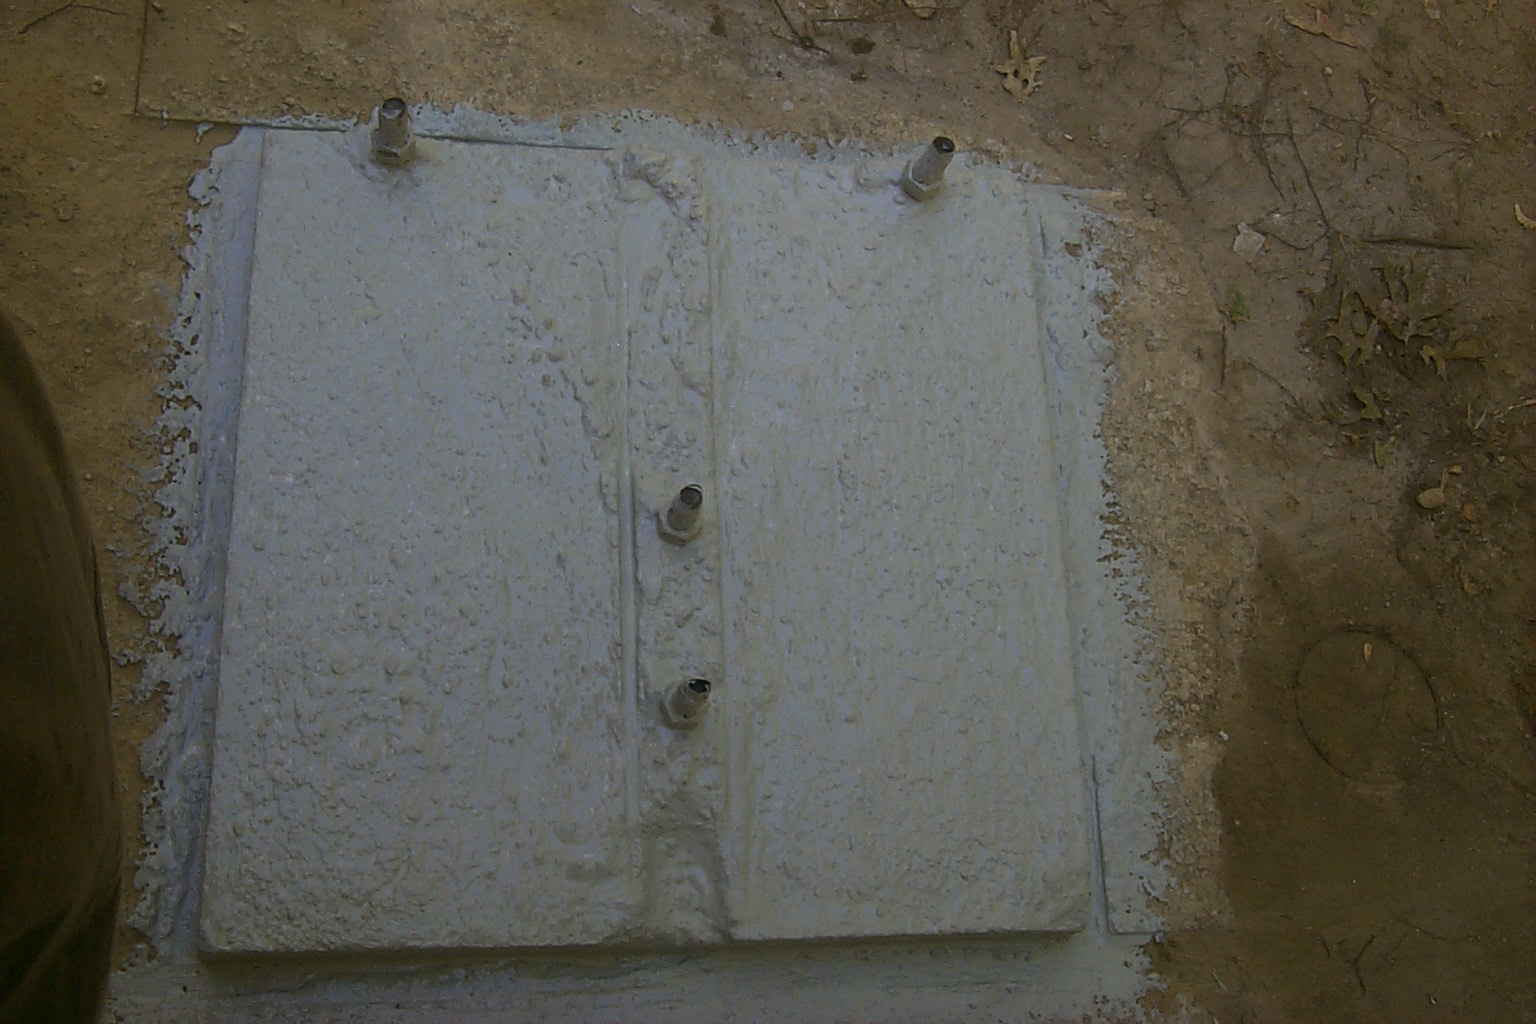

(click on images to enlarge)
I am not sure if the base will need a second coat of the latex sealer, I am going to let it dry over night and check the coverage tomorrow morning to see how the first coat has turned out.
Wednesday Afternoon September 15th
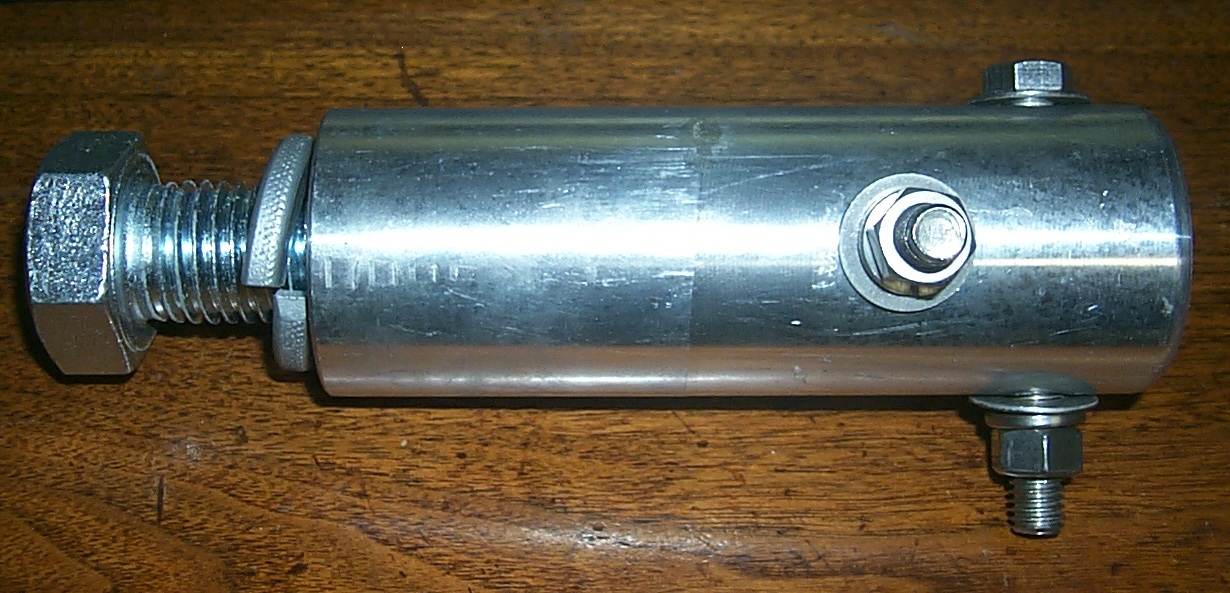
The new mounting stubs from Heights Towers have arrived!
The hefty new aluminum mounting stubs from Heights Towers were delivered this afternoon and I am as giddy as an eight year old school girl that was just given her first pink tutu!

(click on image to enlarge)
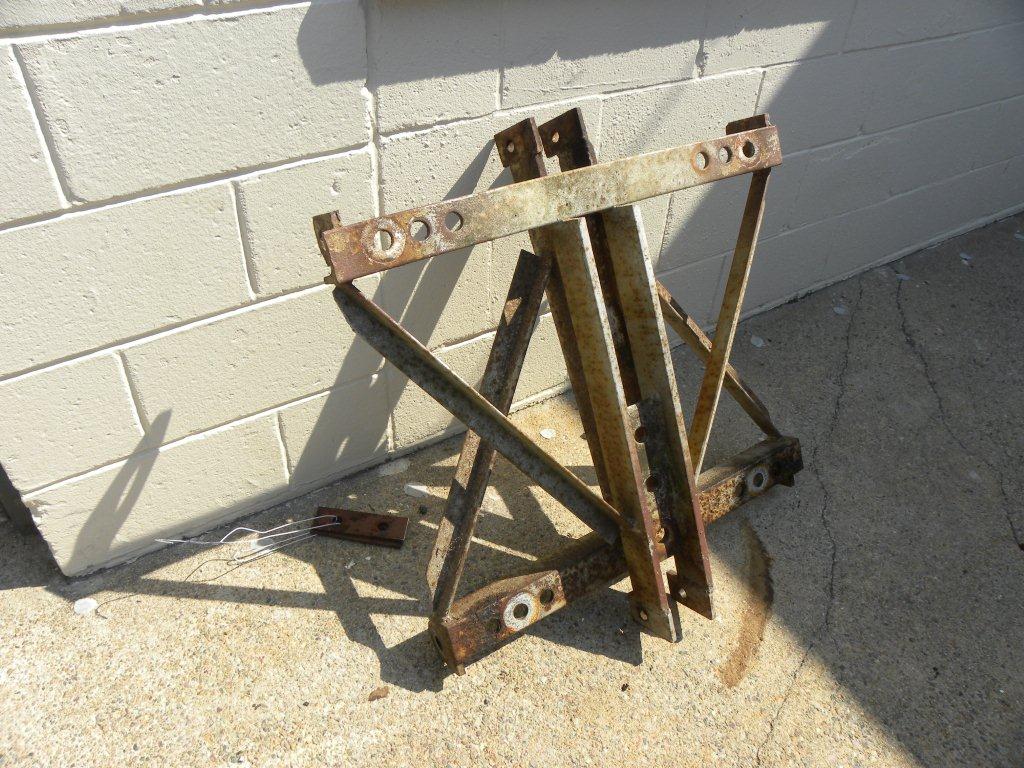
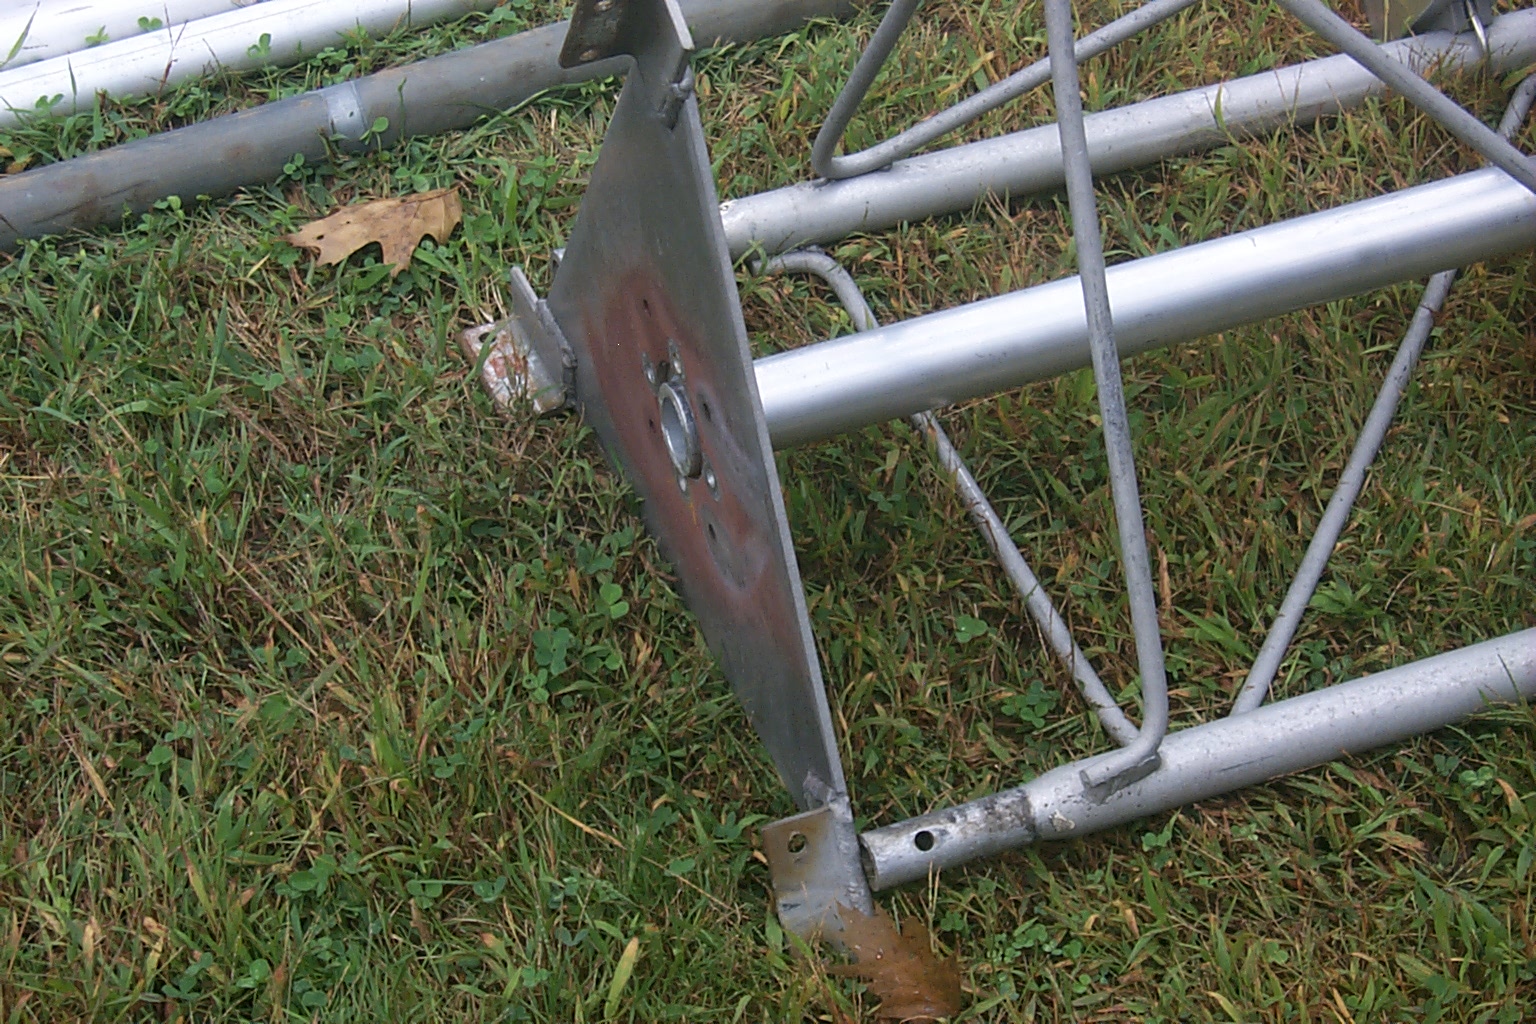
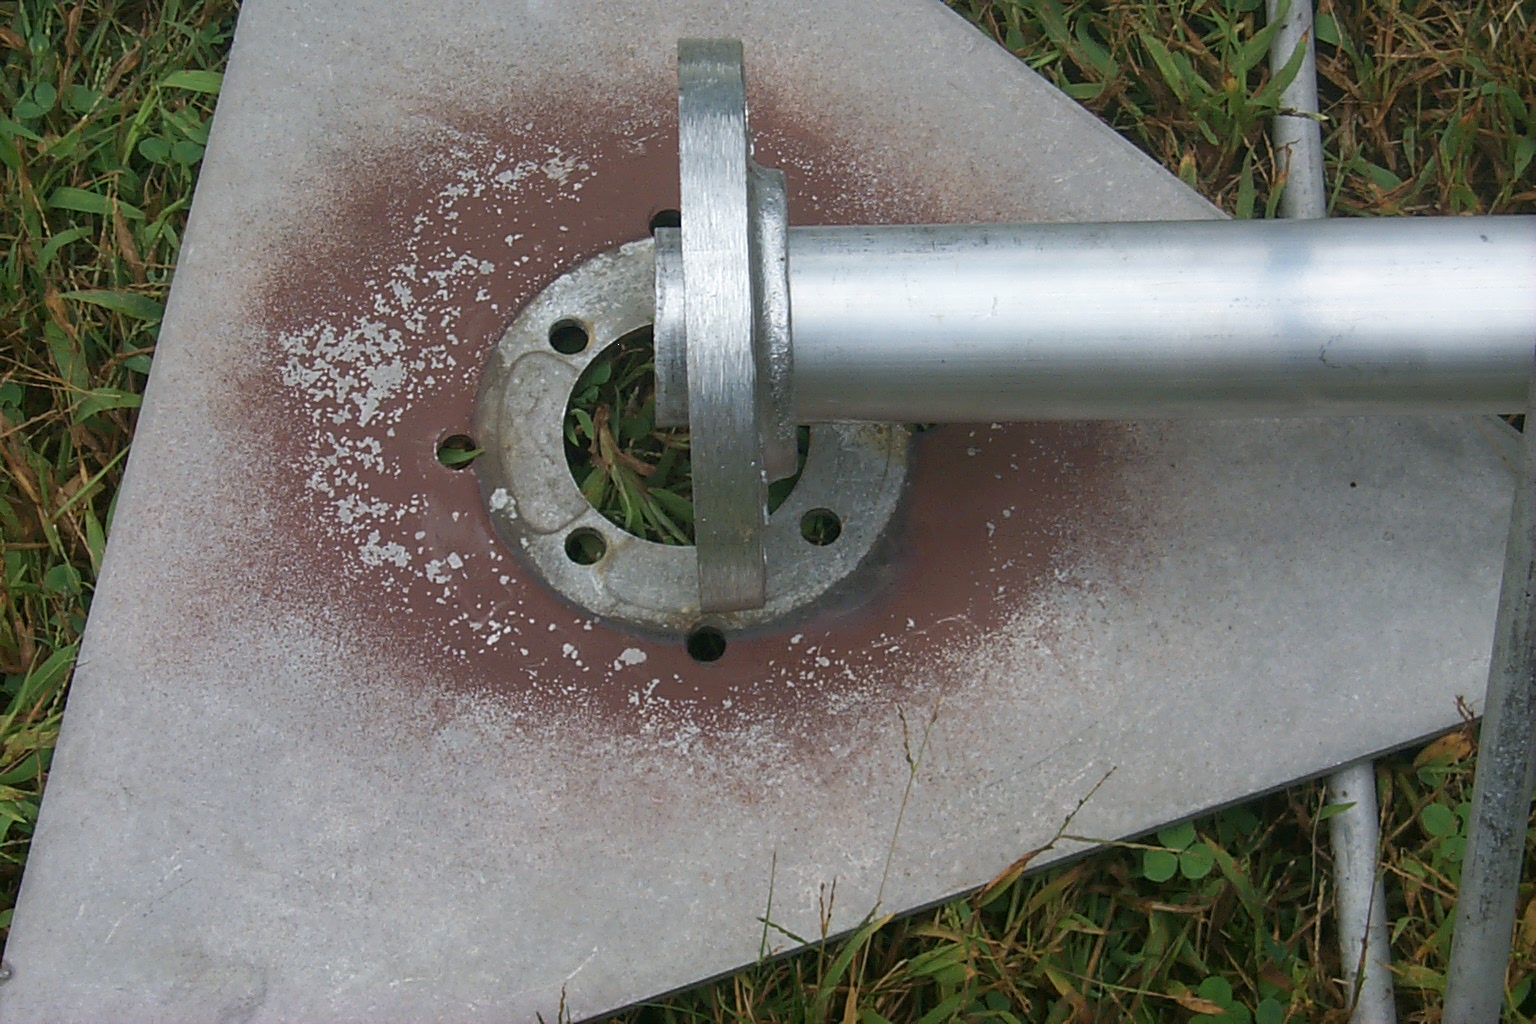
As described earlier in this epic story back in 1992 when I purchased this tower we did not have any mounting stubs and my friend Syl N1DKF was able to have some home made stubs fabricated at his shop in Cranston. Those are the steel mounts that had rusted out shown over and over on this webpage.
This group of photos below show the new mounting stubs that I purchased from my towers manufacture "Heights Towers" and I can not wait to get them installed.
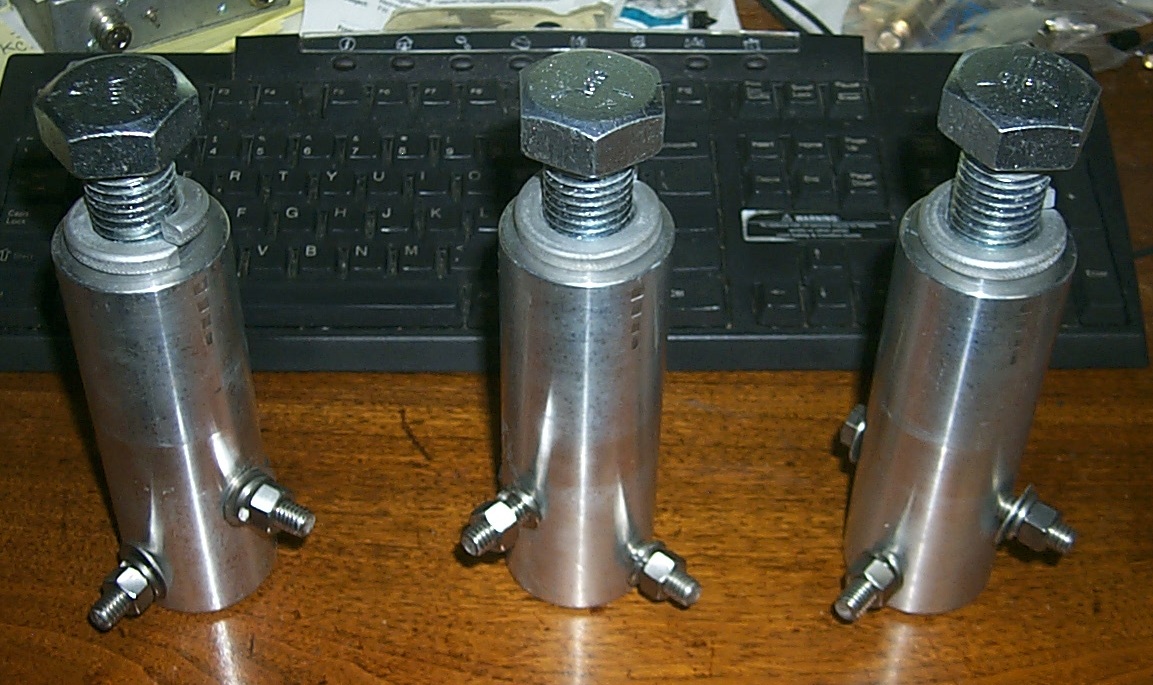


(click on images to enlarge)
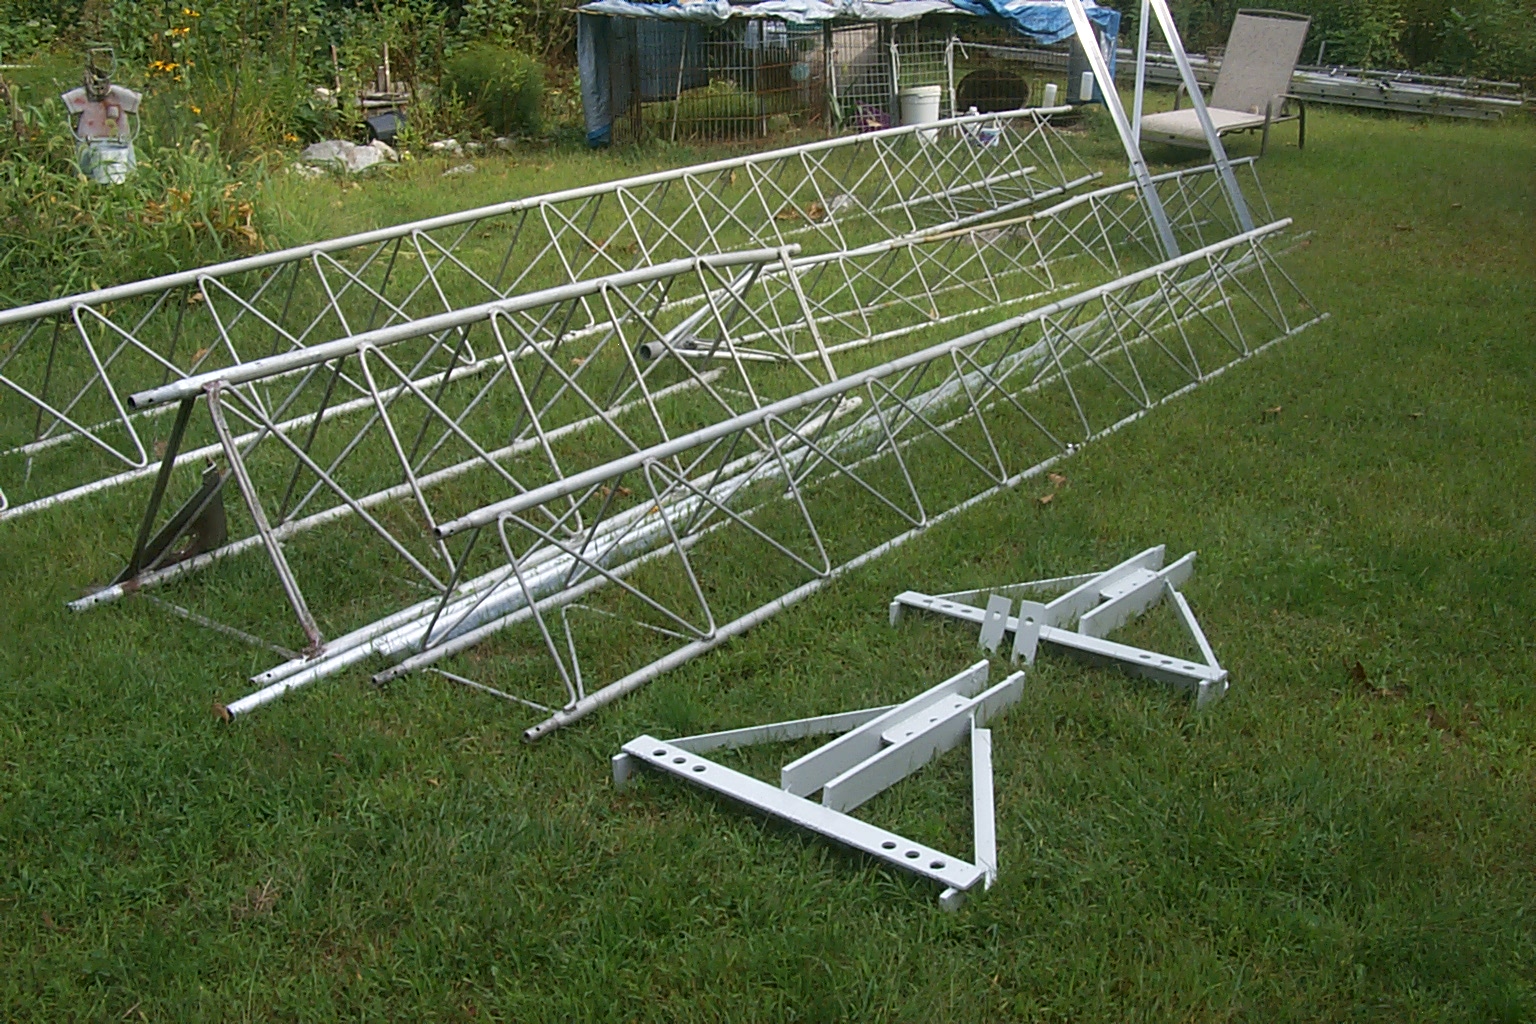
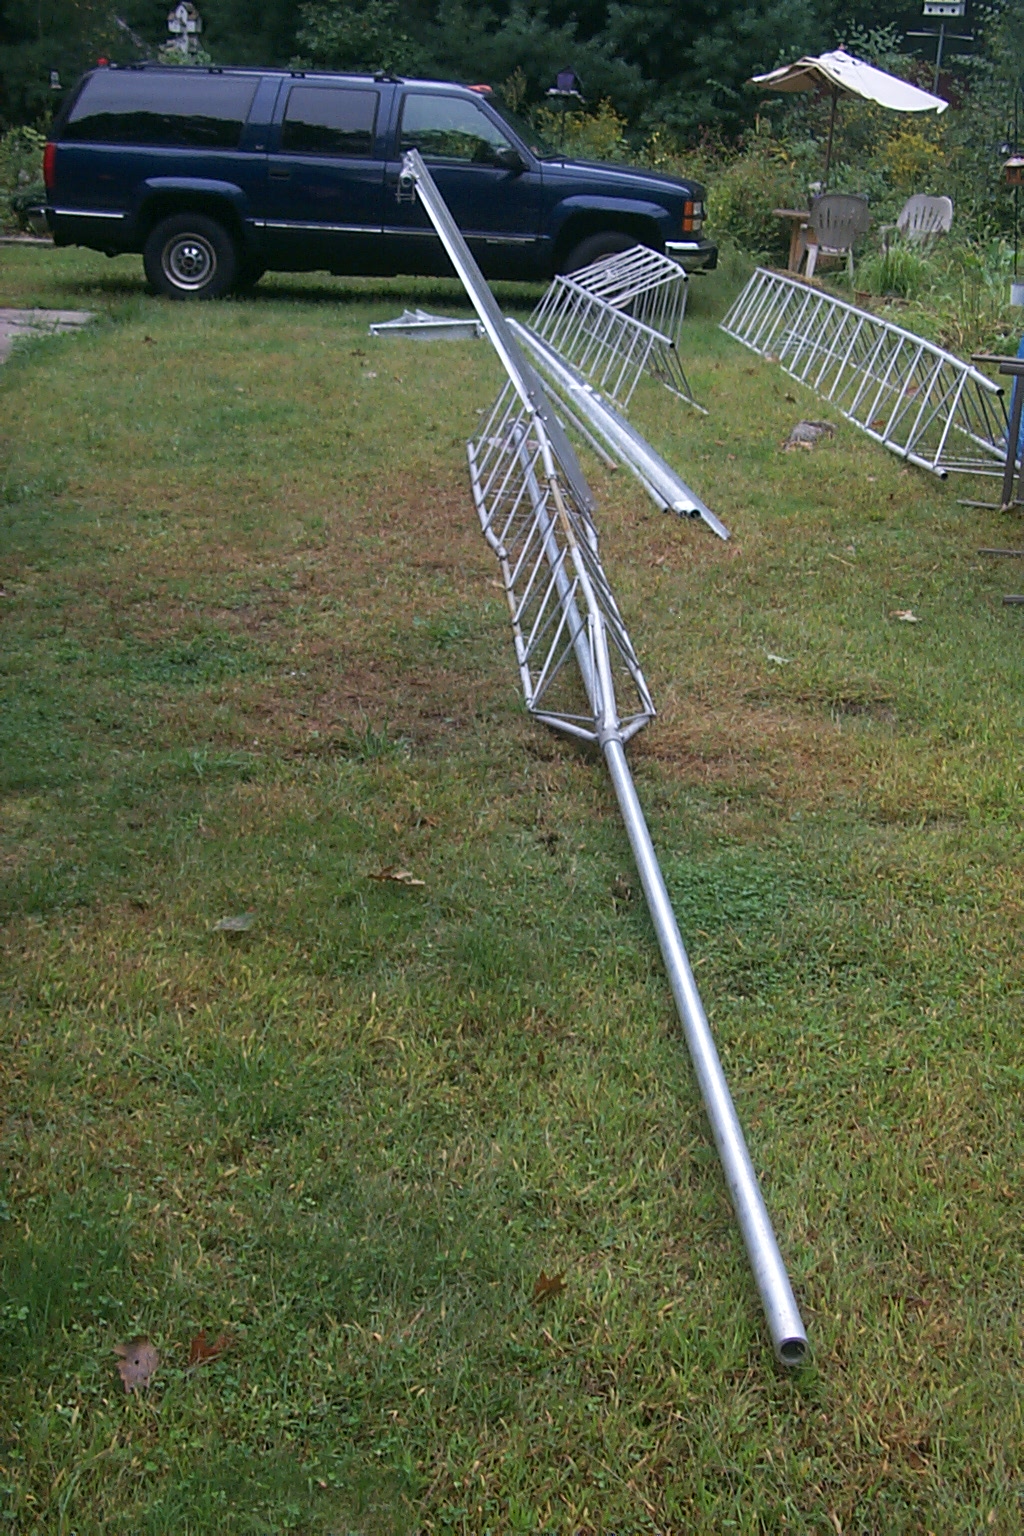
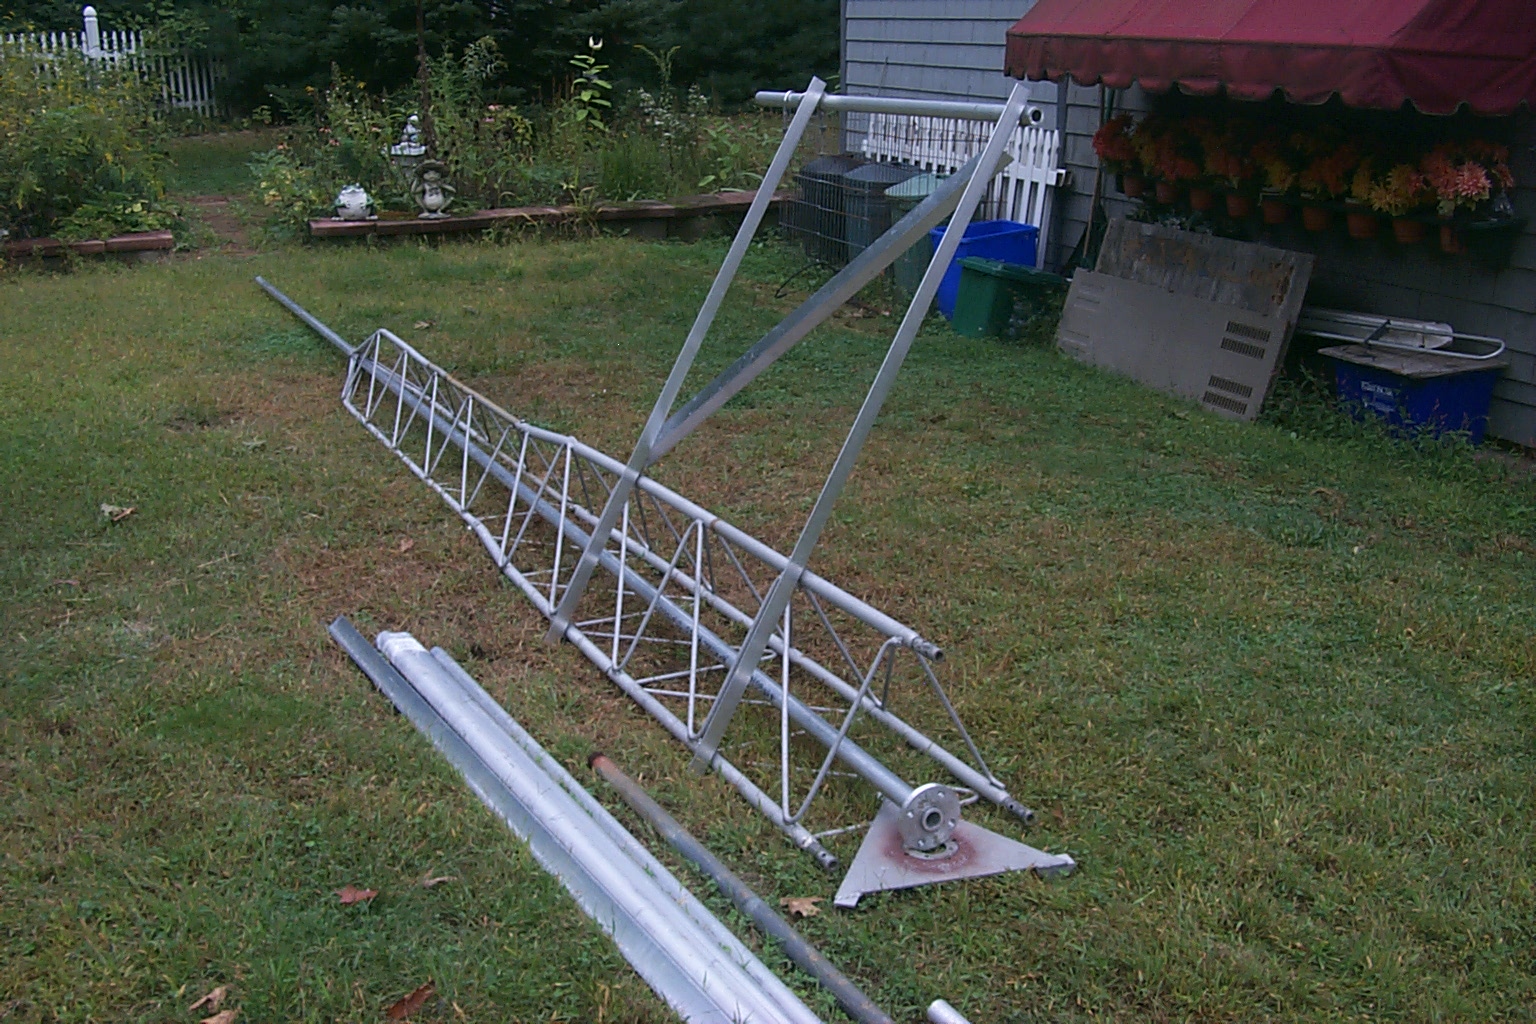
The "done" pile in the back yard is getting bigger and bigger, then next big mile stone will be getting the remaining trees that are still in the way cut down so we can start reassembling the tower on the concrete base.
Friday Afternoon September 17th
I have cut this damn pipe three times and it is STILL too SHORT!
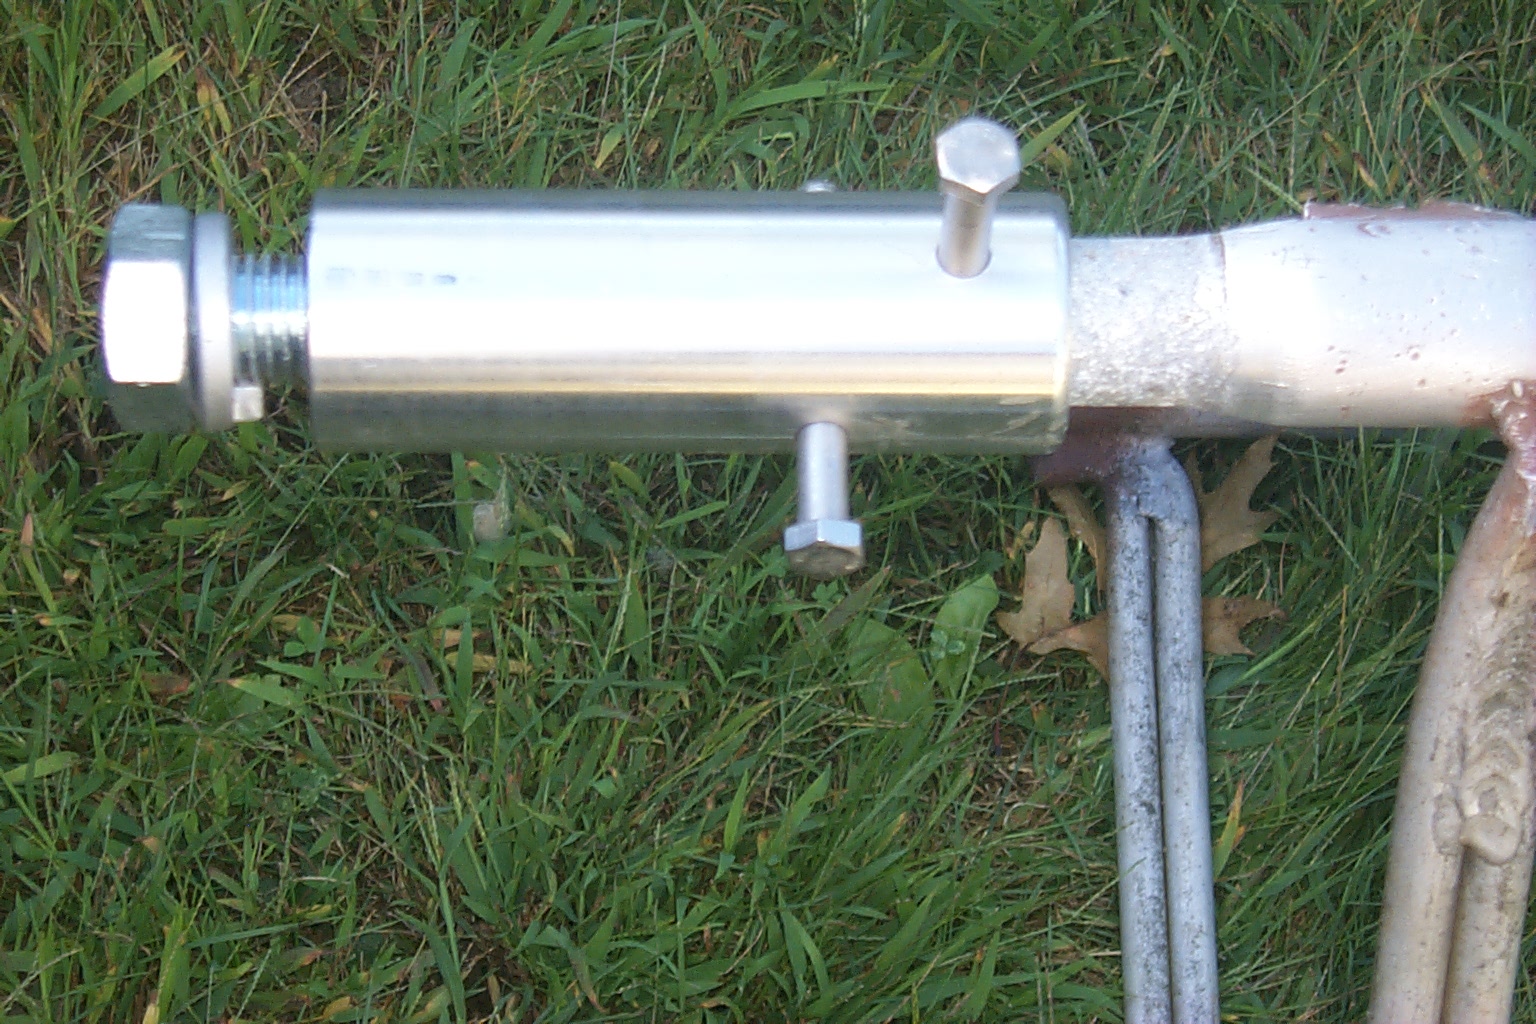
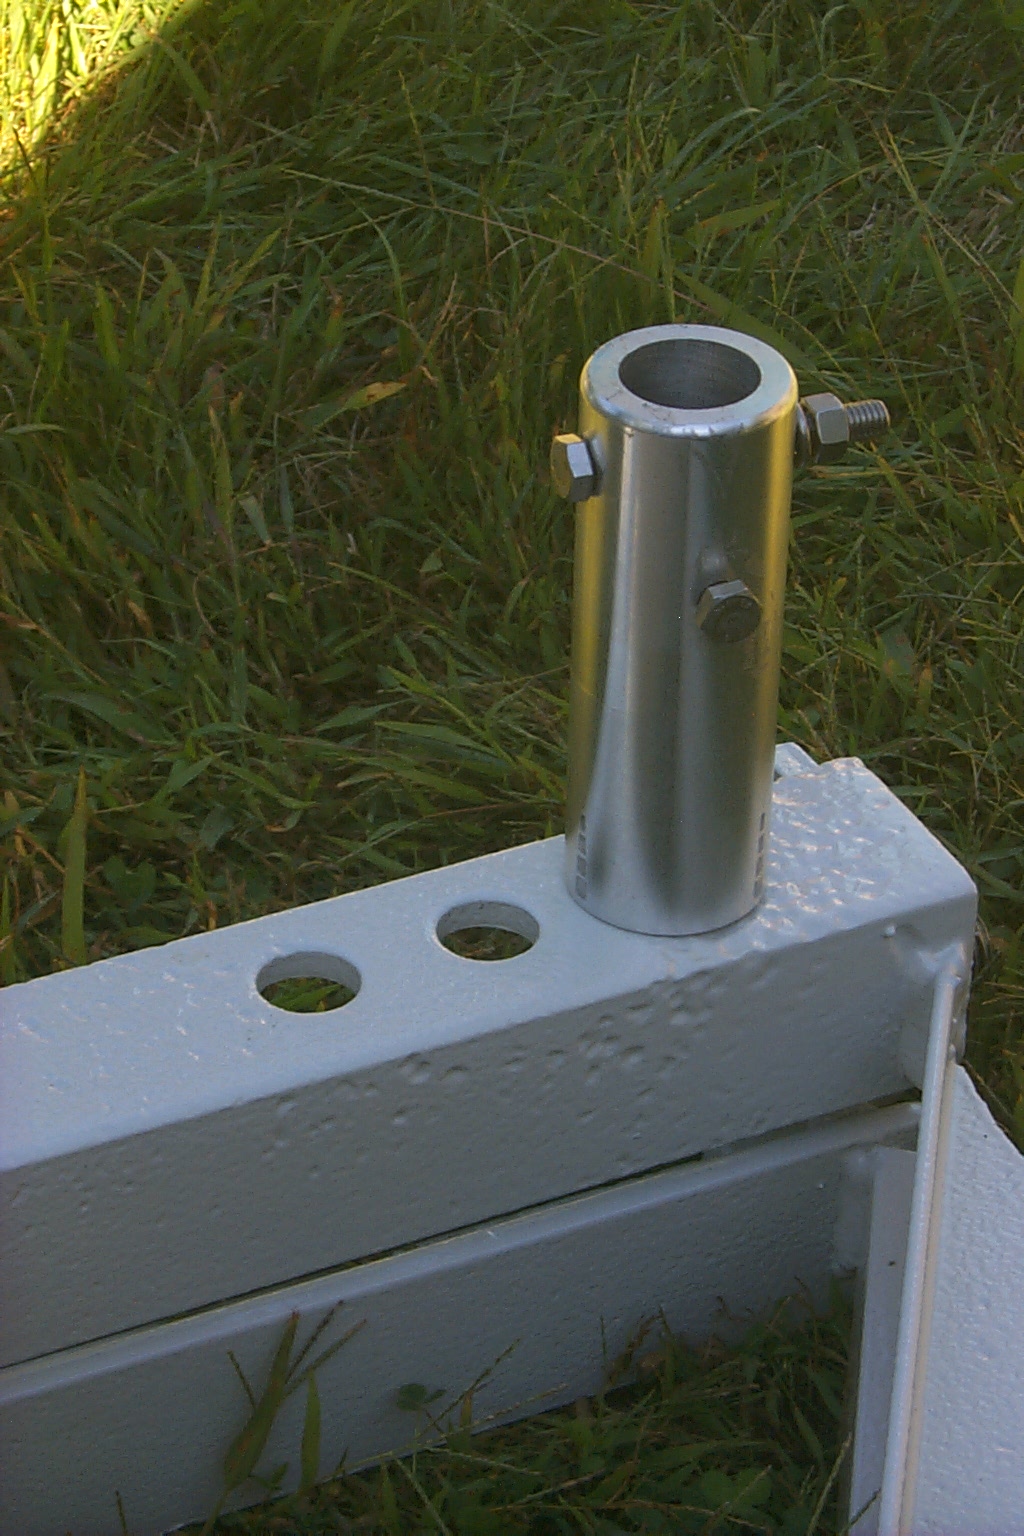
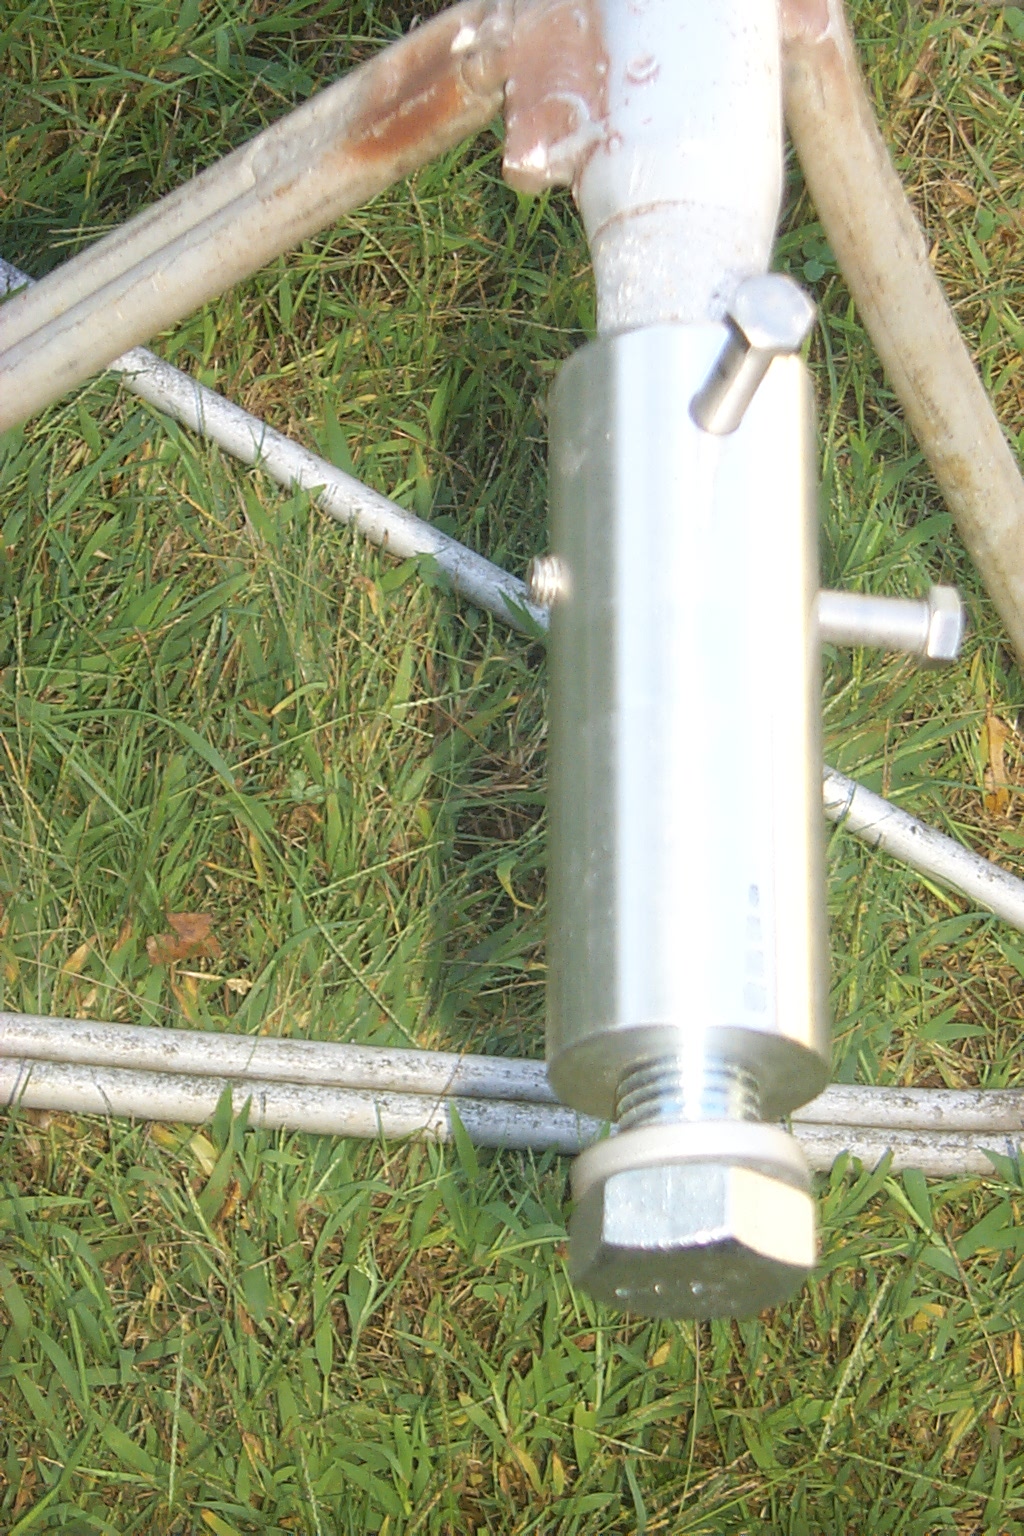
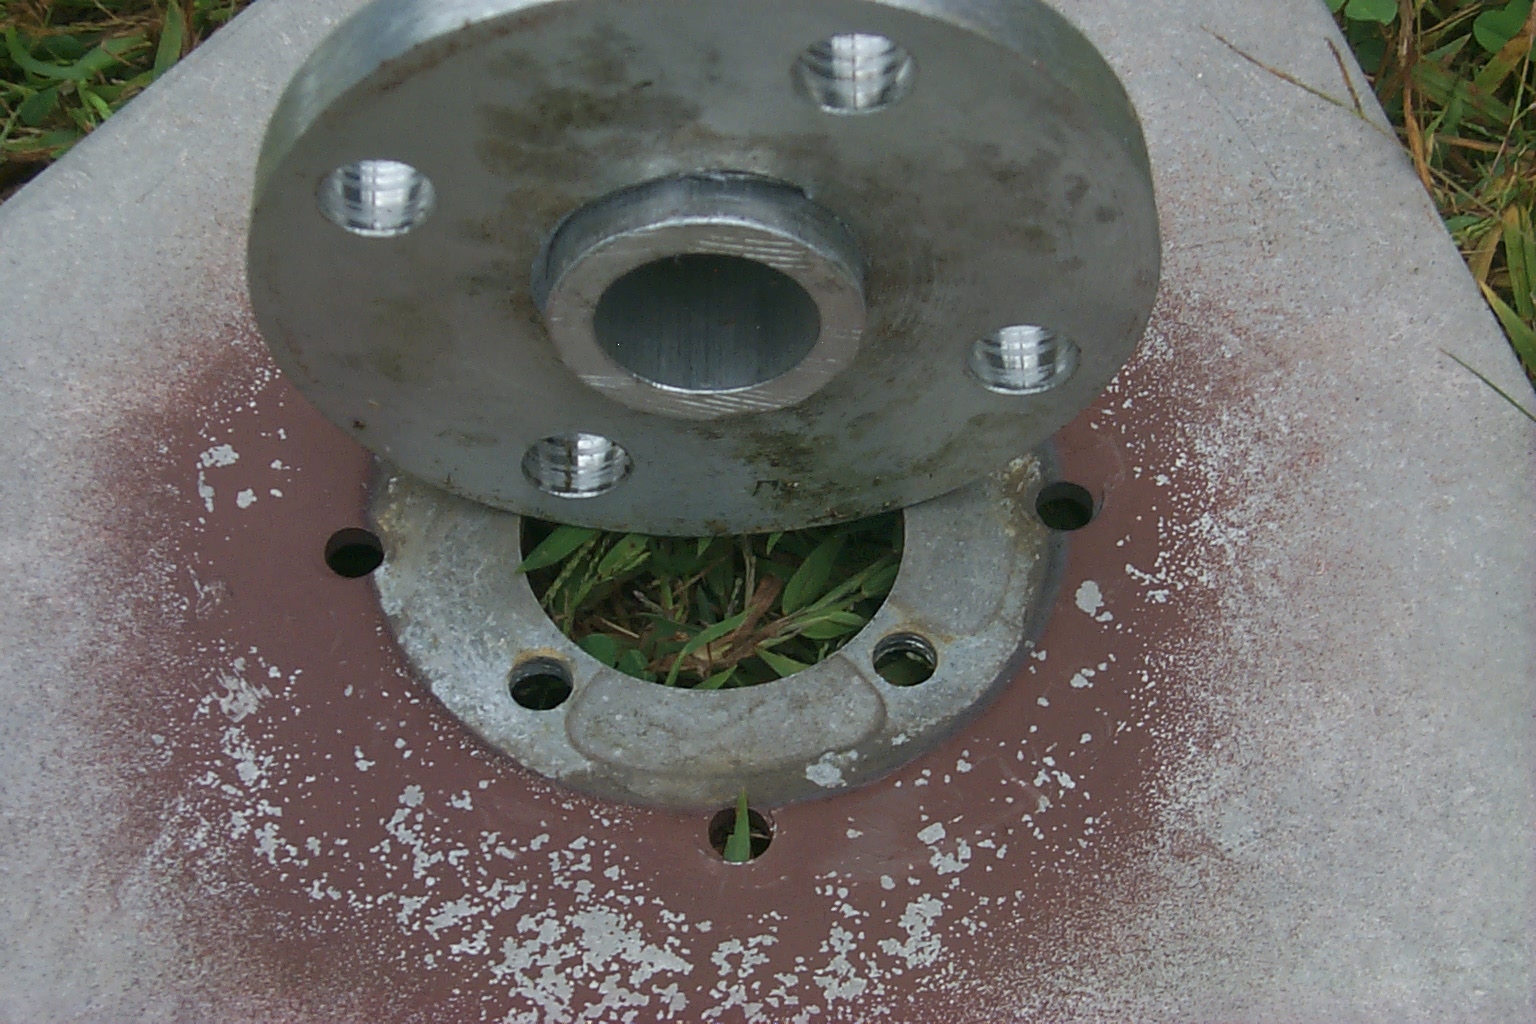
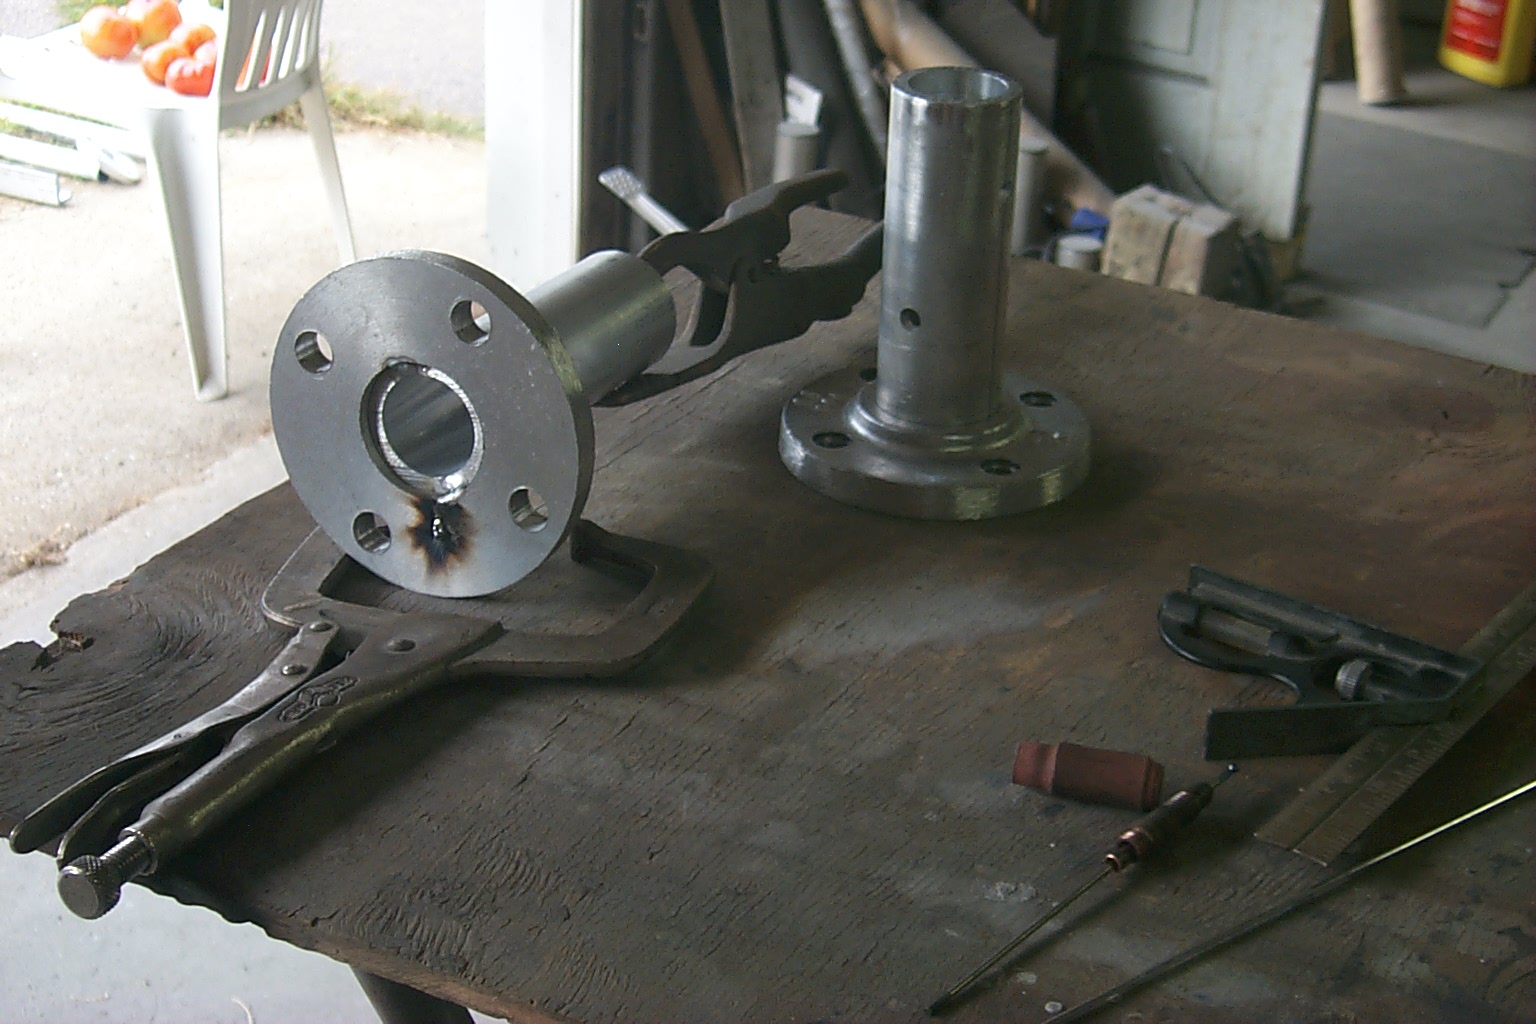
Each day as more parts for this project arrive I have started doing some initial assembly to see how all the new pieces will fit together. I ordered a new aluminum flange adaptor that needs to be welded onto the new 24 foot long section of pipe being used as the main mast.
I had been planning on using a 24 foot long section of 1 1/2 inch 6061-T6 aluminum tube however when the 1 1/2 inch aluminum flange adaptor arrived I realized it was much to big to for the section of mast that I had. When I did a test fit of the mast inside the tower it was also much too small with a 1/4 of an inch of play in the top section of tower.
I placed another call to Peirce Aluminum and ordered another new 24 foot long piece of 6016-T6 aluminum tubing that had an outside diameter of 1 3/4 inches. This section of pipe fits perfectly in the top section of tower and mates correctly with the flange adaptor.
Jon KB1SEY and Bruce KD1BE did an emergency metal fabrication run to Jon's shop and machined several of the new aluminum pieces to get them ready for welding. They arrived in the late morning to see the tower, inspect the parts that needed modification, and took everything back to John's shop. A few hours later there was a knock at the door as the boys returned all the parts cut, drilled, reamed, and ready for welding!


(click on images to enlarge)
Now I just need to get all these parts welded and have the one damaged section of tower repaired.

(click on images to enlarge)
Saturday Morning September 18th
Time for some welding with my Brother-in-Law, Scott...
Over the years Sandy's younger brother Scott has helped me out with a lot of metal fabrication, repairs, and welding. This project is no exception as we dragged a truck full of aluminum over to Scott's shop to have some welding done.
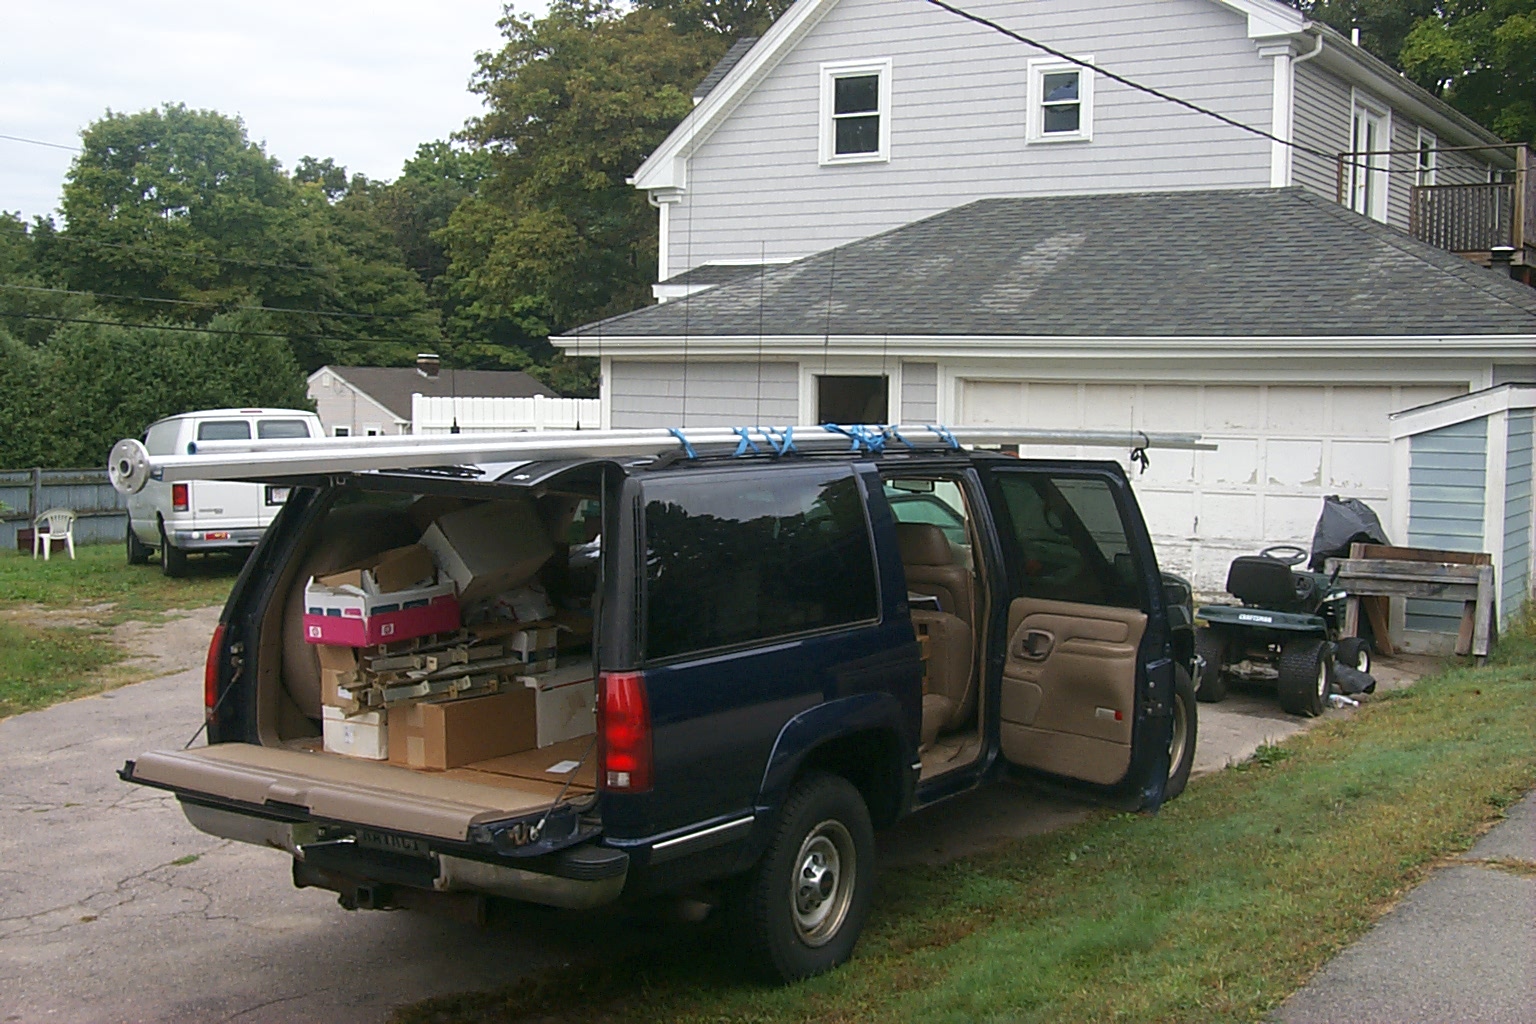
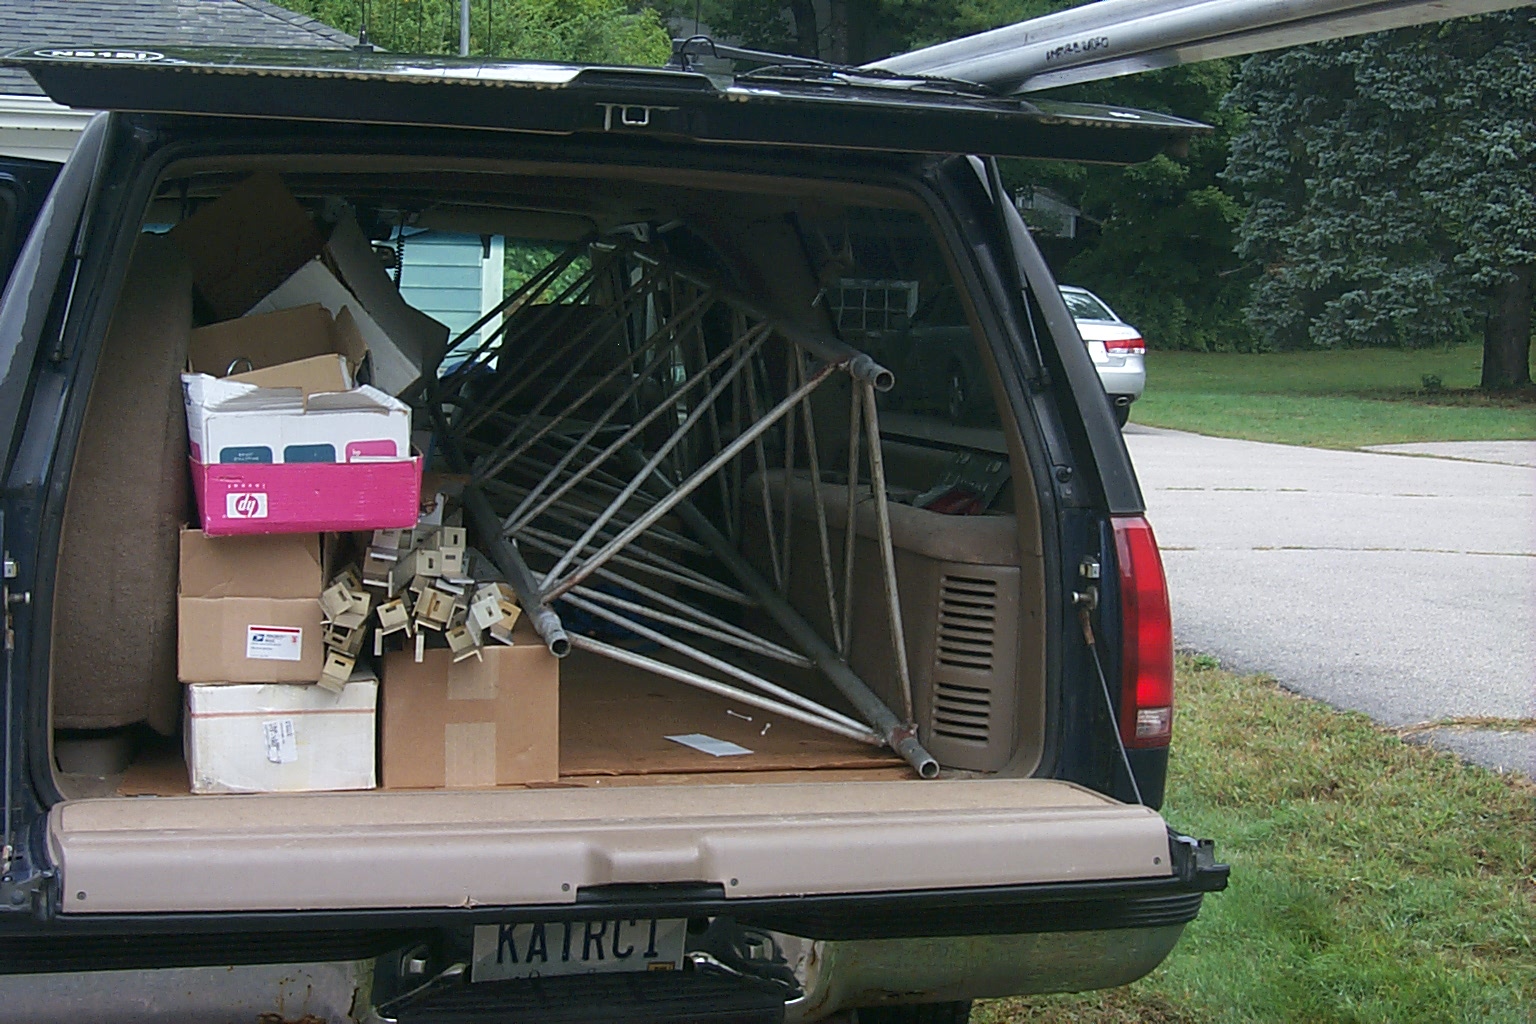
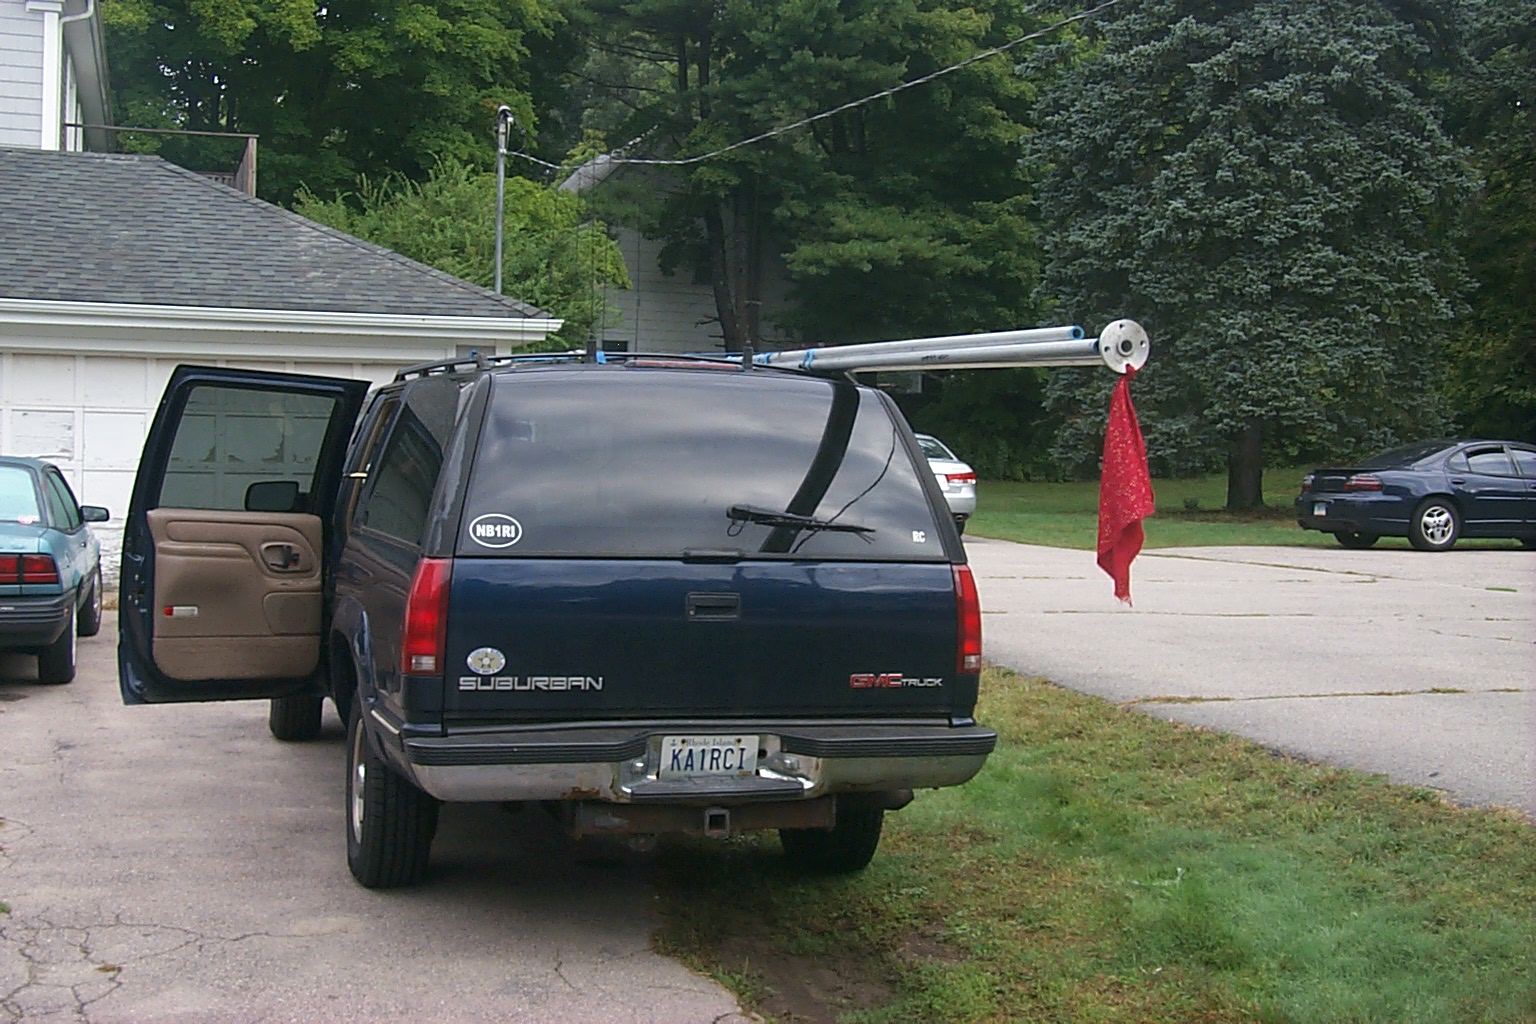
(click on images to enlarge)
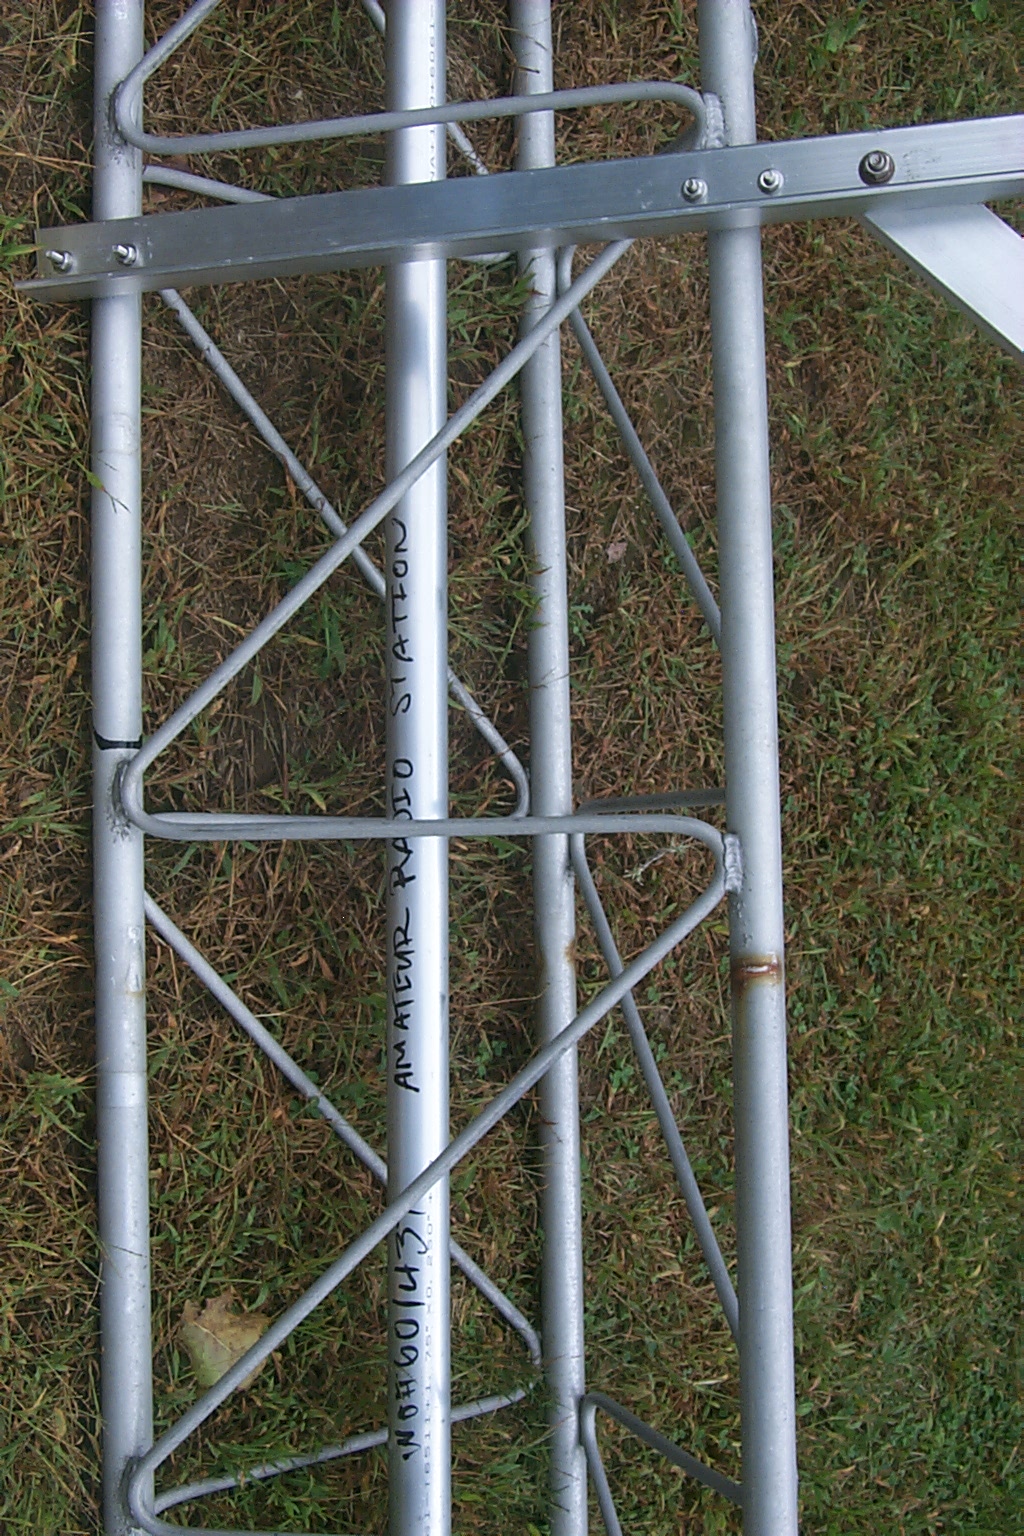
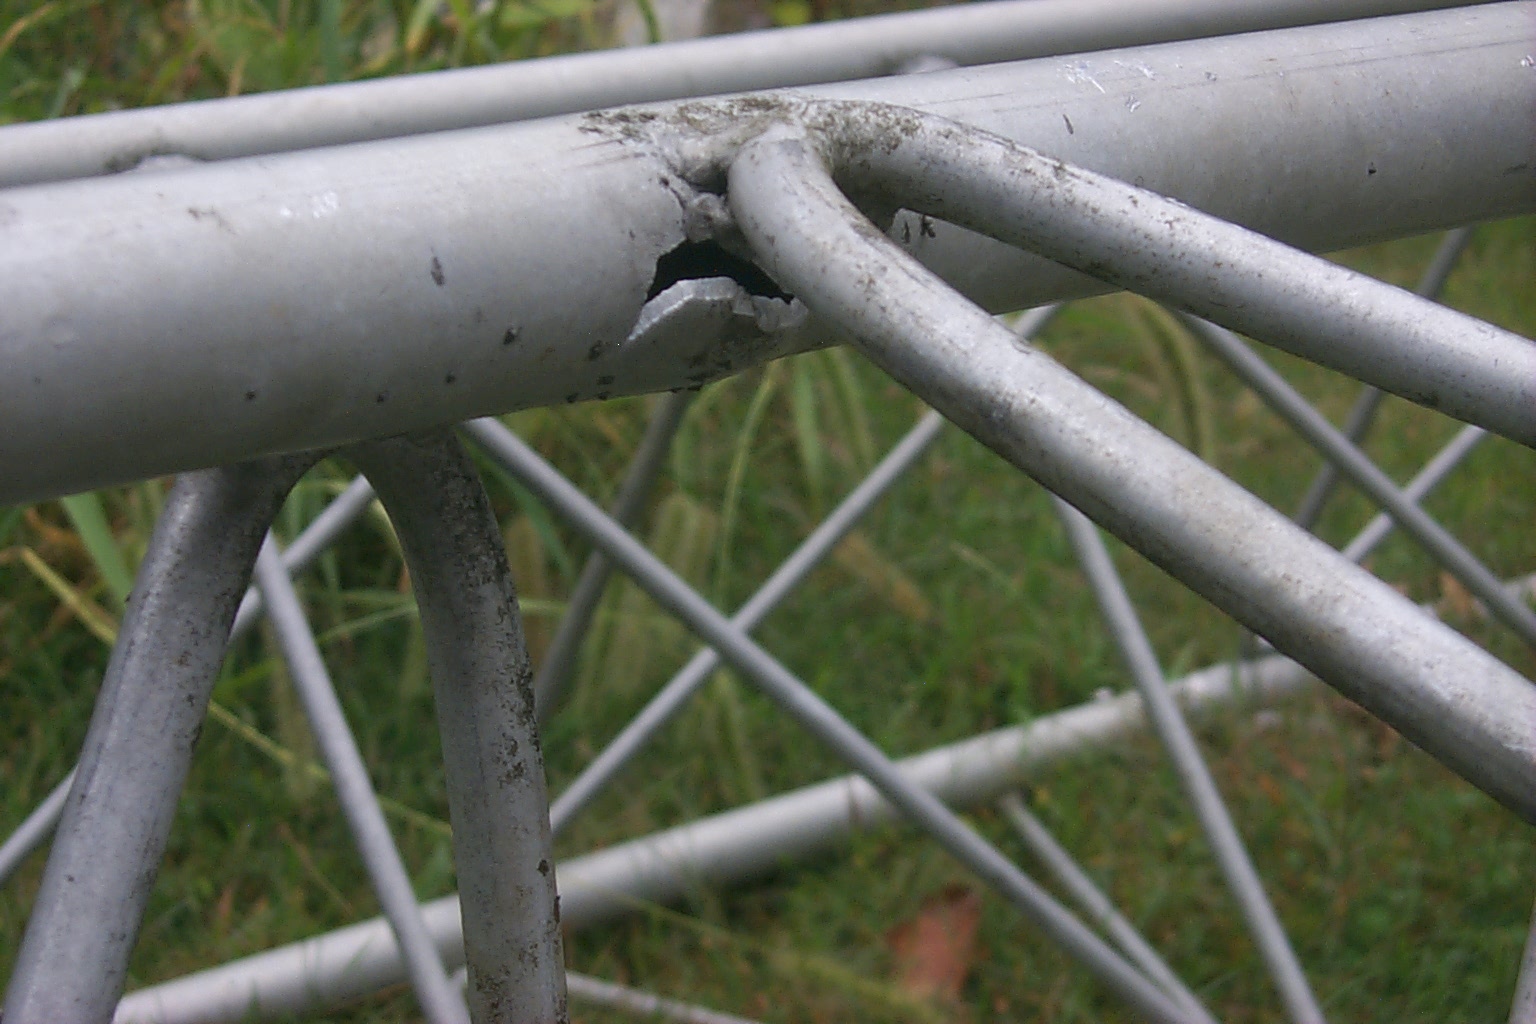
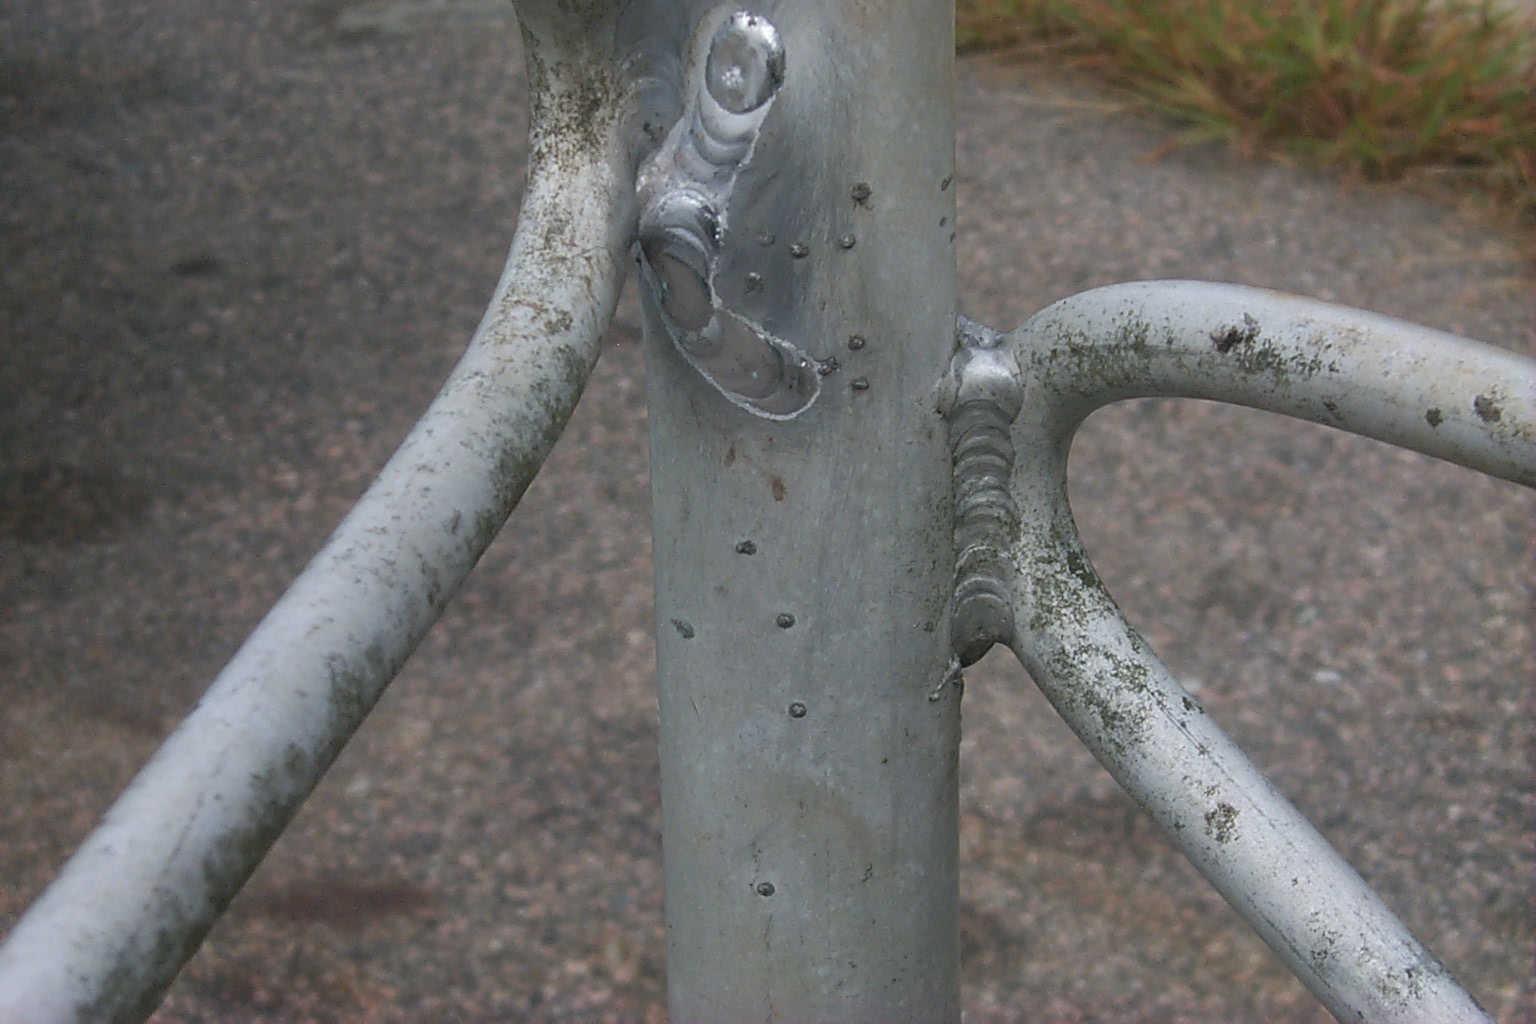
The first issue is a repair to the bottom section of tower that has a "blow out" from ice damage. Apparently the legs of the tower filled with water and froze bursting out one small section of tower. I have asked Scott to hammer the cracked section back into place and weld the damaged area closed.
(click on images to enlarge)
Scott's years of training and experience really showed as he made quick work of this repair.

(click on images to enlarge)
The completed repair looks great, the bottom section of tower is ready for another 20 years of service.


(click on images to enlarge)
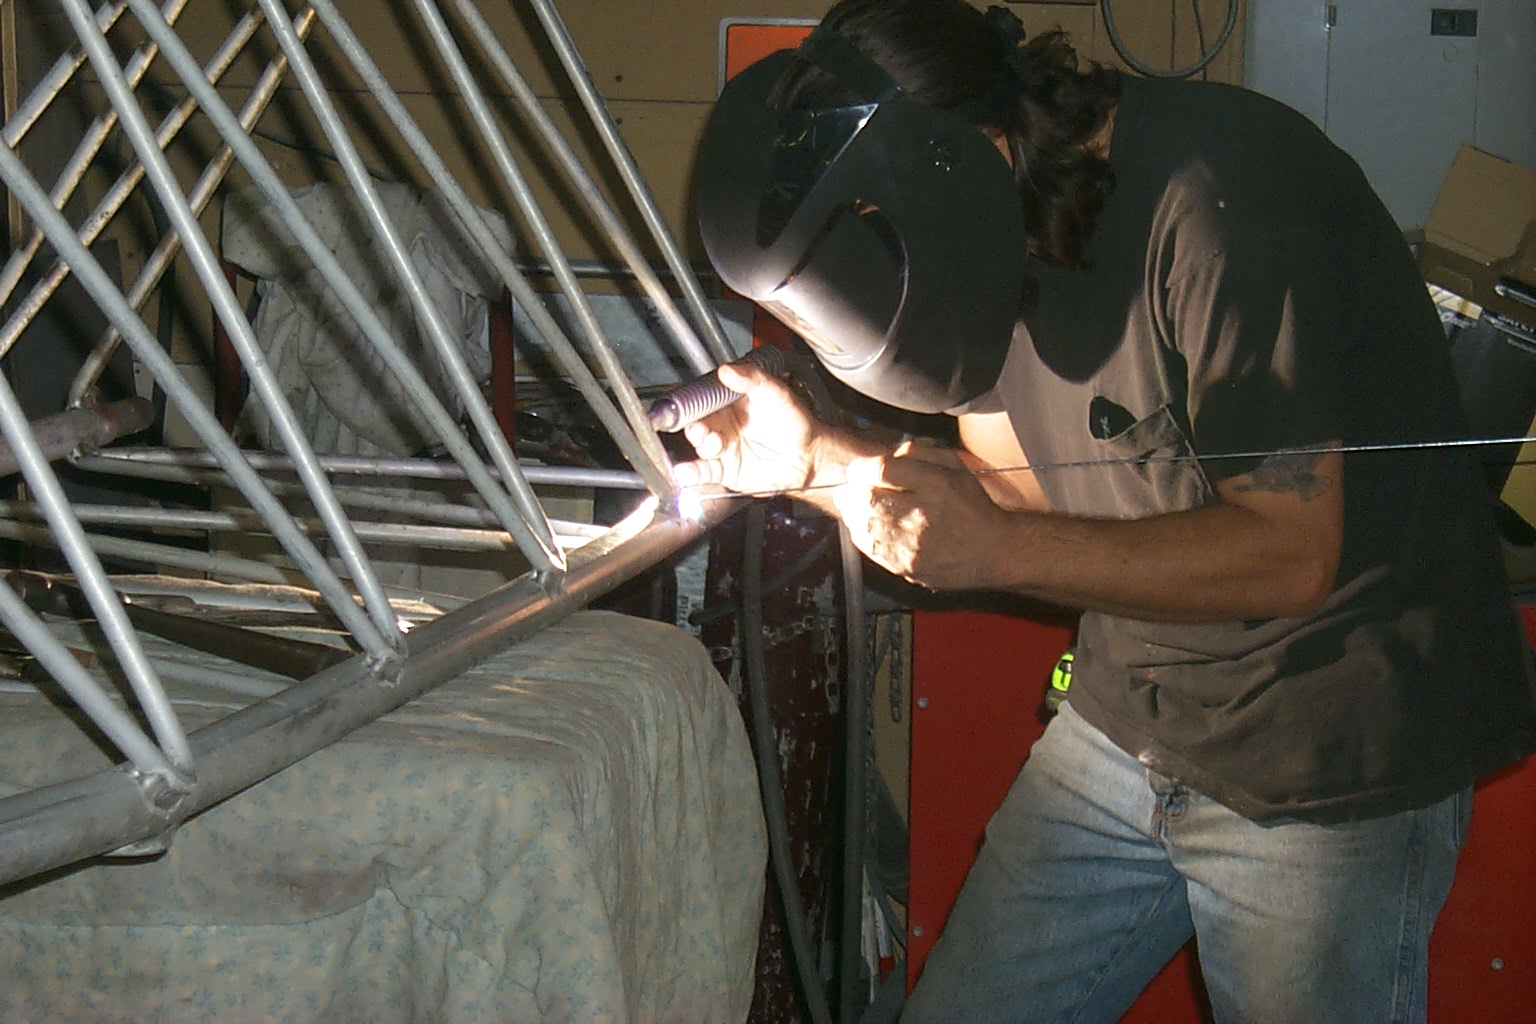
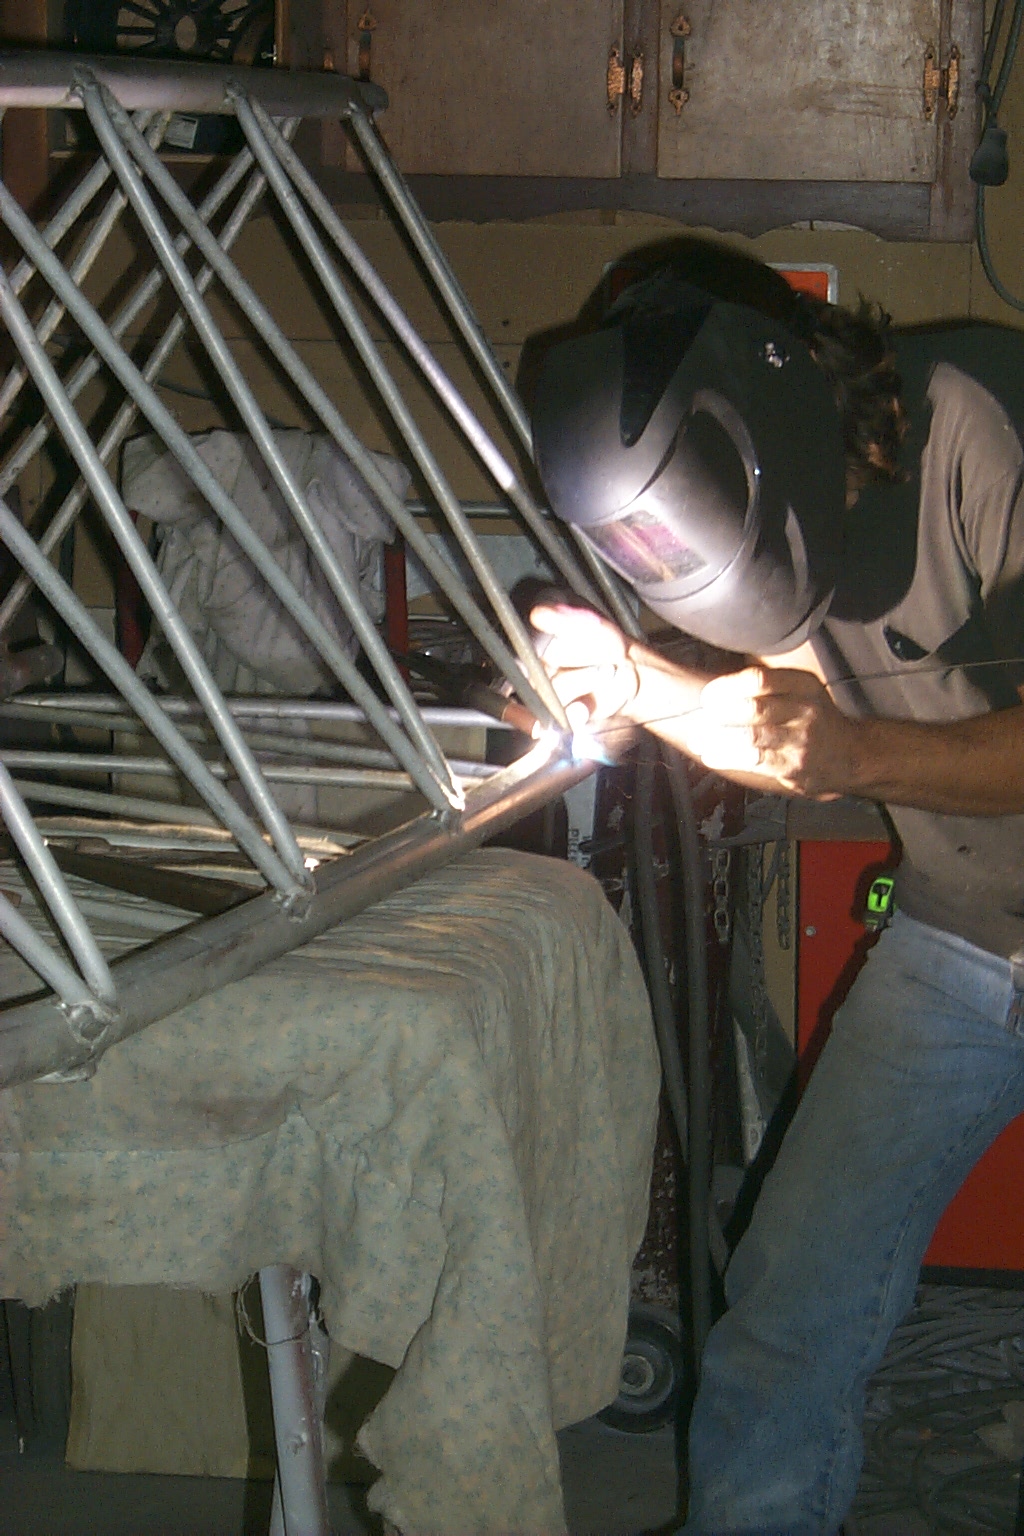
Next step is welding the flange adaptor onto the mast.
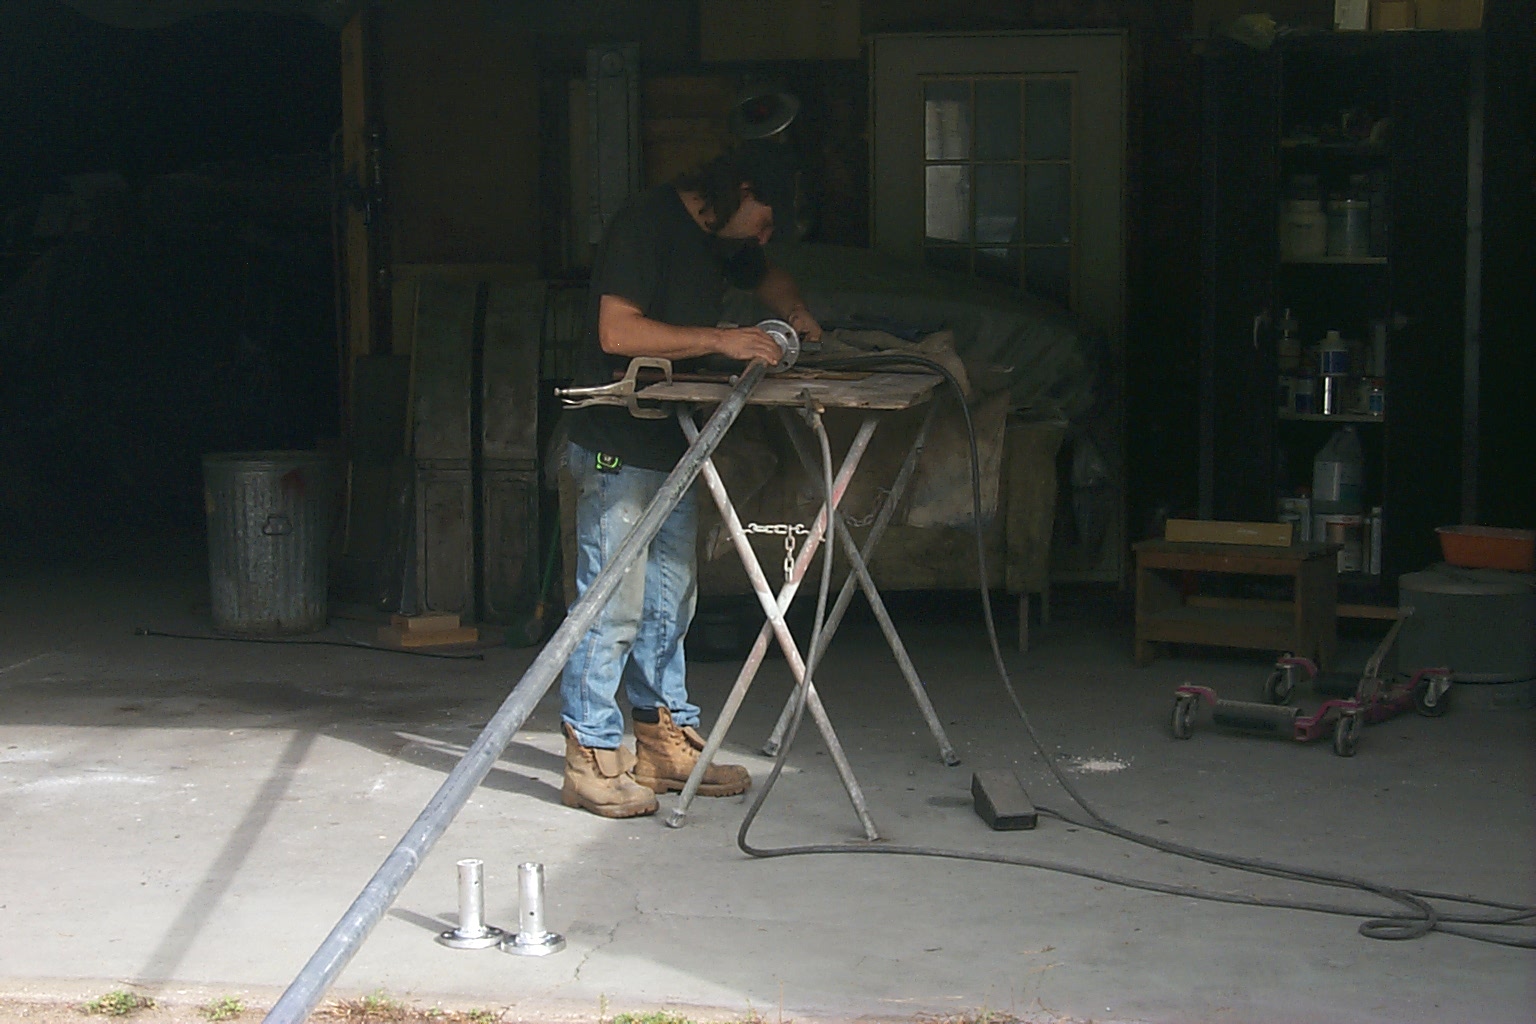
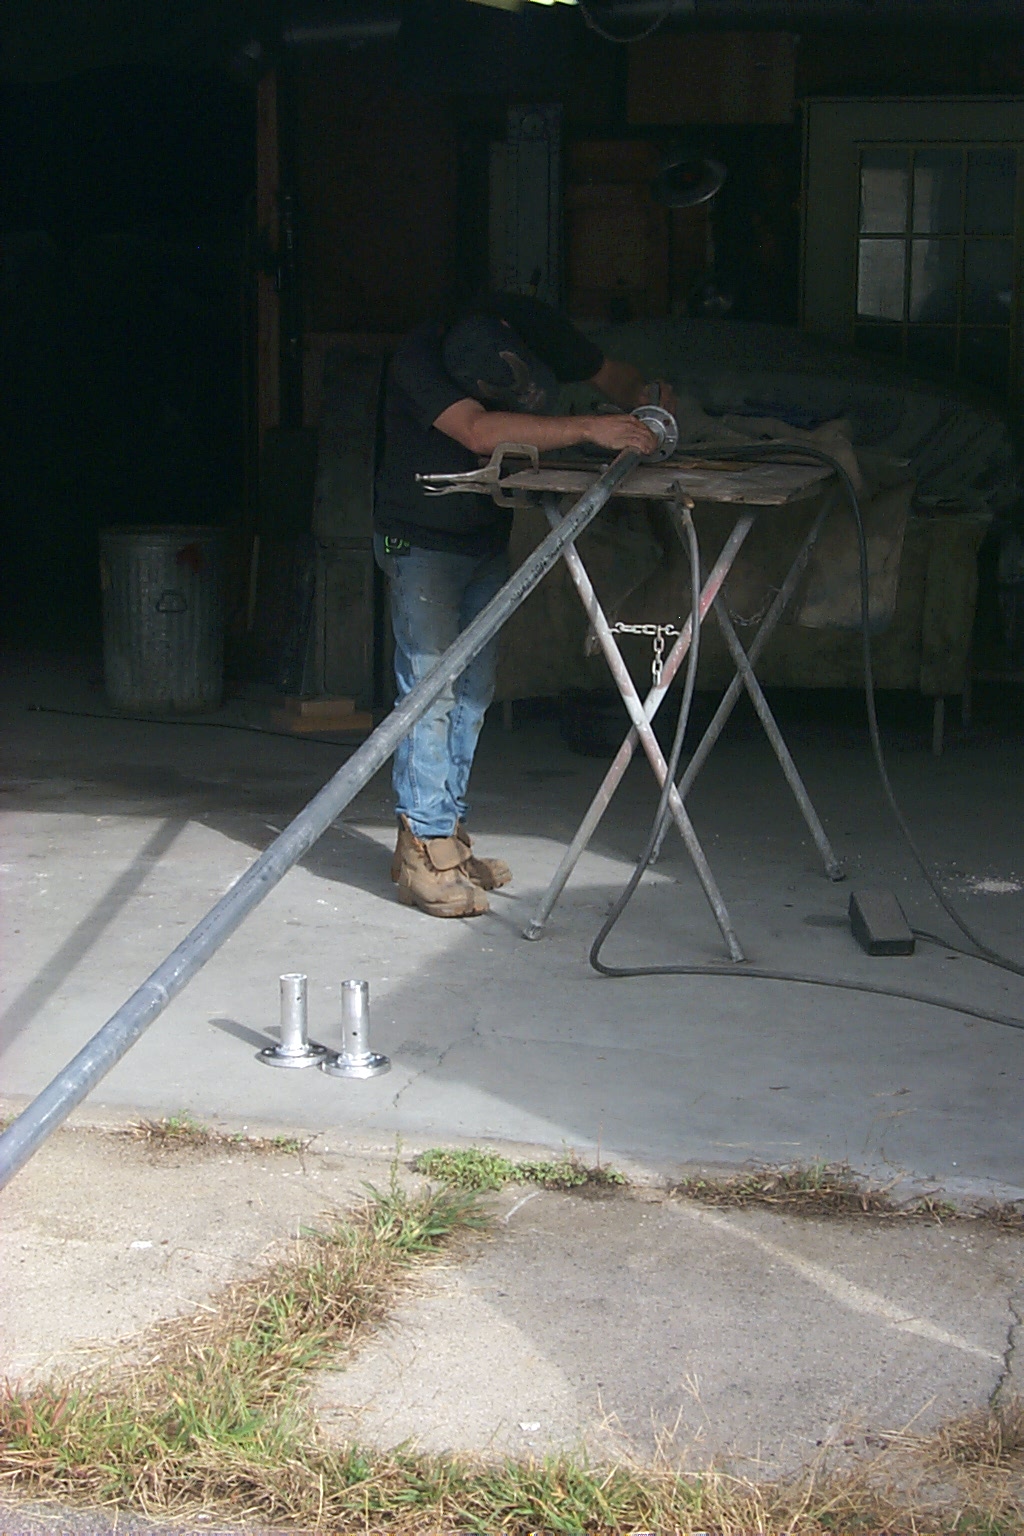


(click
on images to enlarge)
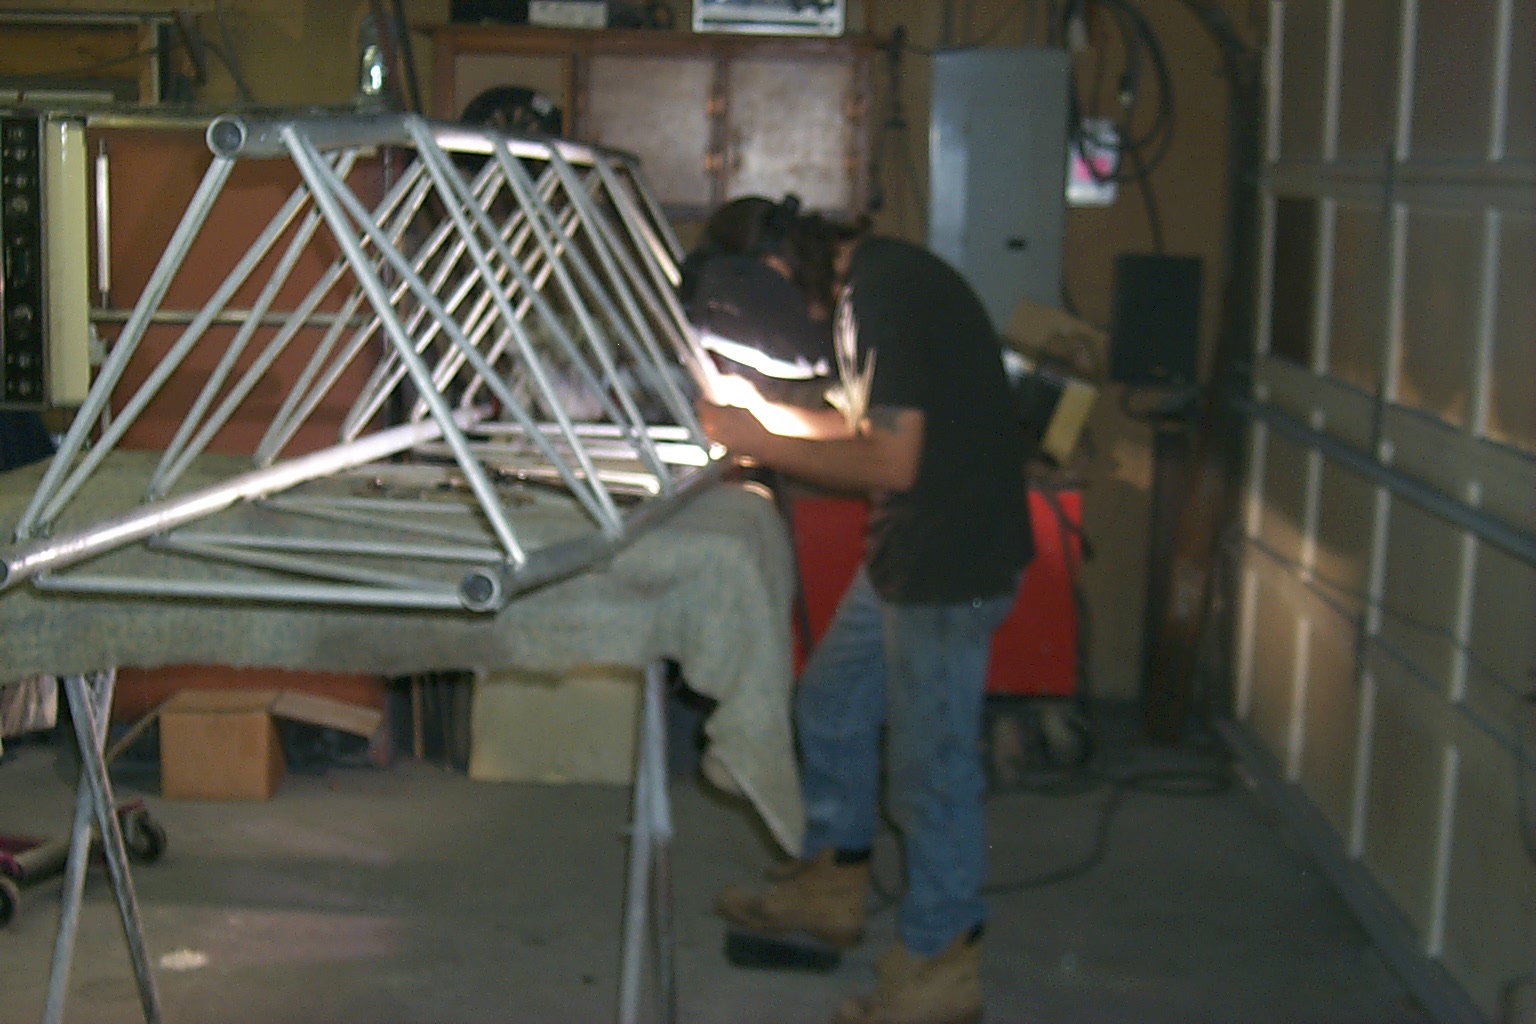
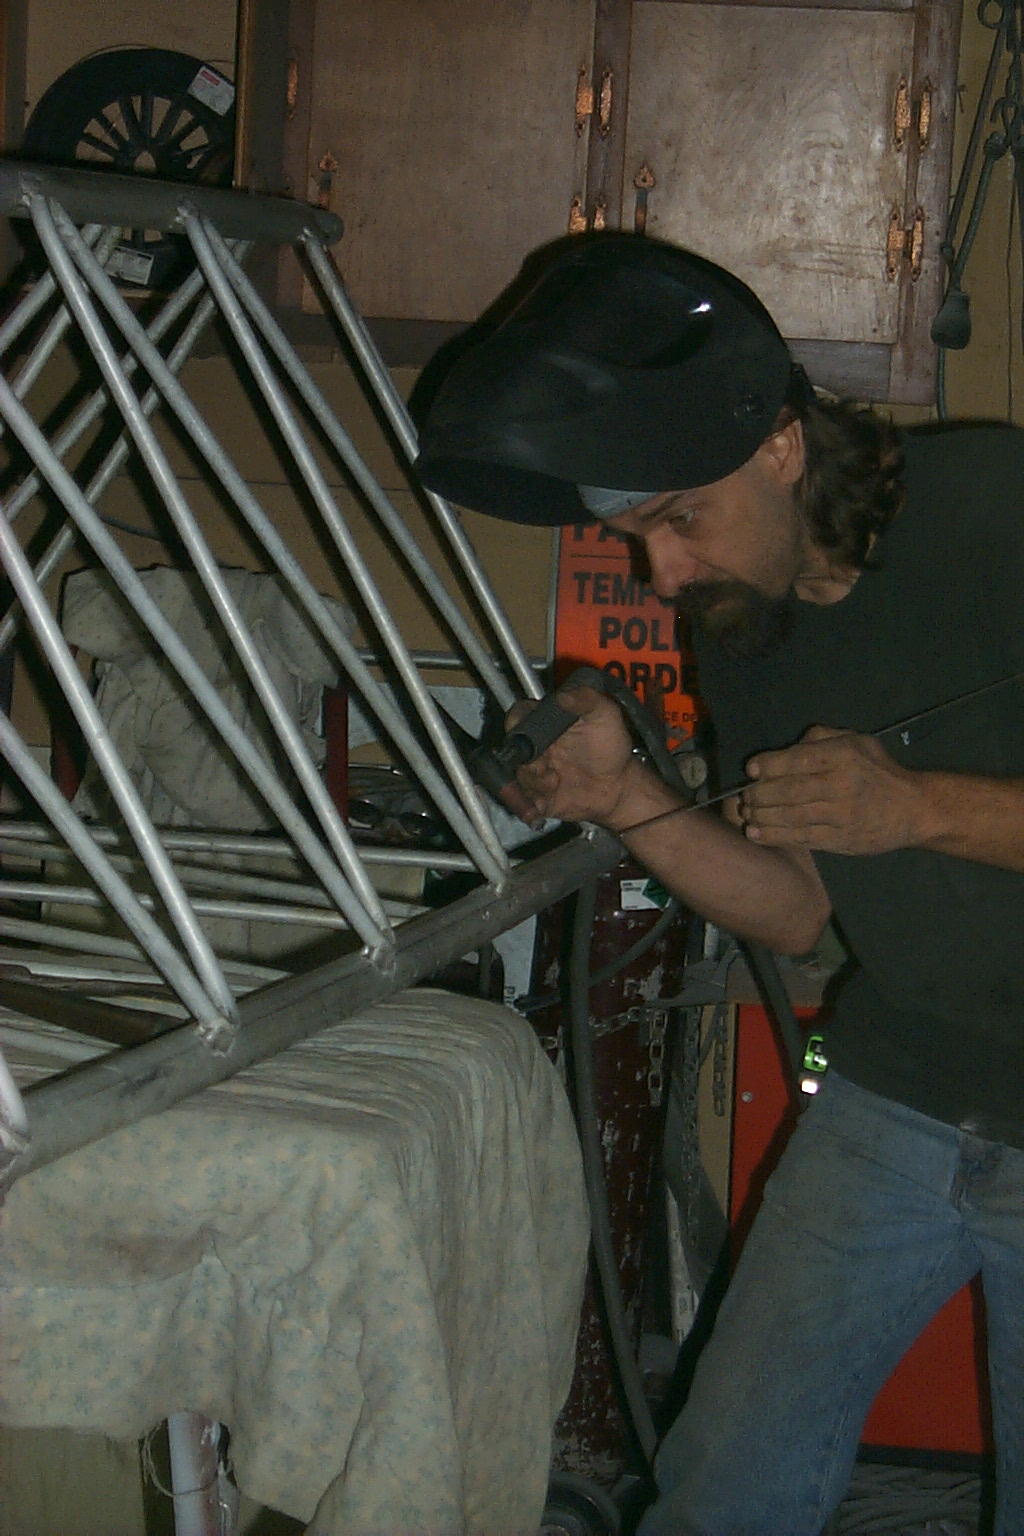
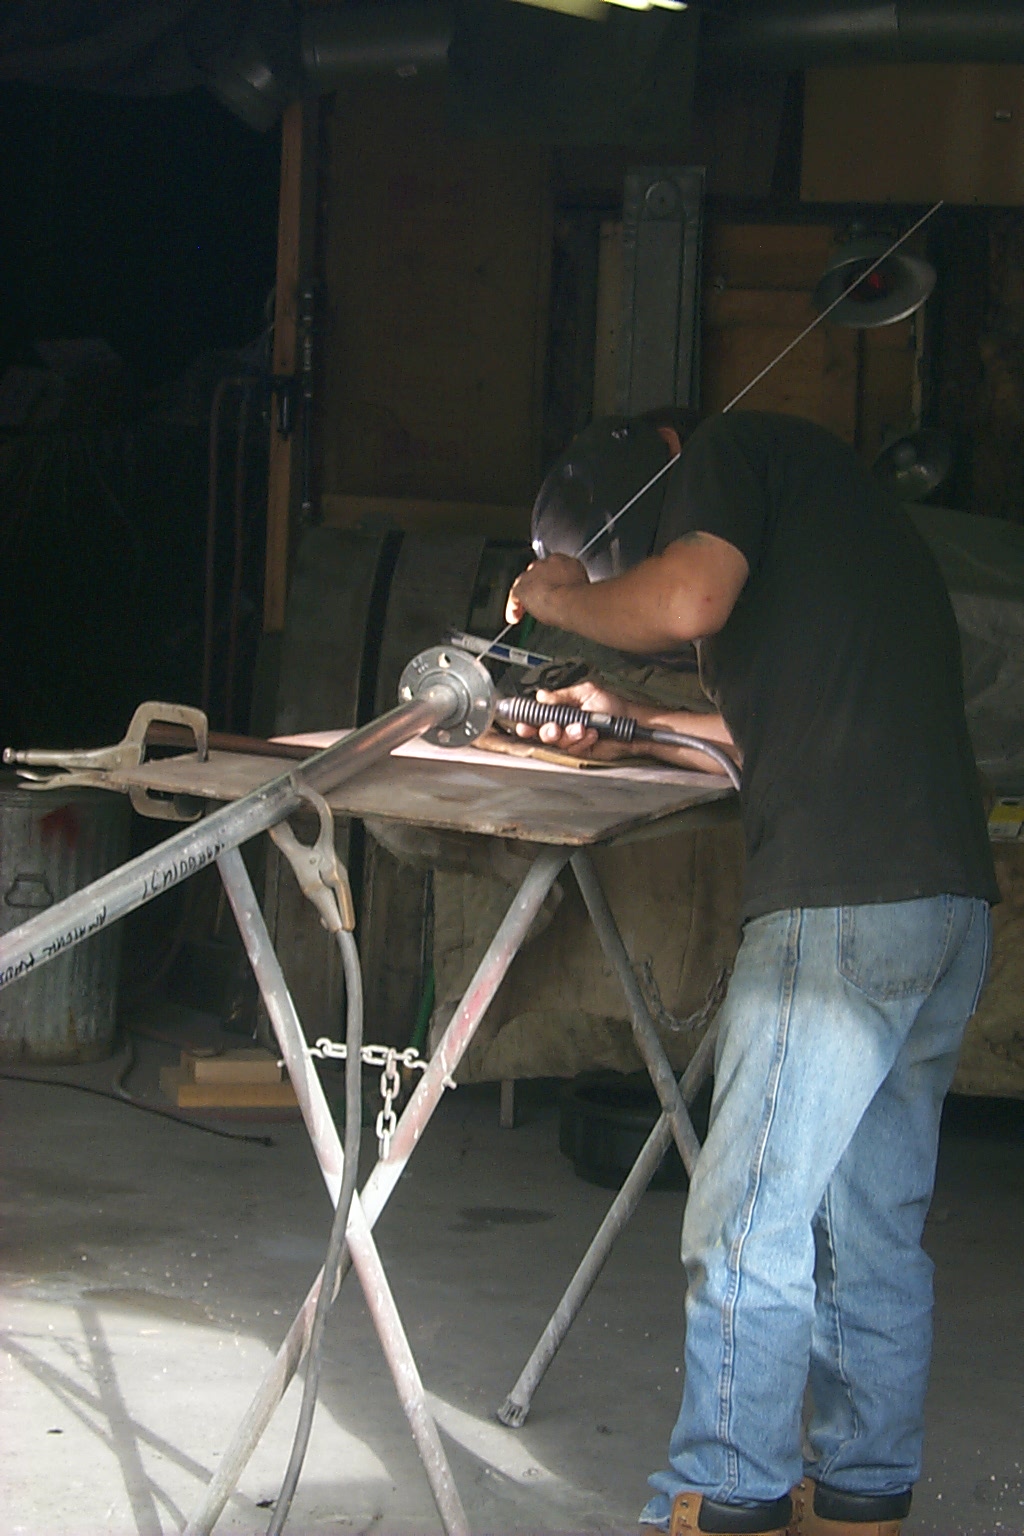
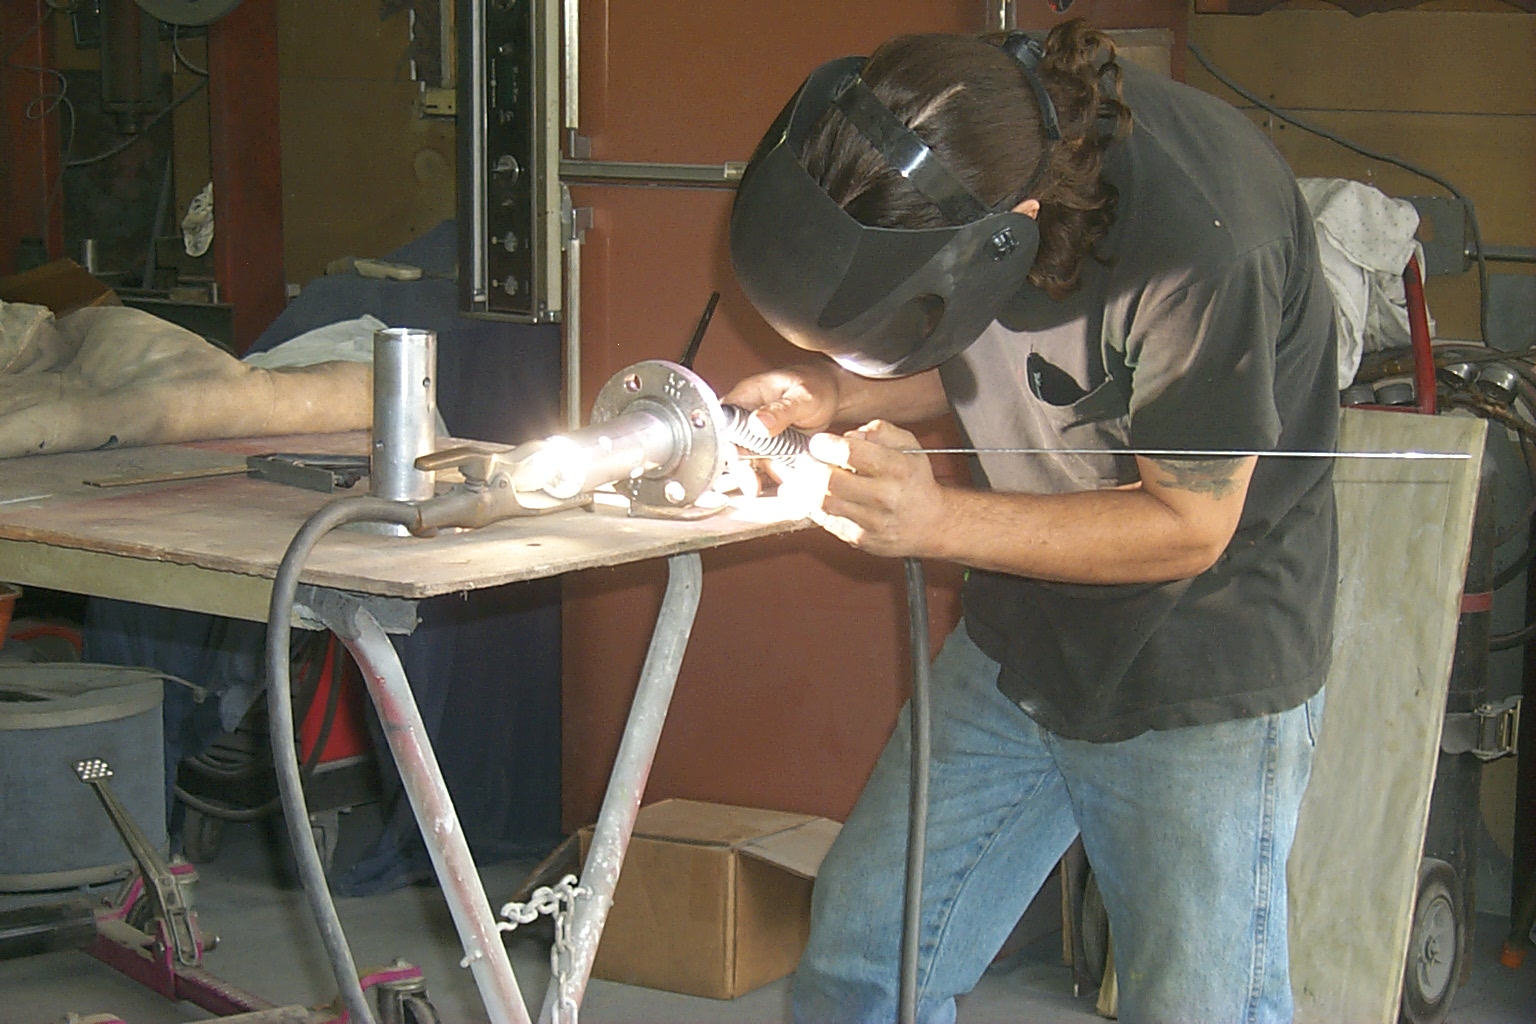
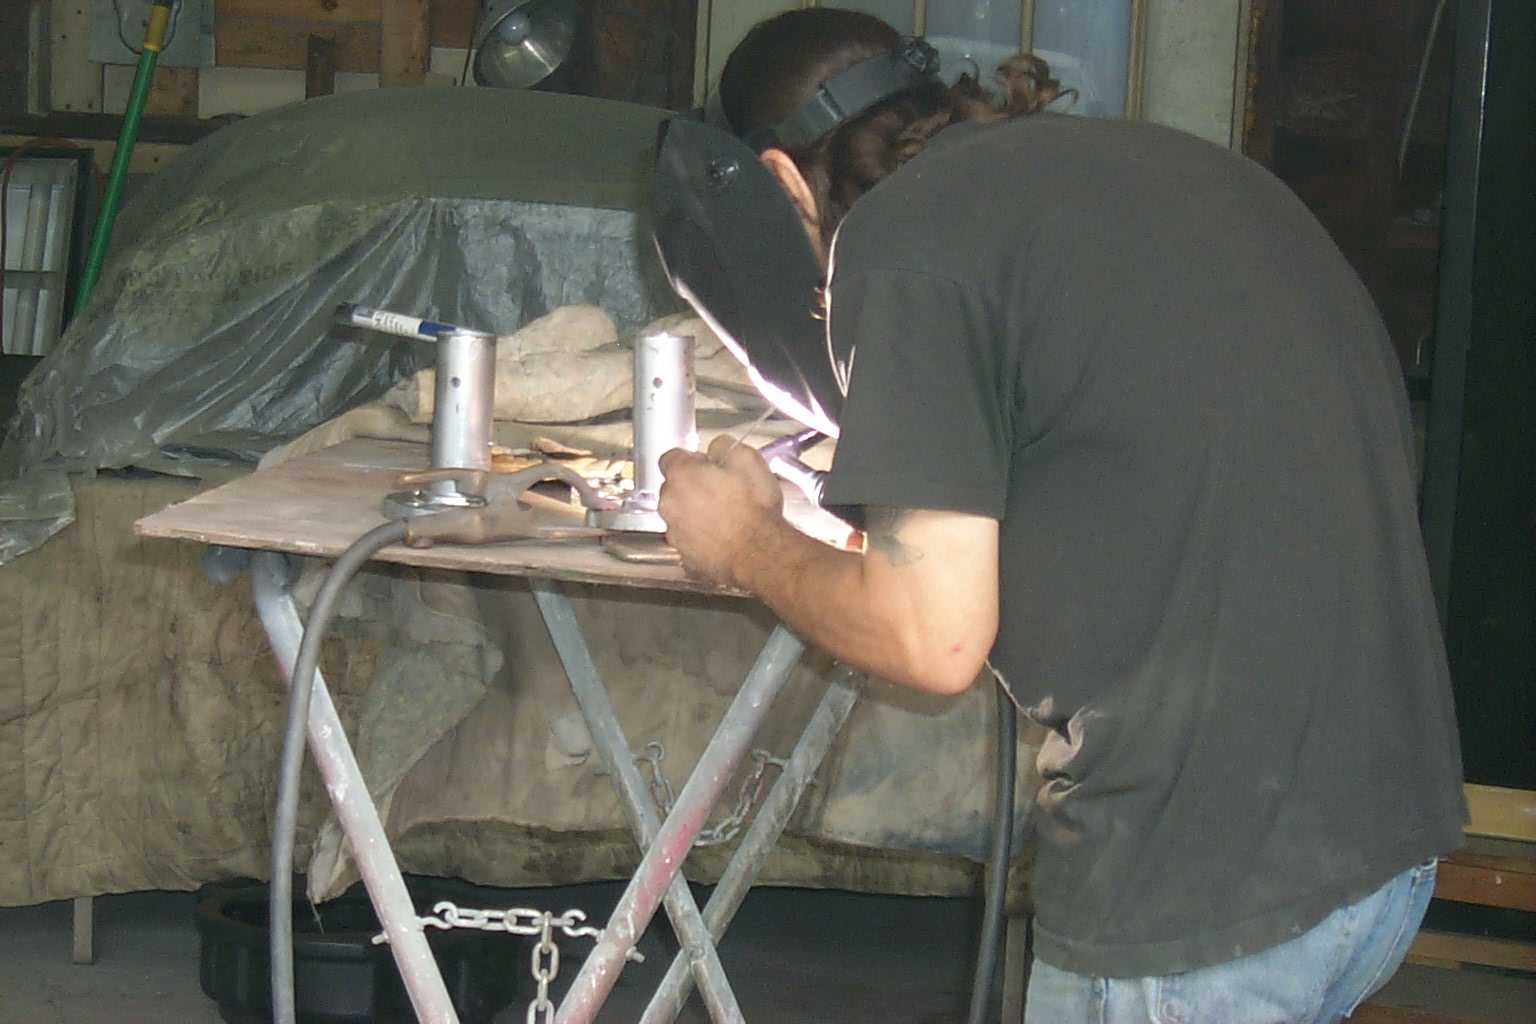
Watching Scott weld the flange adaptor onto the mast was just like watching an artist paint a picture or a musician play a song, I am constantly impressed but how easy he makes welding aluminum look and I know it is NOT easy...
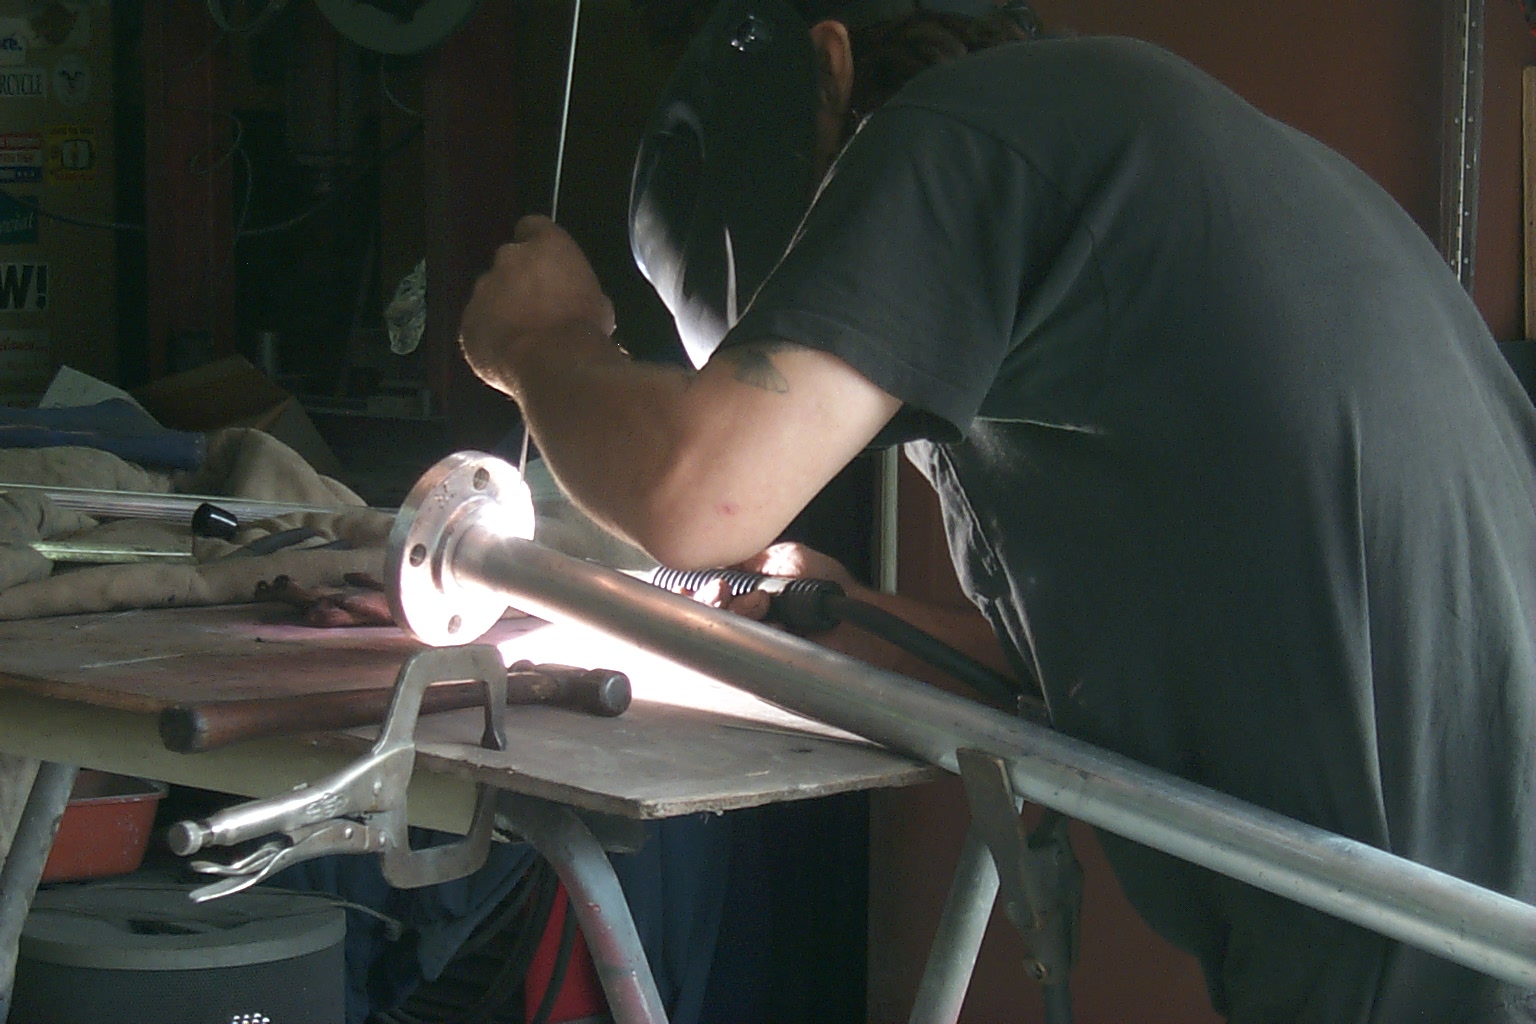

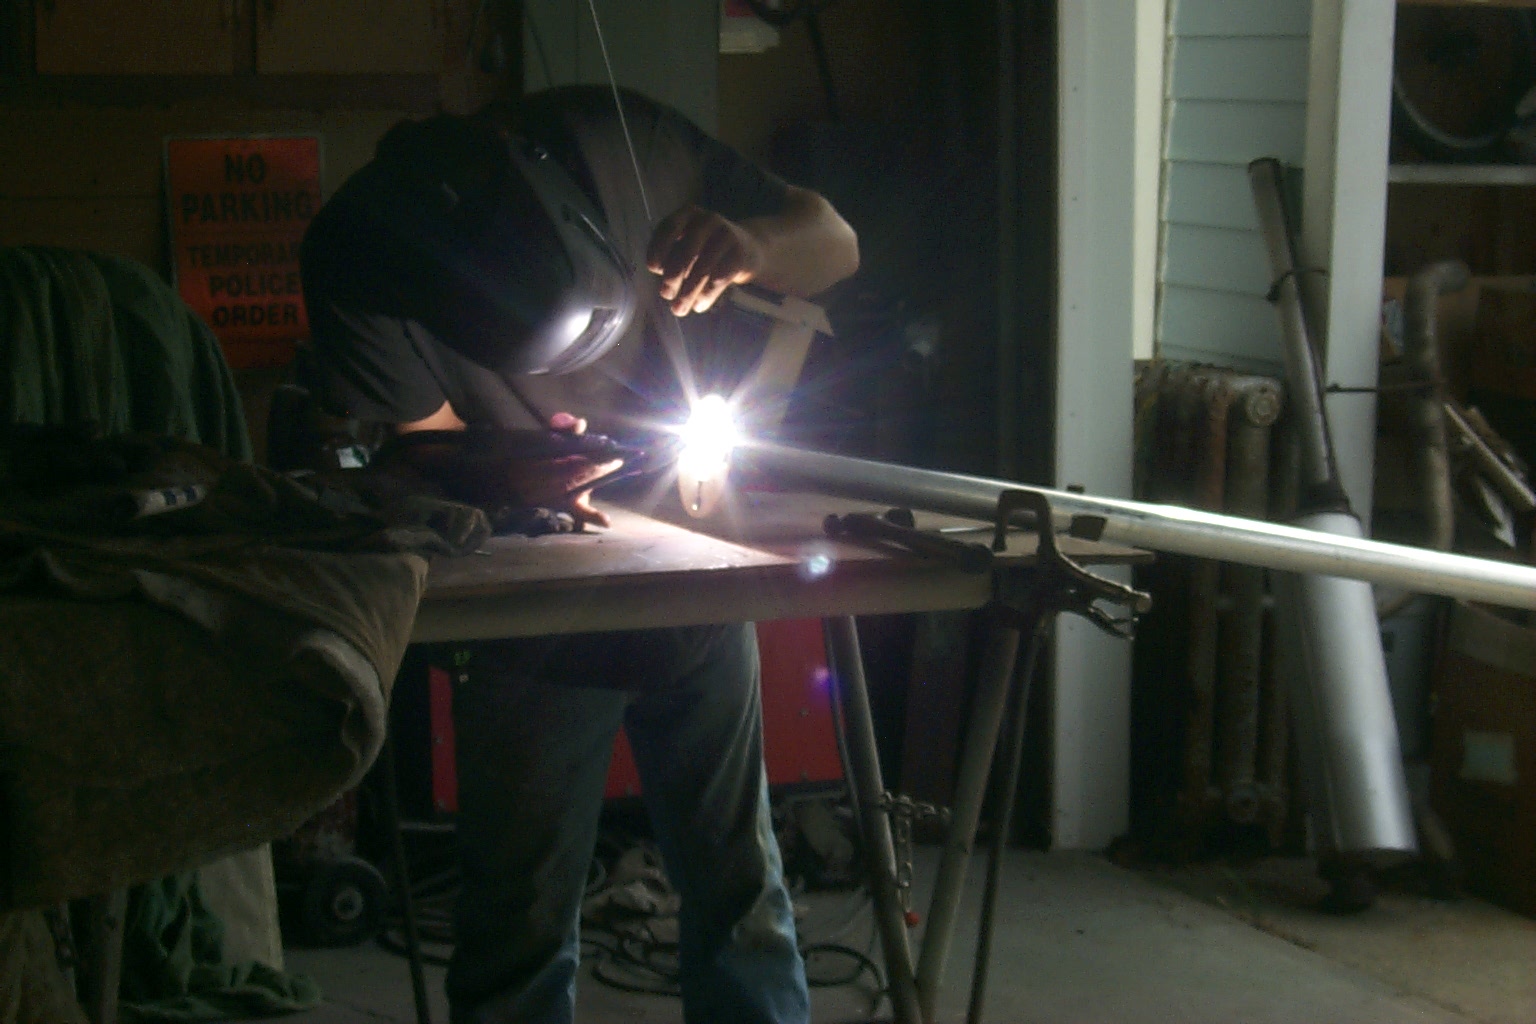
(click on images to enlarge)
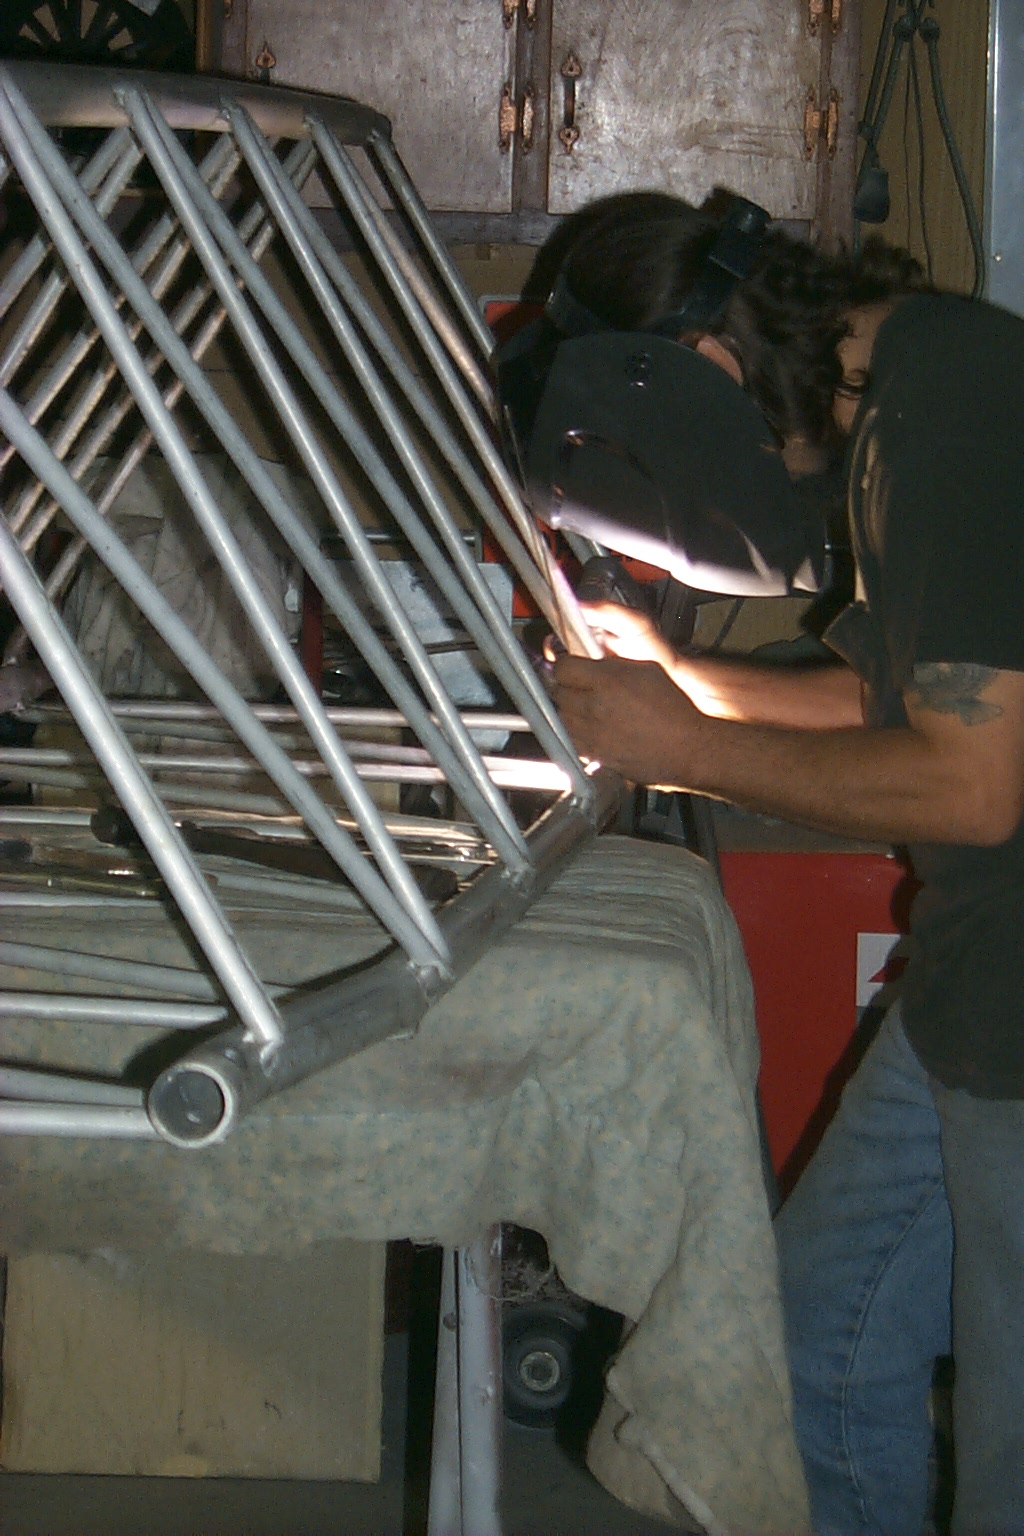
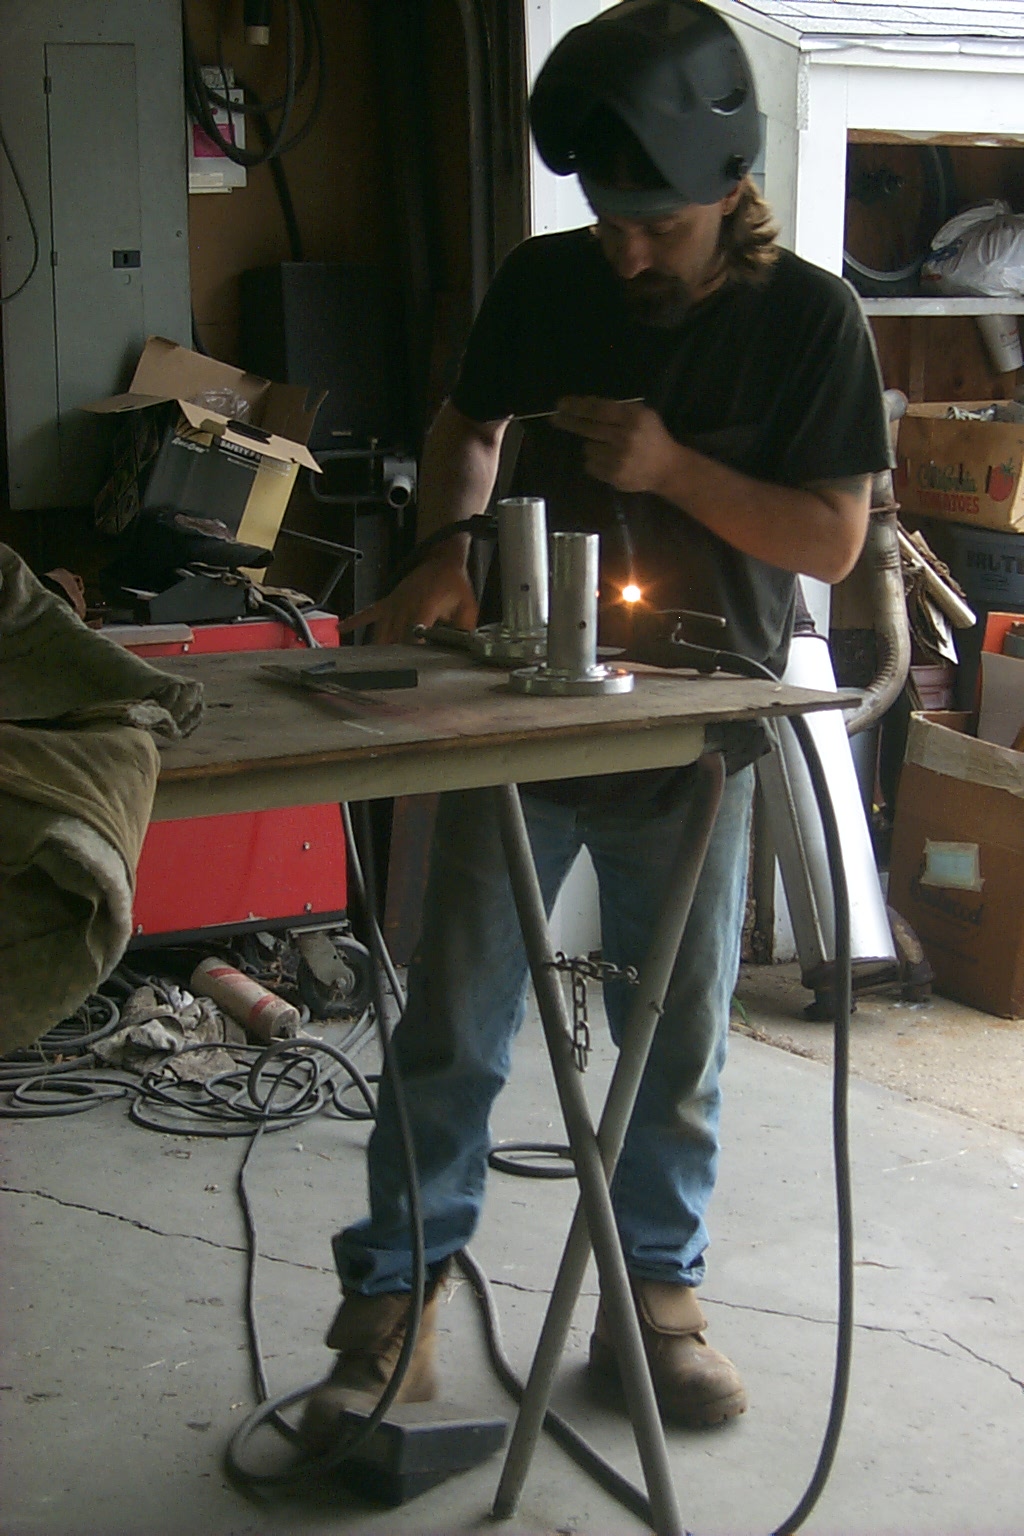
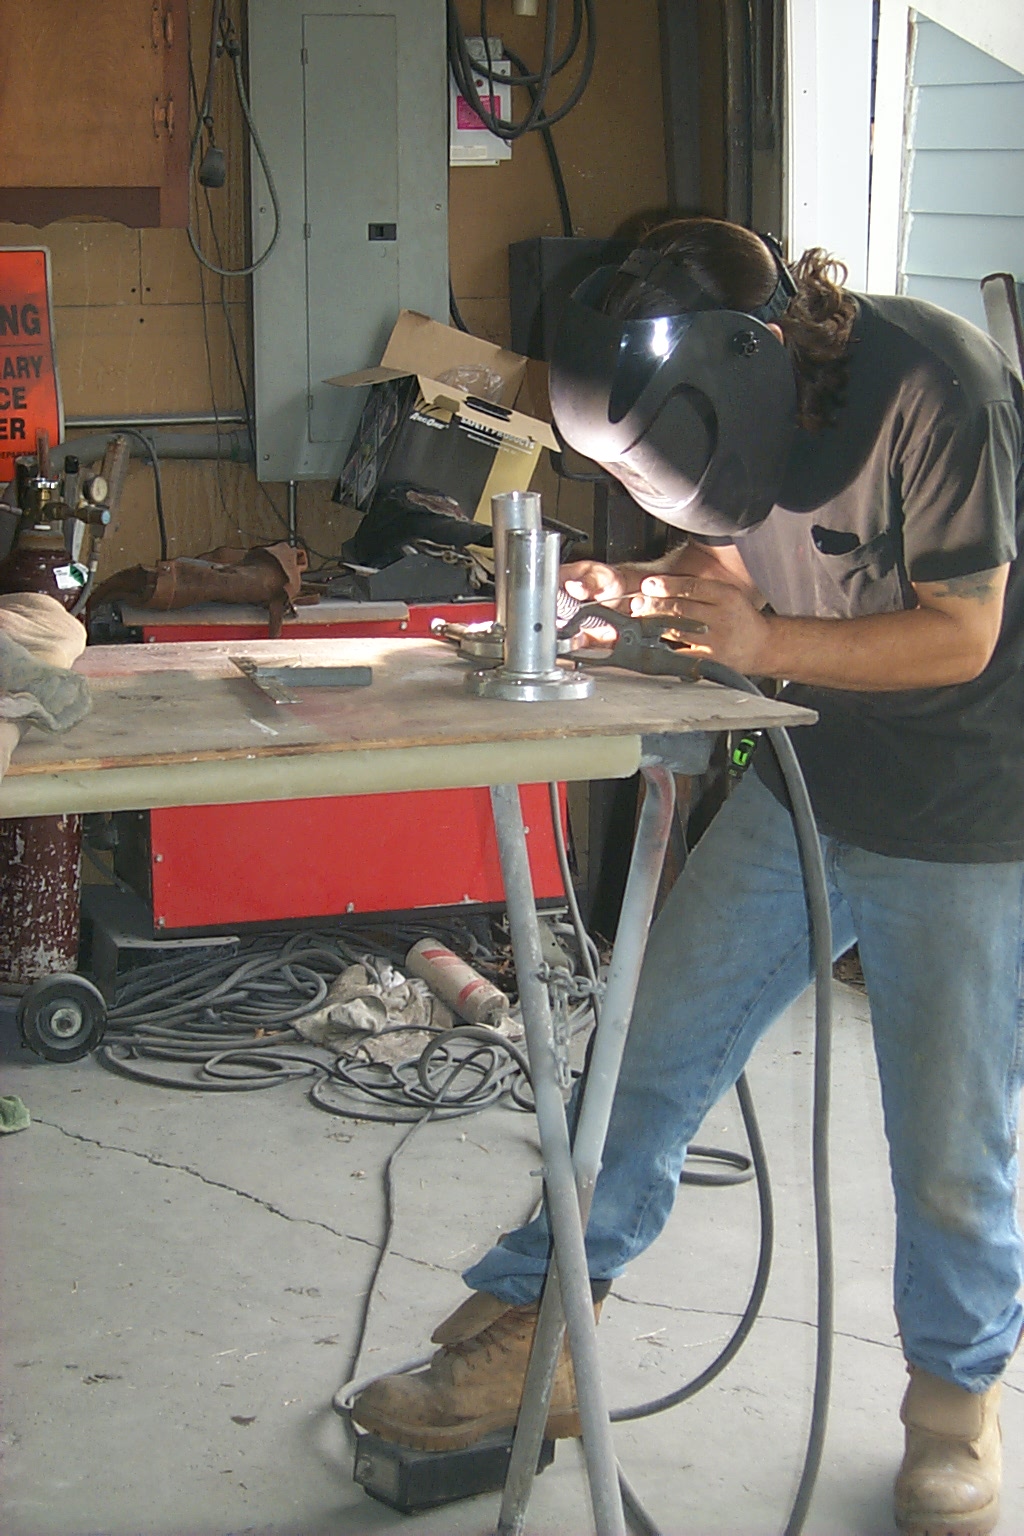
Scott also welded two new tower top mast mounts and flanges onto two additional 24 foot mast for some future projects.


(click on images to enlarge)
These two mast mounts were the parts that Jon and Bruce had machined just hours before and these two set's of mast & mounts will be used on the NEW forty foot tower going behind the house next to my desk and on the 48 foot tower the next time it is tilted down for maintenance...


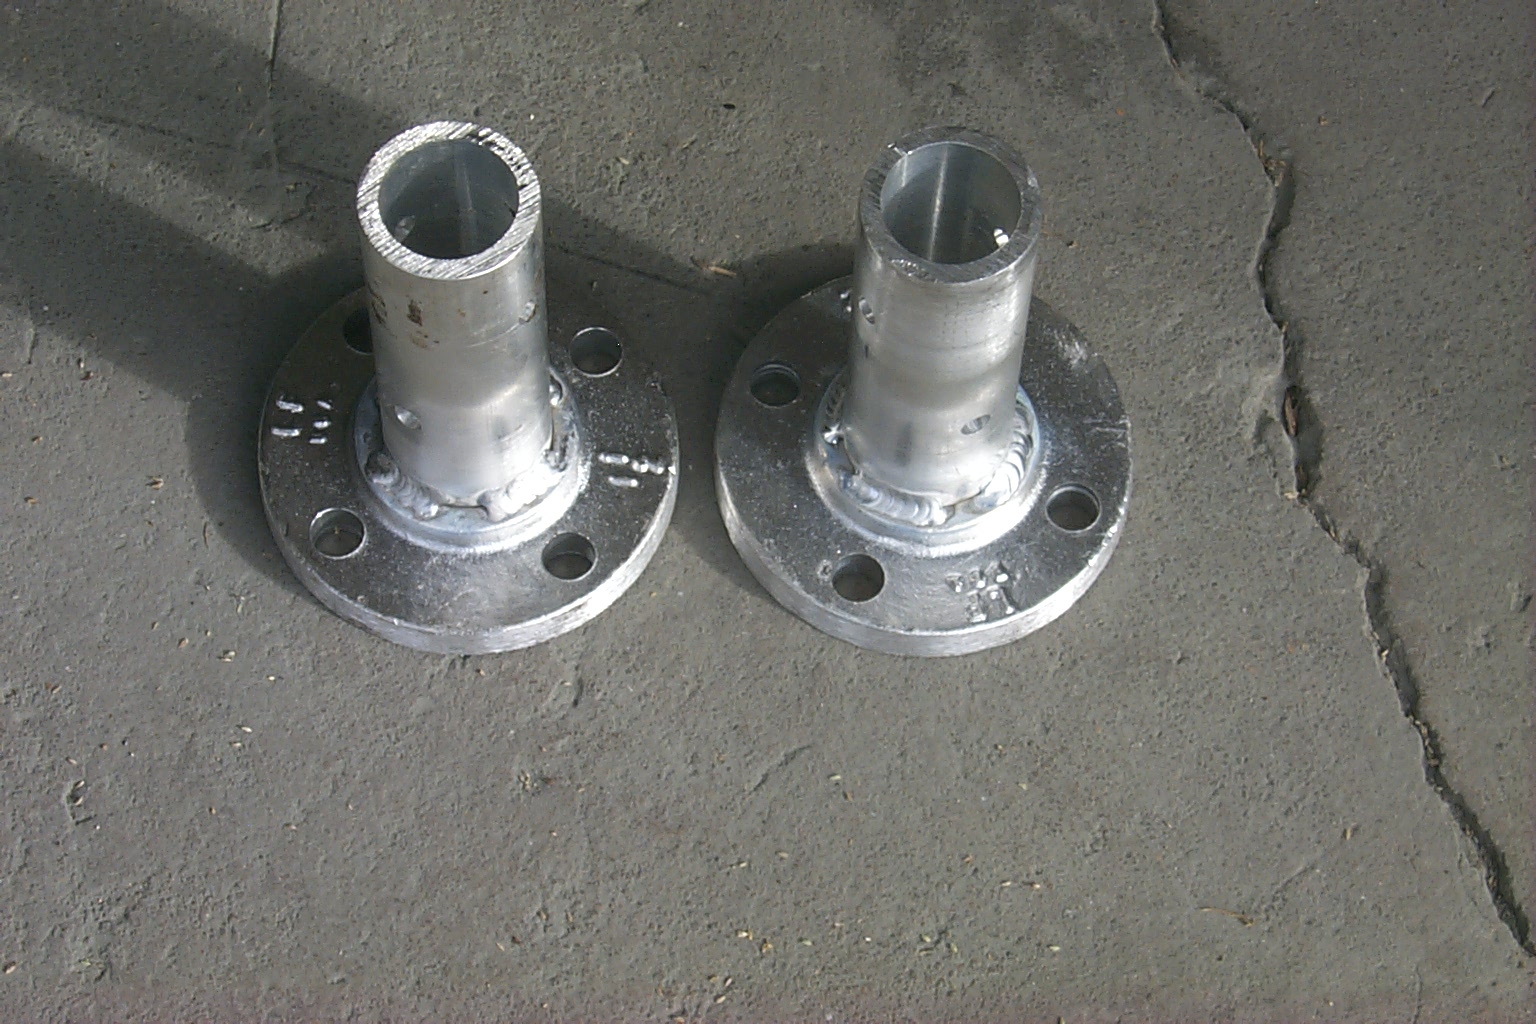
(click on images to enlarge)
Back to Tower History Home Page
North 80 Foot Repeater Tower Main Page
East 38 Foot Repeater Tower - West 48 Foot VHF / UHF Tower
Return to the KA1RCI Repeater Network Home Page
This page was last updated on
11/07/2010 and it has been viewed times.
Send mail to [email protected] with questions or comments about this web site.
Copyright 1995-2010 Steven M Hodell
Copyright in these pages, in the screens displaying the pages and in the information, materials and other content contained in this web site is owned by Steven M Hodell unless other wise indicated and is protected by U.S. and international copyright laws and treaties. The information, materials and other content of this web site may not be copied, displayed, distributed, downloaded, licensed, modified, published, reposted, reproduced, reused, sold, transmitted, used to create a derivative work, or otherwise used for public or commercial purposes without express written consent.