Established 1984
The North 80 Foot Repeater Tower
Installing the new Grounding System and Polyphasers
 Saturday November 6th

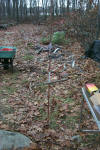
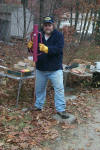
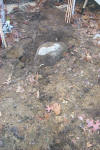
Today we spent the entire day working on the new Grounding System... It is at this point that I have to comment about how much I HATE Rocks & Roots! Hours and hours spent digging up Rocks & Roots so we could install the eight foot grounding rods and run the heavy copper wires for the grounding system.
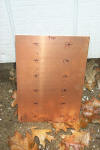
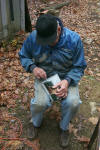
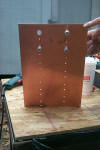
We started by locating the large copper plate for the Polyphasers, drilling the holes in the repeater shed, and mounting everything. First I secured the copper plate on the outside of the shed where I wanted the hard-line to connect and drilled two small pilot holes so I could locate the copper plate on the inside of the repeater shed.
(click on images to enlarge)
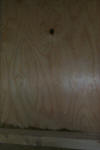
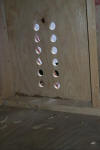
Once I had my two small pilot holes I moved inside the repeater shed and secured the copper plate in the desired location.
(click on images to enlarge)
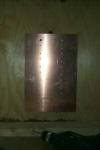
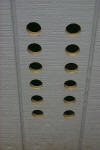
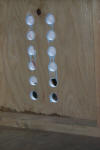
I used the small holes in the copper plate as my guide and drilled the twelve holes through the shed wall so I could locate all the holes for the Polyphasers.
(click on images to enlarge)
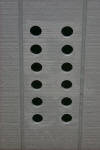
With the larger holes for the Polyphasers cut out Dad mixed up some more of the oil based stain and we panted all the exposited edges on the exterior panels to hopefully prevent water from wicking into the wood.
(click on images to enlarge)
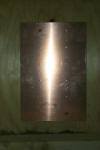
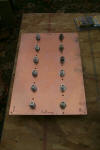
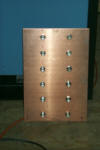
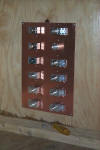
While the oil stain was drying we turned our attention to enlarging the holes in the copper plate to fit the Type-N bulk-head connectors from the Polyphasers.
(click on images to enlarge)
With the Polyphasers mounted in the copper grounding plate we got started on installing the new grounding system...
... I Hate Rocks & Roots!
(click on images to enlarge)
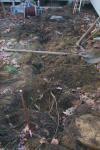
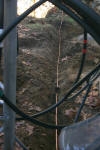
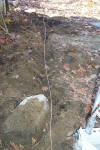
It took several hours to pound in the grounding rods (Thanks Bruce KD1BE for letting us borrow your Fence / Rod driver). Then we had to dig up dozens of rocks and hundreds of roots to make the trenches for the grounding cables.
(click on images to enlarge)
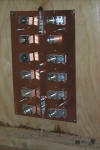
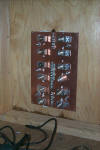
With the new grounding system installed, and the trenches back filled, I mounted the finished copper plate with all of the Polyphasers installed on the inside of the repeater vault and covered the Type-N bulk-head connectors so we could pack up for the day and get some rest.
(click on images to enlarge)
 Saturday November 13th

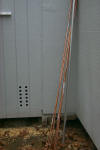
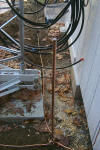
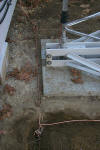
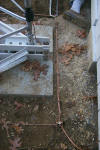
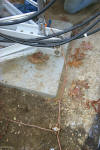
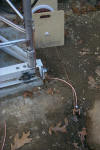
Wrapping up the new grounding system... Dad and I spent most of the day extending the copper ground system with additional ground rods to bond the tower legs and boned to the copper bluk-head.
(click on images to enlarge)
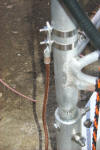
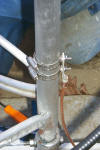
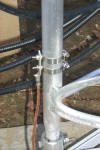
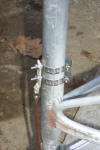
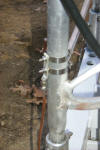
Each leg of the tower received to stainless steel clamps and was bonded to the grounding system.
(click on images to enlarge)
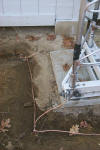
We also completed a path completely around the concrete base.
(click on images to enlarge)
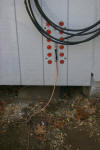
The finished connections to the tower legs were covered and the copper plate was loaded up with weather proofing goop.
(click on images to enlarge)
Now we just have to terminate all the hard-line...
Back to Tower History Home Page
North 80 Foot Repeater Tower Main Page
East 38 Foot Repeater Tower - West 48 Foot VHF / UHF Tower
Return to the KA1RCI Repeater Network Home Page
This page was last updated on
11/22/2010 and it has been viewed times.
Send mail to [email protected] with questions or comments about this web site.
Copyright 1995-2010 Steven M Hodell
Copyright in these pages, in the screens displaying the pages and in the information, materials and other content contained in this web site is owned by Steven M Hodell unless other wise indicated and is protected by U.S. and international copyright laws and treaties. The information, materials and other content of this web site may not be copied, displayed, distributed, downloaded, licensed, modified, published, reposted, reproduced, reused, sold, transmitted, used to create a derivative work, or otherwise used for public or commercial purposes without express written consent.


